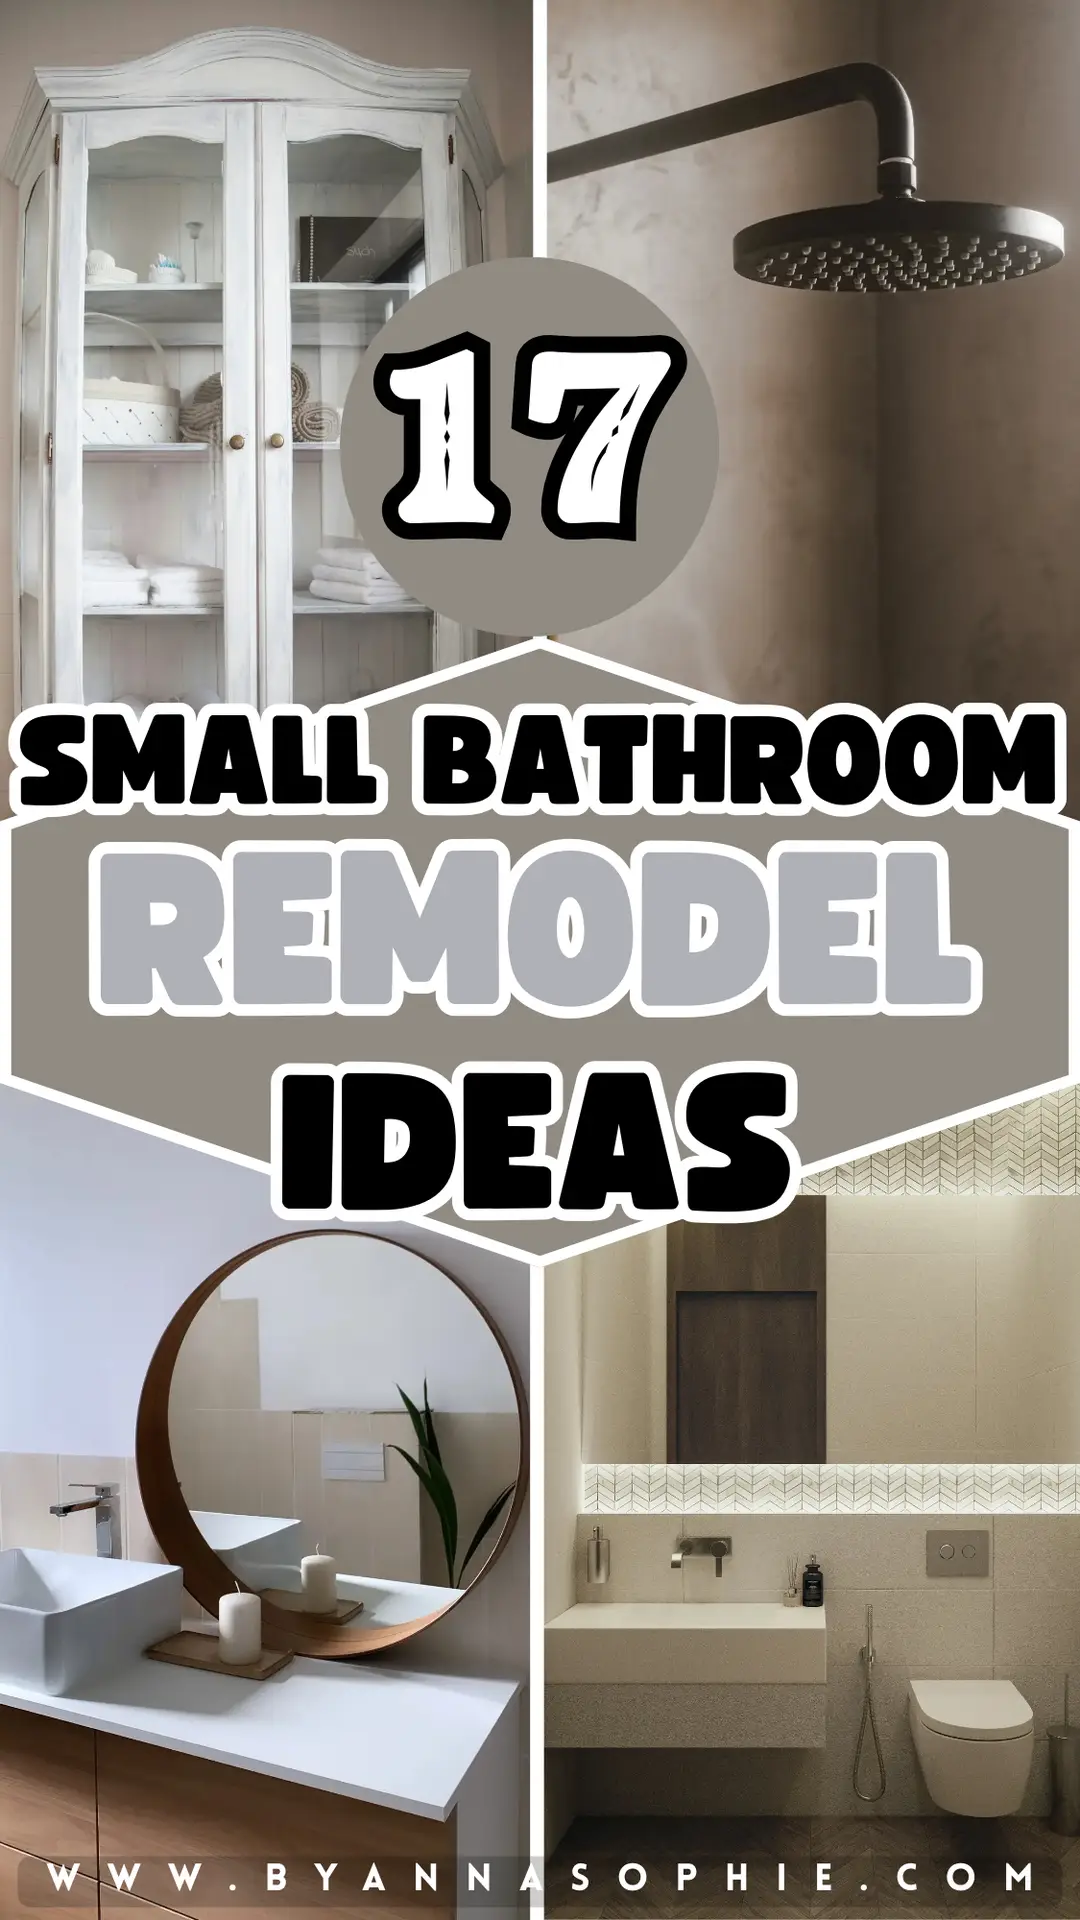
How To Remodel A Small Bathroom (+17 Incredible Small Bathroom Remodel Ideas That Really Work)
In this blog post you’ll find all the answers on the topic small bathroom remodel ideas.
 Save
Save Cramped showers, cluttered corners and tiles that have seen better days… A small bathroom can quickly feel more like a daily frustration than a personal retreat.
But the truth is, even the tiniest spaces can be transformed with the right plan!
In this guide, I’ll show you how to take control of your project with a quick 10-minute mini-audit, a realistic budget framework, and a step-by-step sequence that makes the remodel feel less like chaos and more like a smart construction plan.
You’ll also get a cheatsheet for dimensions and ergonomics, smart strategies for lighting, waterproofing and durability, plus color and tile choices that visually expand your space.
And of course, I’ll share 17 inspiring small bathroom remodel ideas along with a handy shopping list and a realistic weekend plan – perfect if you’re ready to roll up your sleeves and try a small bathroom remodel DIY without overspending or losing your sanity.
Are you ready for it?
This site includes affiliate links, meaning I may receive a small commission, at no additional cost to you.
Mini-Audit: Goals & Inventory (10-Minutes-Check)
Alright, let’s figure out what’s actually going on in your bathroom.
Spend ten minutes just looking around and asking yourself what bugs you. Bad lighting? Nowhere to put anything? Can barely move around in there? Shower or tub looking rough? Ventilation terrible and mold creeping in?
Write down what you absolutely need to fix versus what would just be nice. This helps you prioritize instead of trying to do everything at once.
Then sketch out your bathroom with rough measurements. Note which way the door swings, where the plumbing is, windows, vents, all these things.
It doesn’t need to be totally fancy, just accurate enough so you know what you’re working with before you change anything.
Budget Framework & Cost Control
Planning a bathroom makeover? Set a budget so you’re not shocked halfway through.
Split it roughly like this: 40% for the big stuff (tiles, paint, waterproofing), 30% for fixtures and lights, 20% for storage and furniture. Keep 10% aside for when something inevitably costs more than you thought.
Then figure out which level you’re at:
- A Cosmetic Refresh (around 200-500$)
- A Smart Update (500-1.400$)
- Or a Light Remodel (1.400-3.000$+)
In this guide, you’ll find even more small bathroom hacks on a budget.
Procedure & Sequence: The Gentle Construction Plan
From what I’ve learned, bathroom projects go way smoother when you follow an order instead of bouncing around.
Start with planning, make a detailed list of what you need. Then demo and haul away the old stuff.
After that, waterproofing and prepping surfaces.
Electrical comes next: Lights, switches, outlets.
Then plumbing and fixtures.
Here’s the thing though: If it involves the main electrical or water lines, get a professional. Don’t mess with that things yourself.
Once the technical parts are done, do your tiling and sealing. Touch up silicone and grout after.
Then add furniture and storage.
The styling and little details come last. That’s when it actually starts looking finished.
Simple Cheatsheet: Dimensions & Ergonomics
Getting the proportions right in a small bathroom makes daily routines much more comfortable and helps the space work efficiently.
You can keep this quick cheatsheet with key ergonomic measurements in mind:
Toilet: At least 60cm of free space in front and 20cm on each side
Washbasin: Height 85-90cm, with 75-90cm of clear depth in front
Shower: Minimum 80x80cm, more comfortable at 90x90cm, walk-in designs start from 120x80cm
Door: Check if a sliding or folding door could improve tight space problems
Mirror height: Center positioned about 150-160cm above the floor
Lighting & Electrical
Lighting and electrical planning help a lot when it comes to making a small bathroom practical and atmospheric.
I suggest to layer the lights in your bathroom: Use ambient light from the ceiling, task light at the mirror and subtle accents in niches or along the toe-kick for visual depth.
Stick to 2700-3000K with a CRI of at least 90 so skin tones look natural and flattering.
For the mirror, side-mounted or surround lighting works best to avoid glare.
In wet zones, always choose fixtures with the right IP rating and if possible, integrate dimmers or scenes, like Wake, Clean and Wind-down, to make the room adapt to different times of day.
Moisture, Waterproofing & Durability
Don’t skip moisture protection. It’s what keeps your bathroom from falling apart.
Ventilation matters, open a window or get an exhaust fan with a timer that keeps running after you leave. Otherwise you’re just trapping all that humidity in there.
Seal everything properly in the wet areas. Check your silicone joints and redo them when they start looking sketchy. That’s where mold sneaks in.
Use moisture-resistant paint or panels and seal any exposed edges. This saves you from having to redo everything in a couple years because water got in and wrecked it.
Color, Tile & Surface Strategy That Makes It Look “Bigger”
Okay, so far, so good!
Surfaces make a huge difference in how big your small bathroom feels and you don’t even need to change the layout.
Light, muted colors with good light reflectance, around 60-80, that’s your foundation.
One accent somewhere keeps it interesting without closing the space in.
Big tiles laid vertically trick your eye into thinking the ceiling’s higher than it is.
Match your grout to the tile color so it doesn’t break things up visually.
Mix textures for depth: Matte walls with slightly glossy tile or glass.
And add soft items through towels or little accessories. This makes it more cozy.
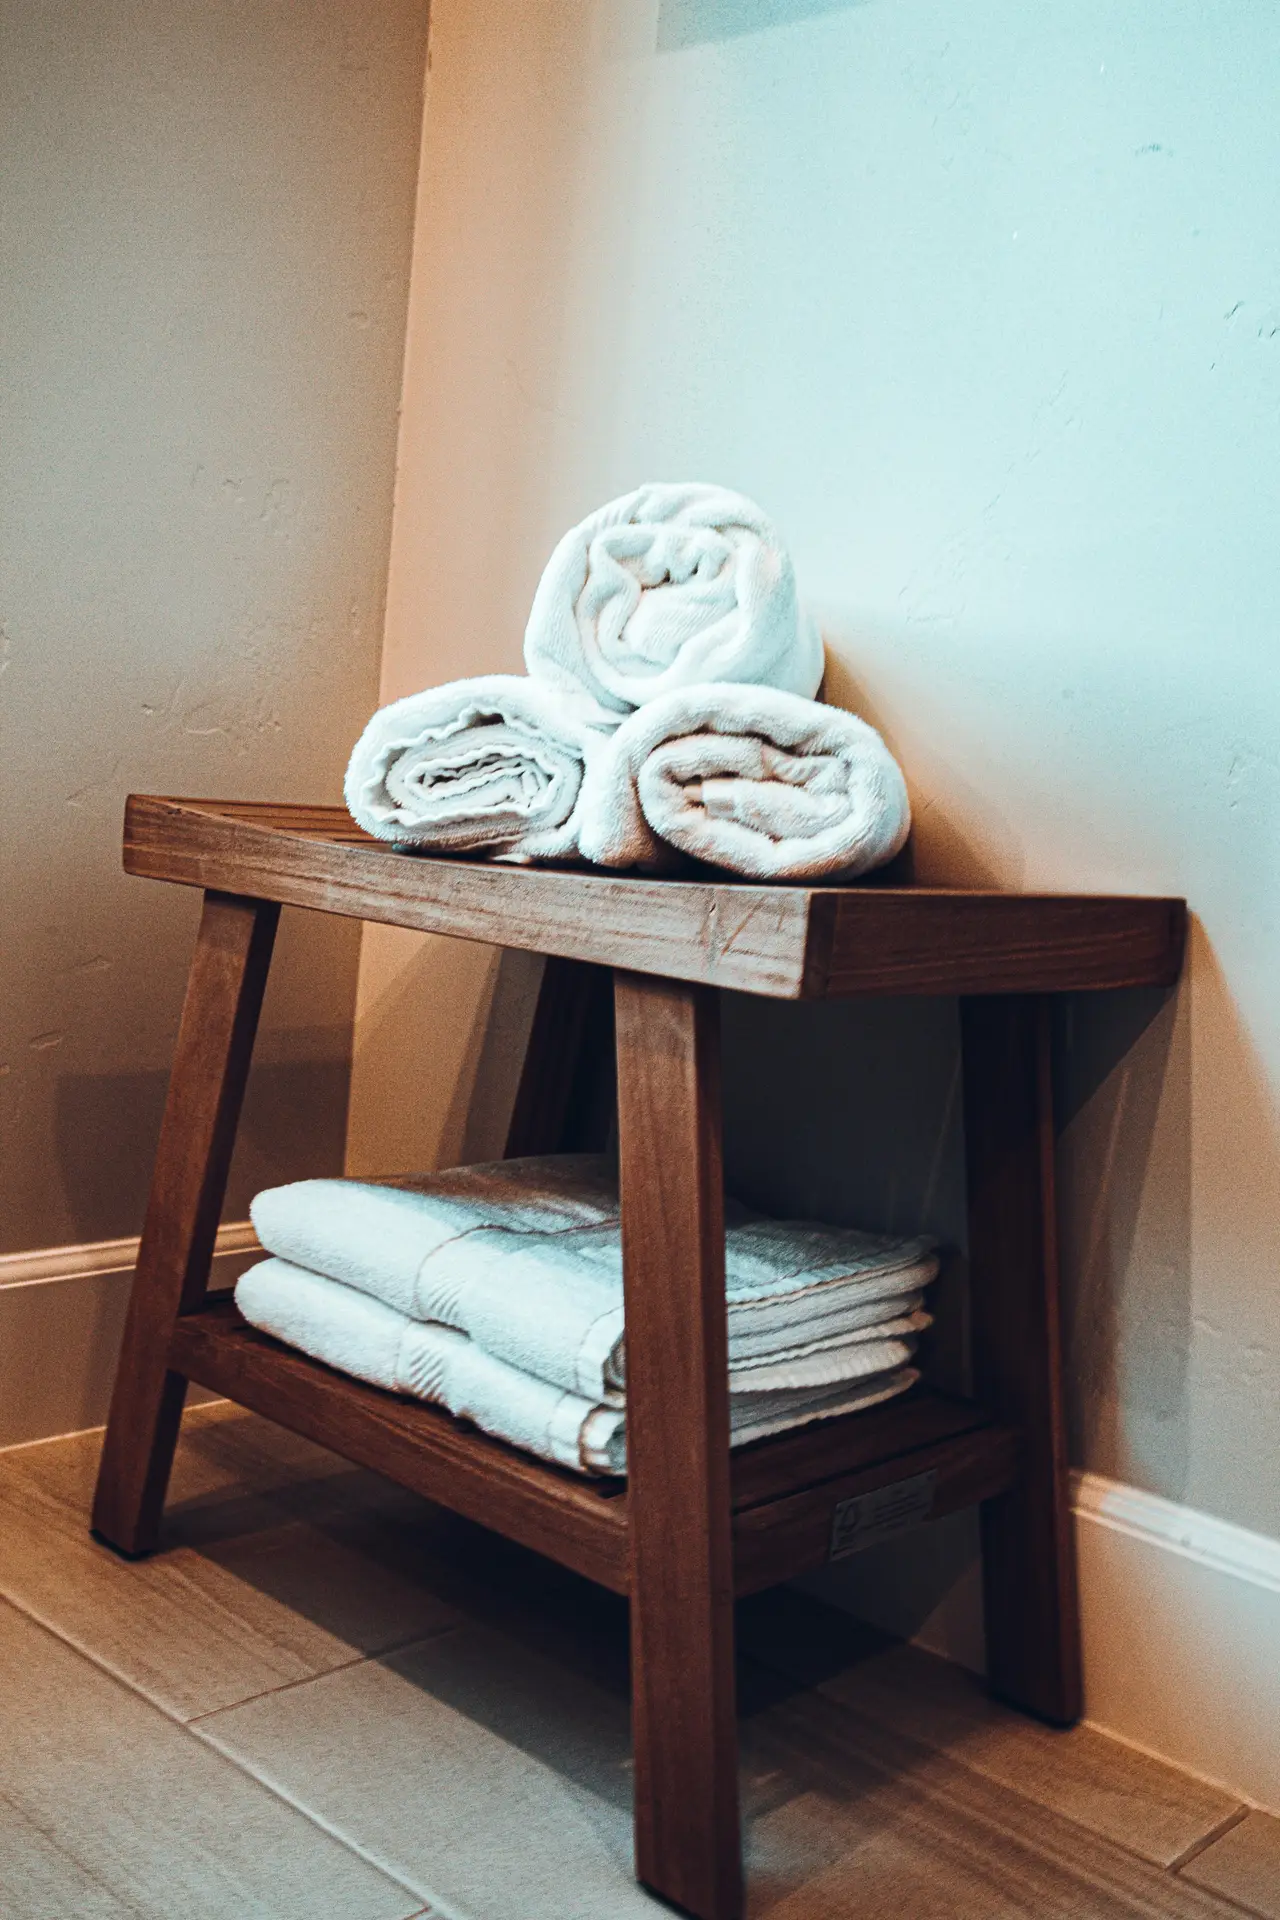
Smart Storage Space
Storage can completely change how a small bathroom functions.
The key is keeping it light and tucked away instead of bulky cabinets eating up space.
Every inch counts in a small bathroom.
Floating vanities or shelves, medicine cabinets with mirrors, built-in niches in the shower or over the toilet, all that uses vertical space without making the room feel crowded.
Inside those storage spots, use boxes, baskets, labels, whatever keeps things from becoming a jumbled mess.
And hooks beat towel bars for saving wall space. They’re more flexible too.
Small Bathroom Remodel Ideas
In the paragraphs above we’ve learnt that small bathrooms can be transformed with just a few thoughtful updates.
To inspire your next project, here are 17 small bathroom remodel ideas that balance function, convenience and design.
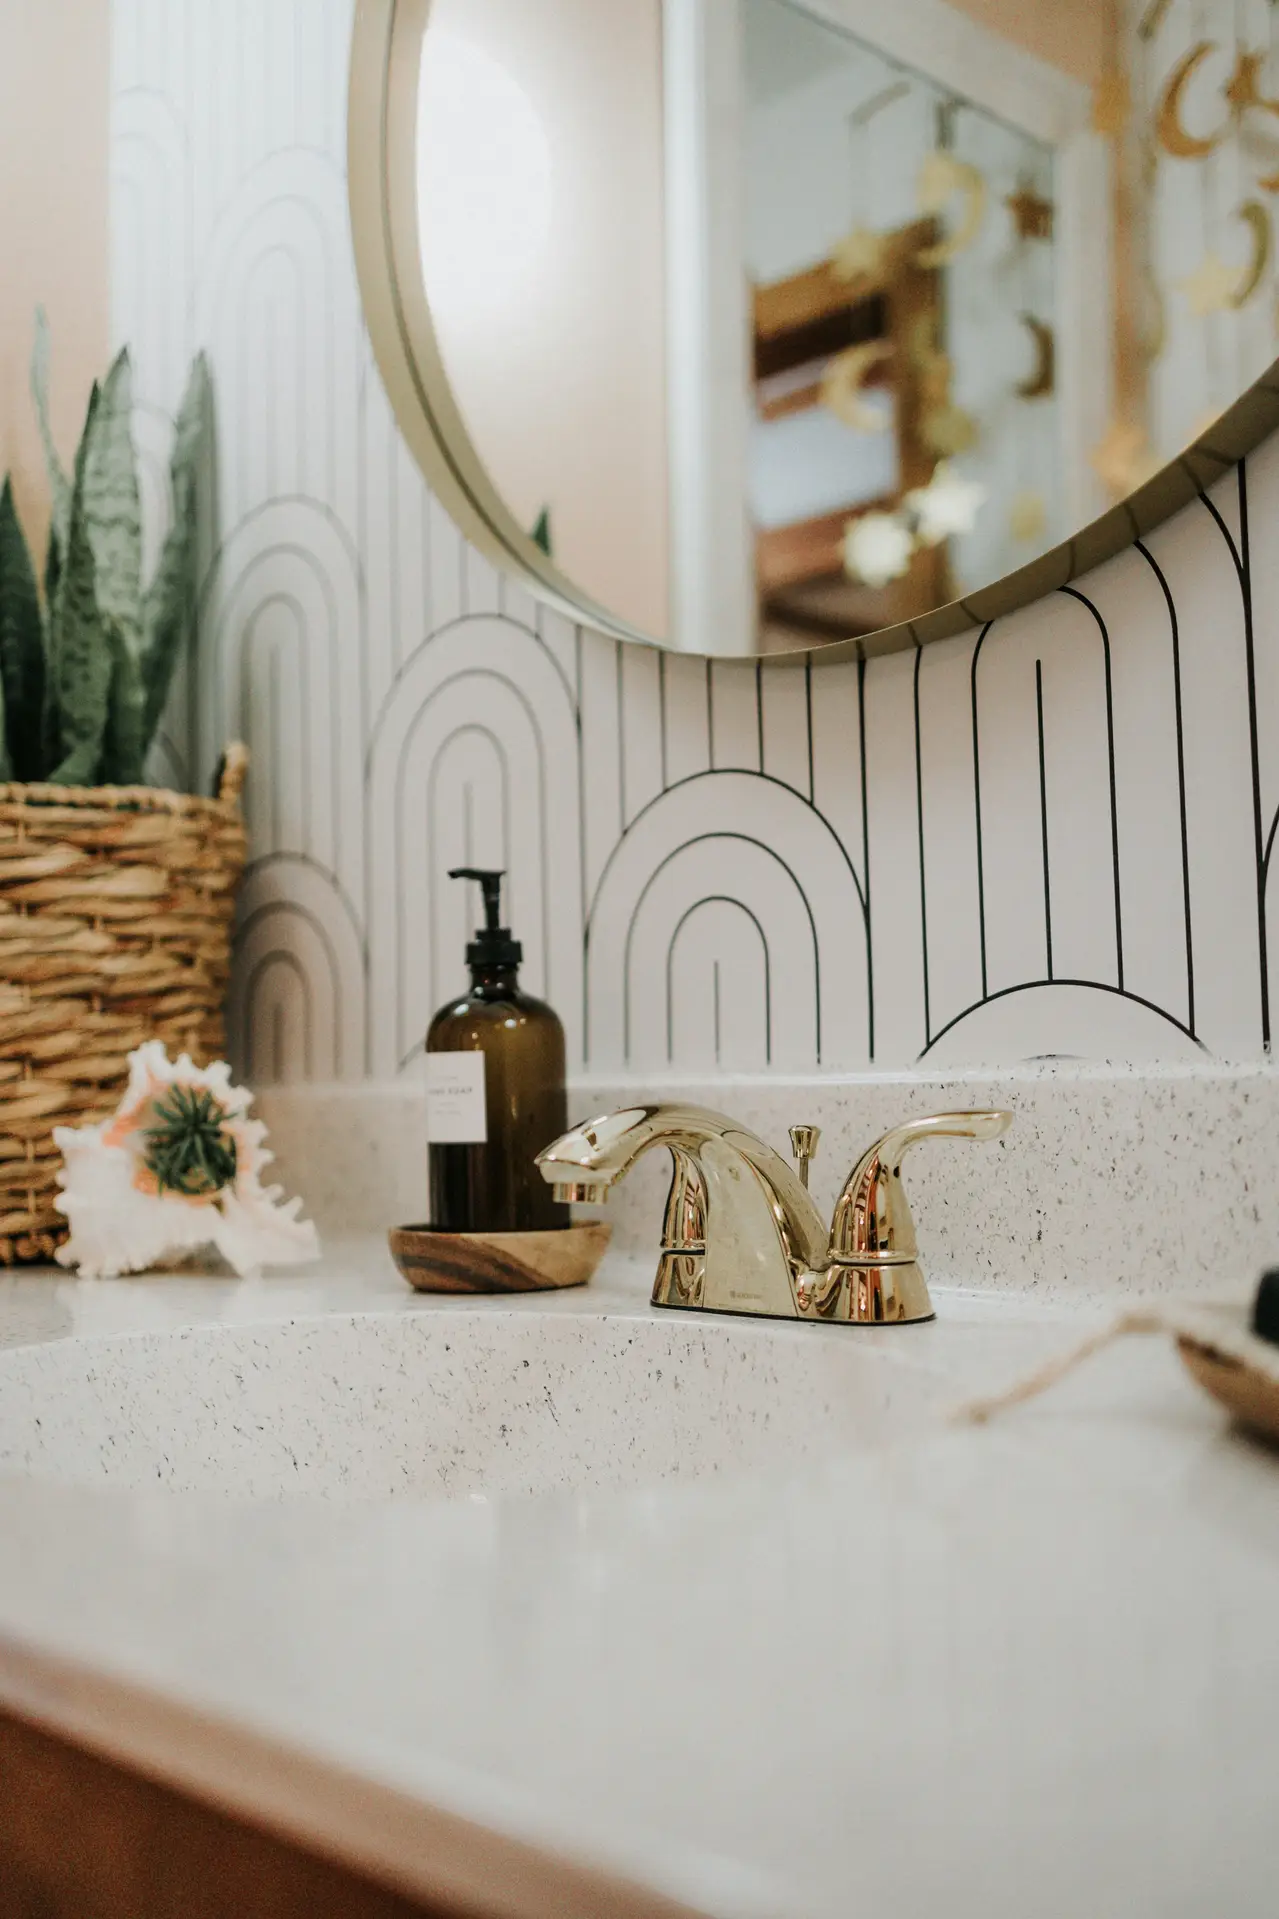
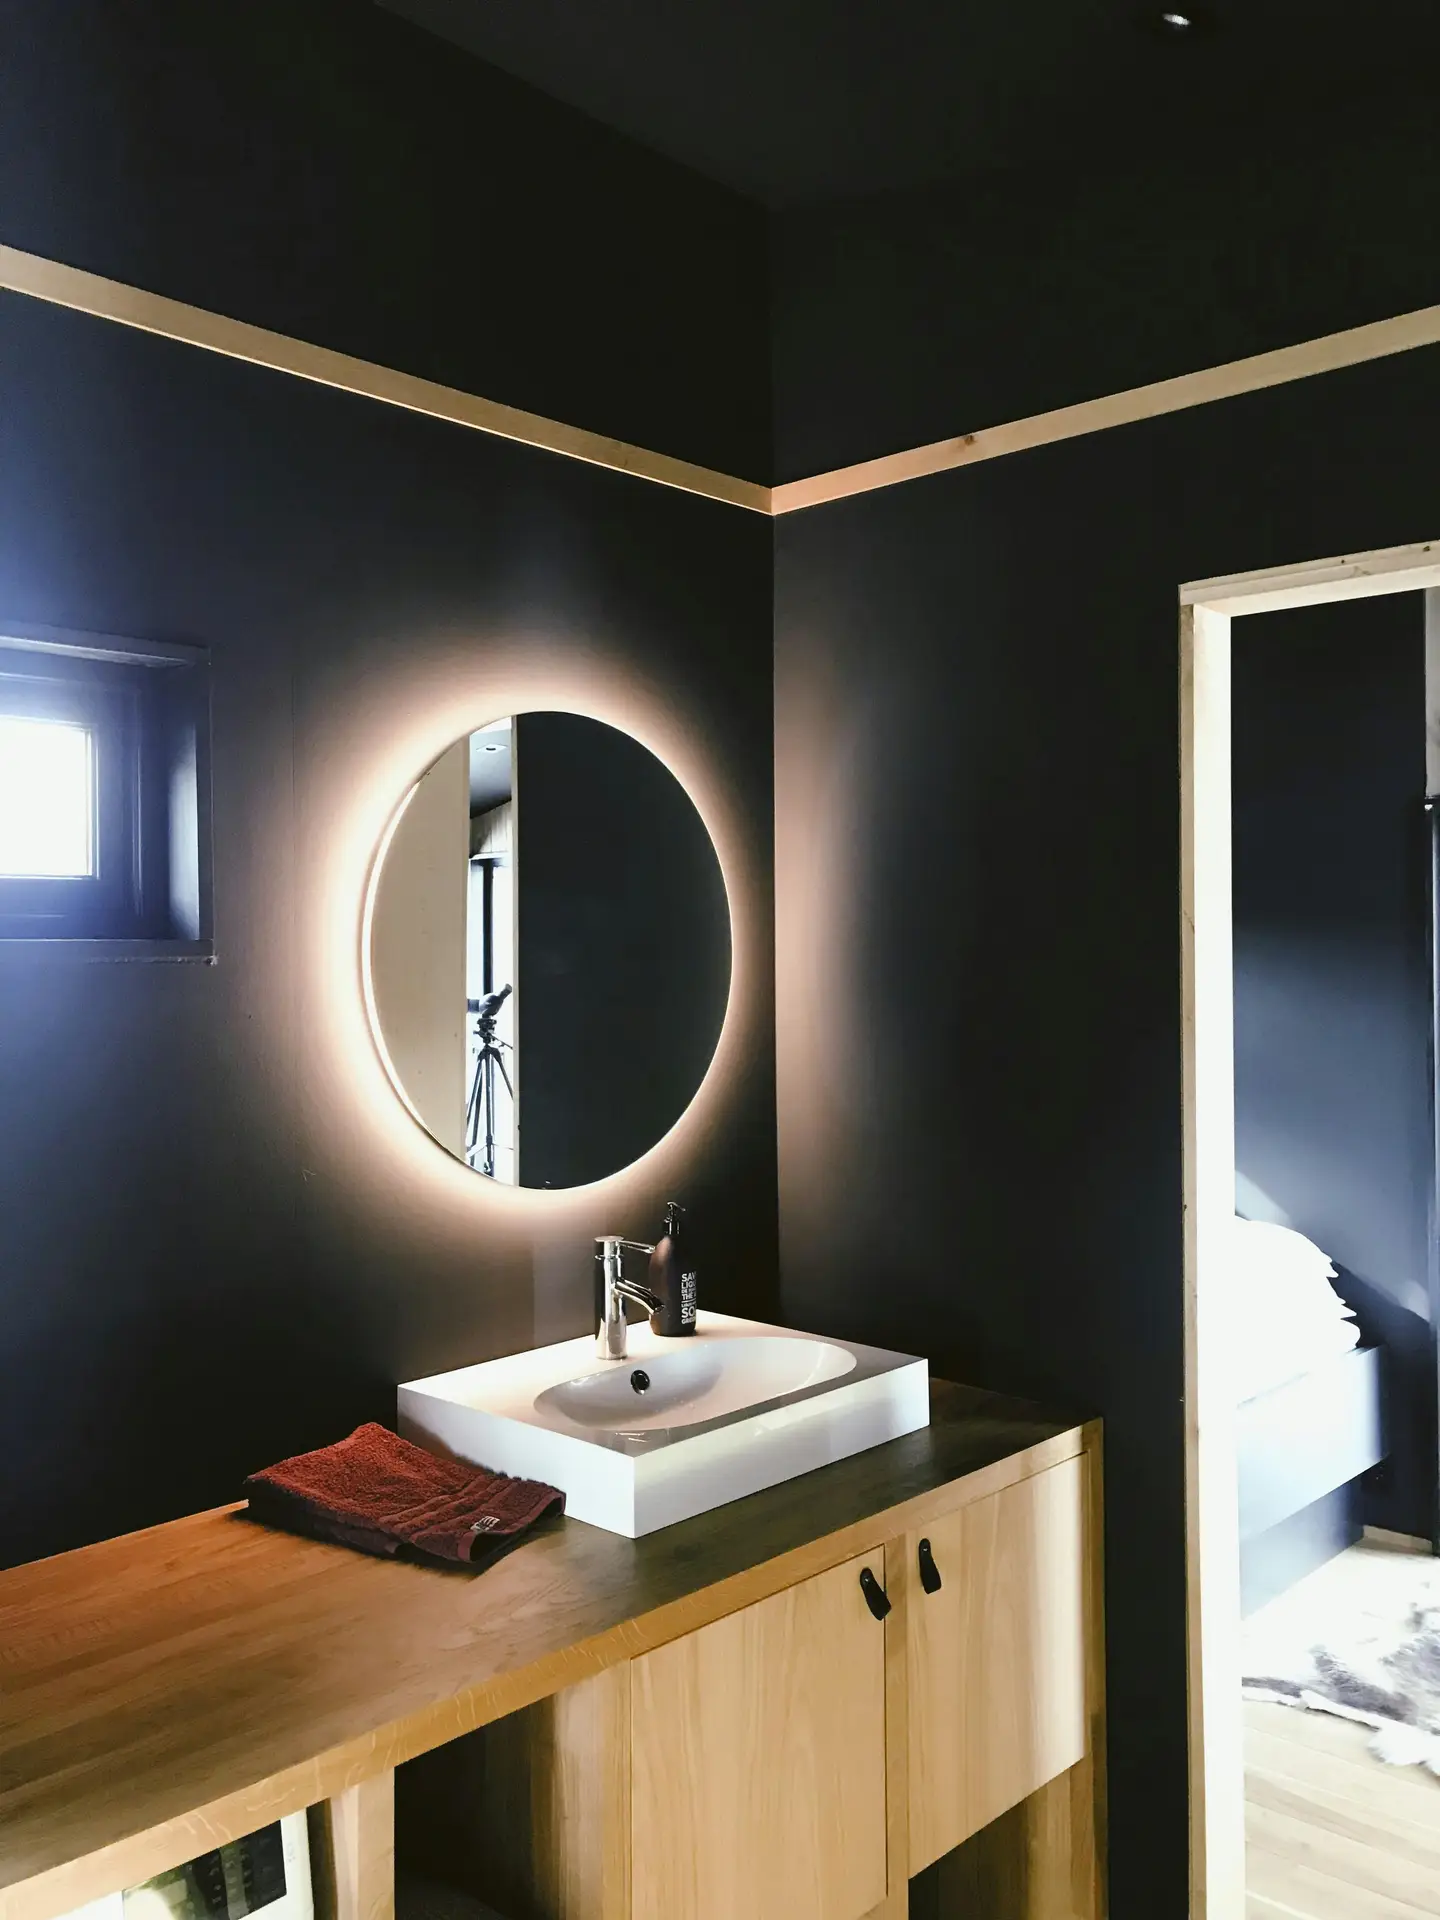
1. Wall-Mounted Vanities
 Save
Save Redoing your small bathroom? Seriously consider wall-mounted vanities.
They look like they’re floating, which opens up the whole room visually. It makes a bigger difference than you’d expect.
Keep the top of it simple, maybe a slim tray with soap and a plant and a good mirror above it. That’s really all you need.
Match your faucet and handles to the same metal finish. That pulls it together.
Then add a pop of color with a hand towel or small ceramic cup if you want.
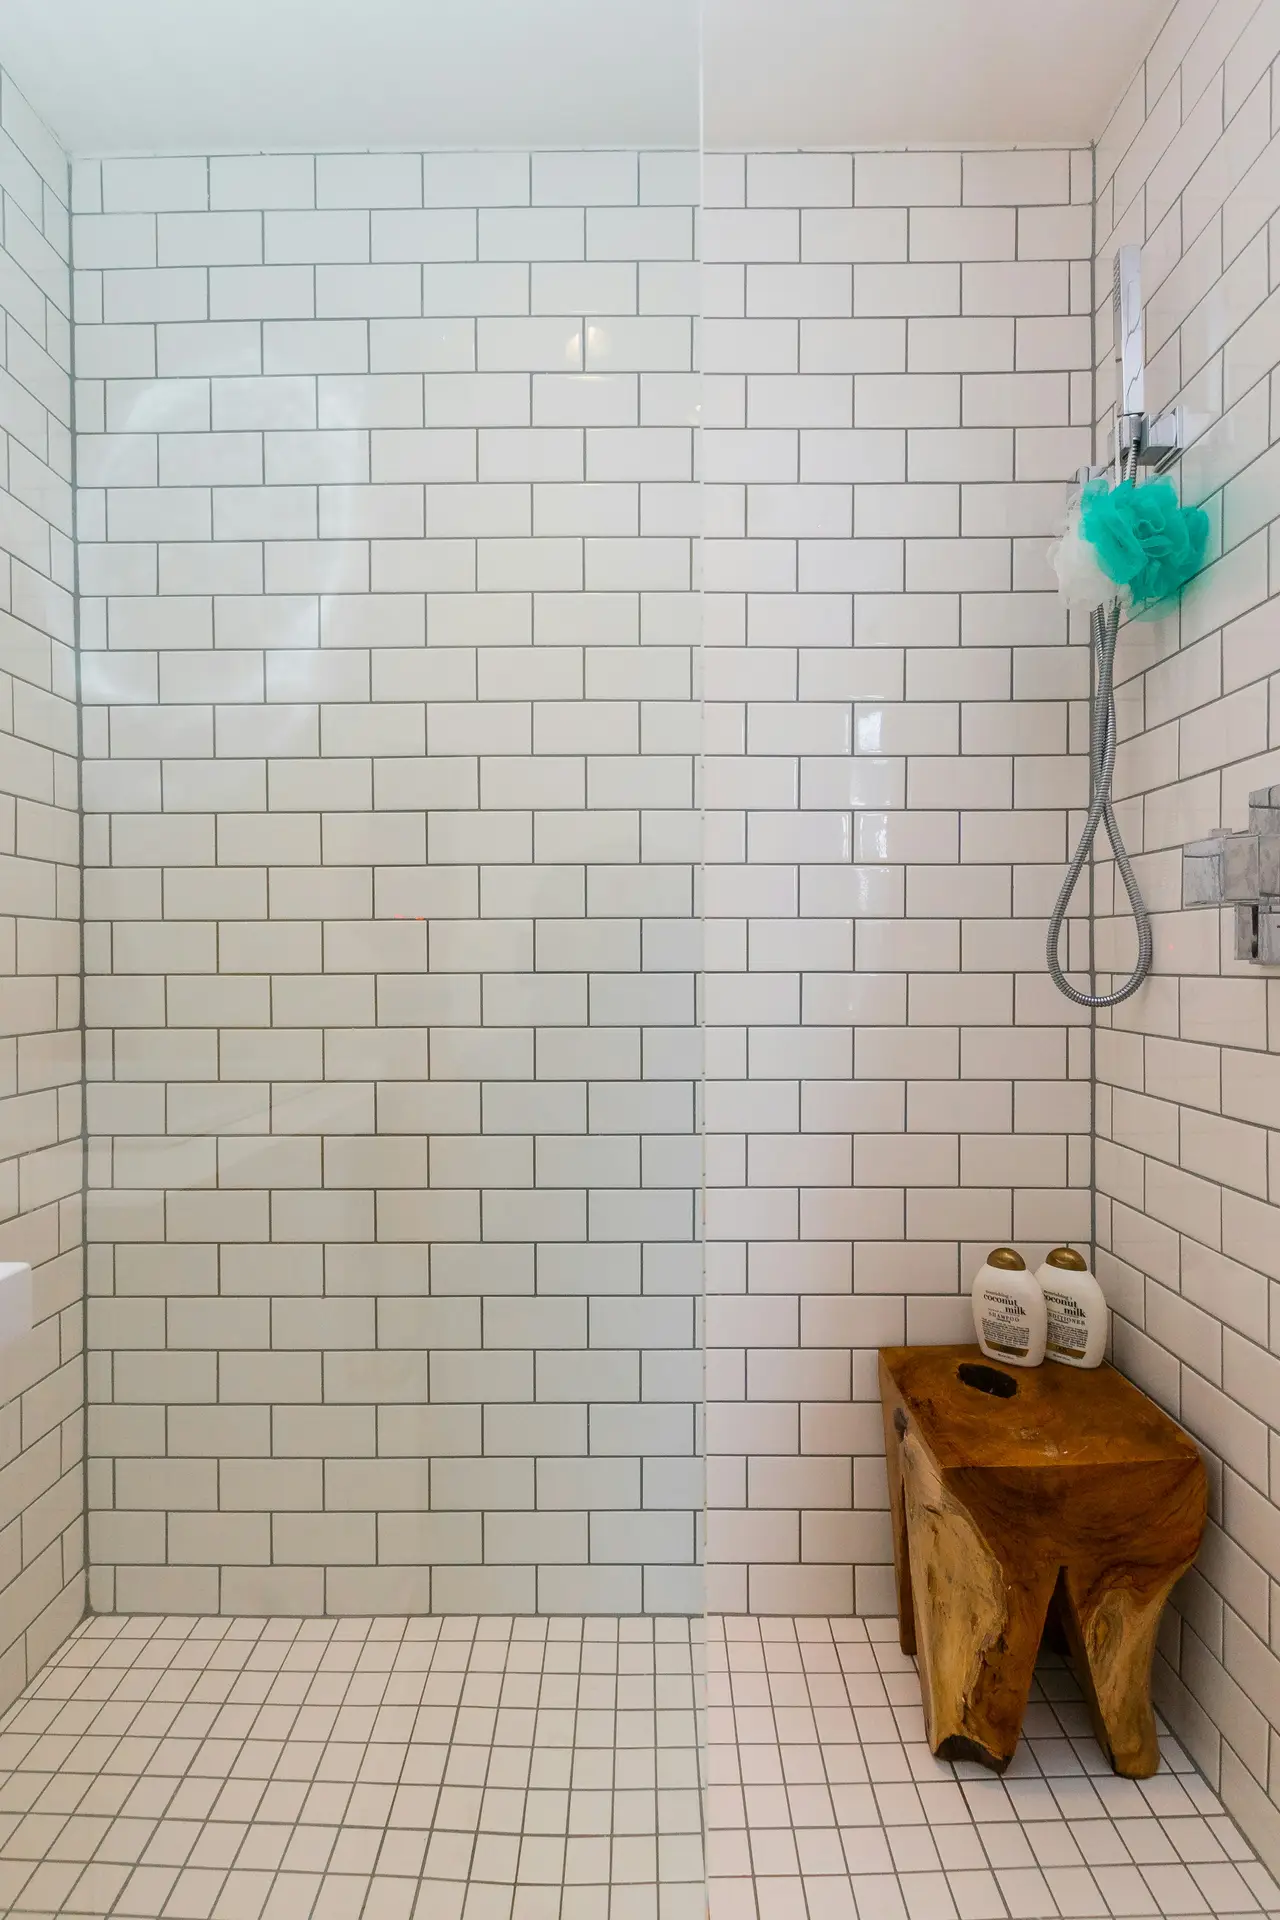
2. Decide For A Corner Shower
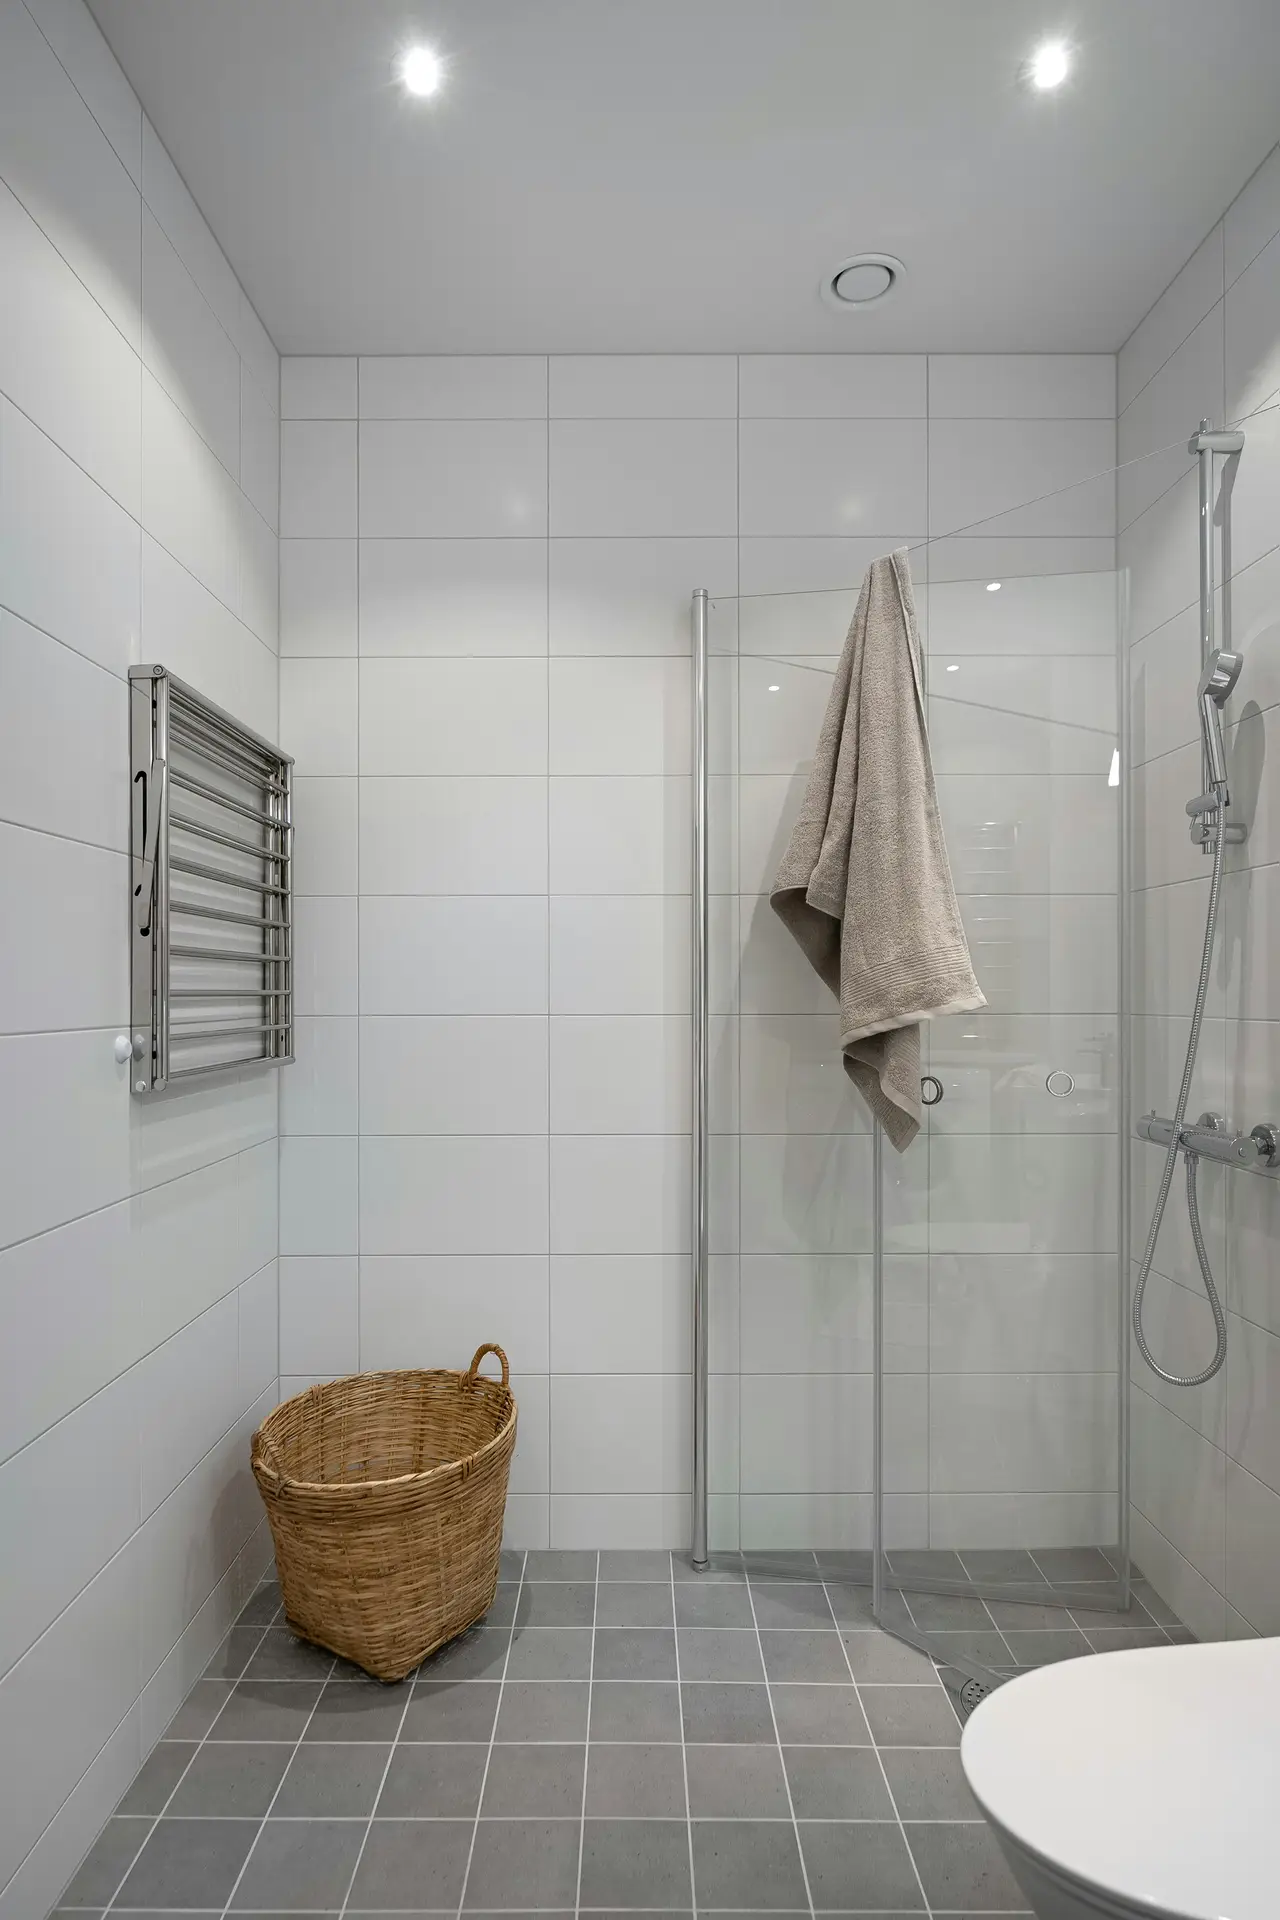 Save
Save Tucked neatly into a corner, a glass shower can open up surprising space.
It makes the room look lighter when you remodel your small bathroom.
Clear panels with minimal framing keep the design sleek and a patterned tile inside the shower adds visual interest and character.
By just adding a bamboo stool, a hanging eucalyptus bundle or even matte black fixtures, you can turn a simple corner shower into a stylish highlight in your small bathroom.
3. Use Light Colors
 Save
Save Bright colors in a small bathroom create this optical illusion where the space feels bigger than it is. It actually works.
Soft whites, pale grays, gentle pastels… They make even a cramped bathroom feel open and airy.
I recommend to layer different shades though or it’ll look flat. Clean wall color, warmer towels, textured rug, that depth is important.
Little touches keep it from feeling cold, you could use wooden soap dishes, woven baskets and brushed brass fixtures. They add warmth while still letting those light colors do their thing.
4. Install Floating Shelves
 Save
Save Need more storage in your tiny bathroom? Put up some floating shelves.
Fold some towels on one, put a plant or candle on another and don’t fill every inch.
I always recommend to leave space or it just looks messy.
Also mix your materials, like wood shelves with glass jars or ceramic stuff. This gives it some texture instead of looking one-note.
5. Tile Halfway Up & Damp-Proof Paint Above
 Save
Save Tile halfway up, paint the rest. A simple line that breaks things up in a good way.
The bottom half could get subway or hex tiles, they’re classic and easy to clean.
And the top half? Definitely a soft color, something light. This stops it from feeling like a cave.
Then put something up there above the tile line. A Picture, couple frames grouped together, a shelf with a plant on it, a mirror, whatever. Otherwise it’s just a blank wall doing nothing.
6. Joint Refresh & New Silicone
 Save
Save New grout and fresh silicone make such a difference. The bathroom looks instantly cleaner even if you didn’t change anything else.
Clean lines around the tub and sink just sharpen everything up.
You can go with darker grout if you want some contrast, it looks deliberate instead of trying to hide it.
Then soften it up a bit with a patterned rug, a plant, a candle on a tray or a basket for towels. This prevents it from feeling too clinical or cold.
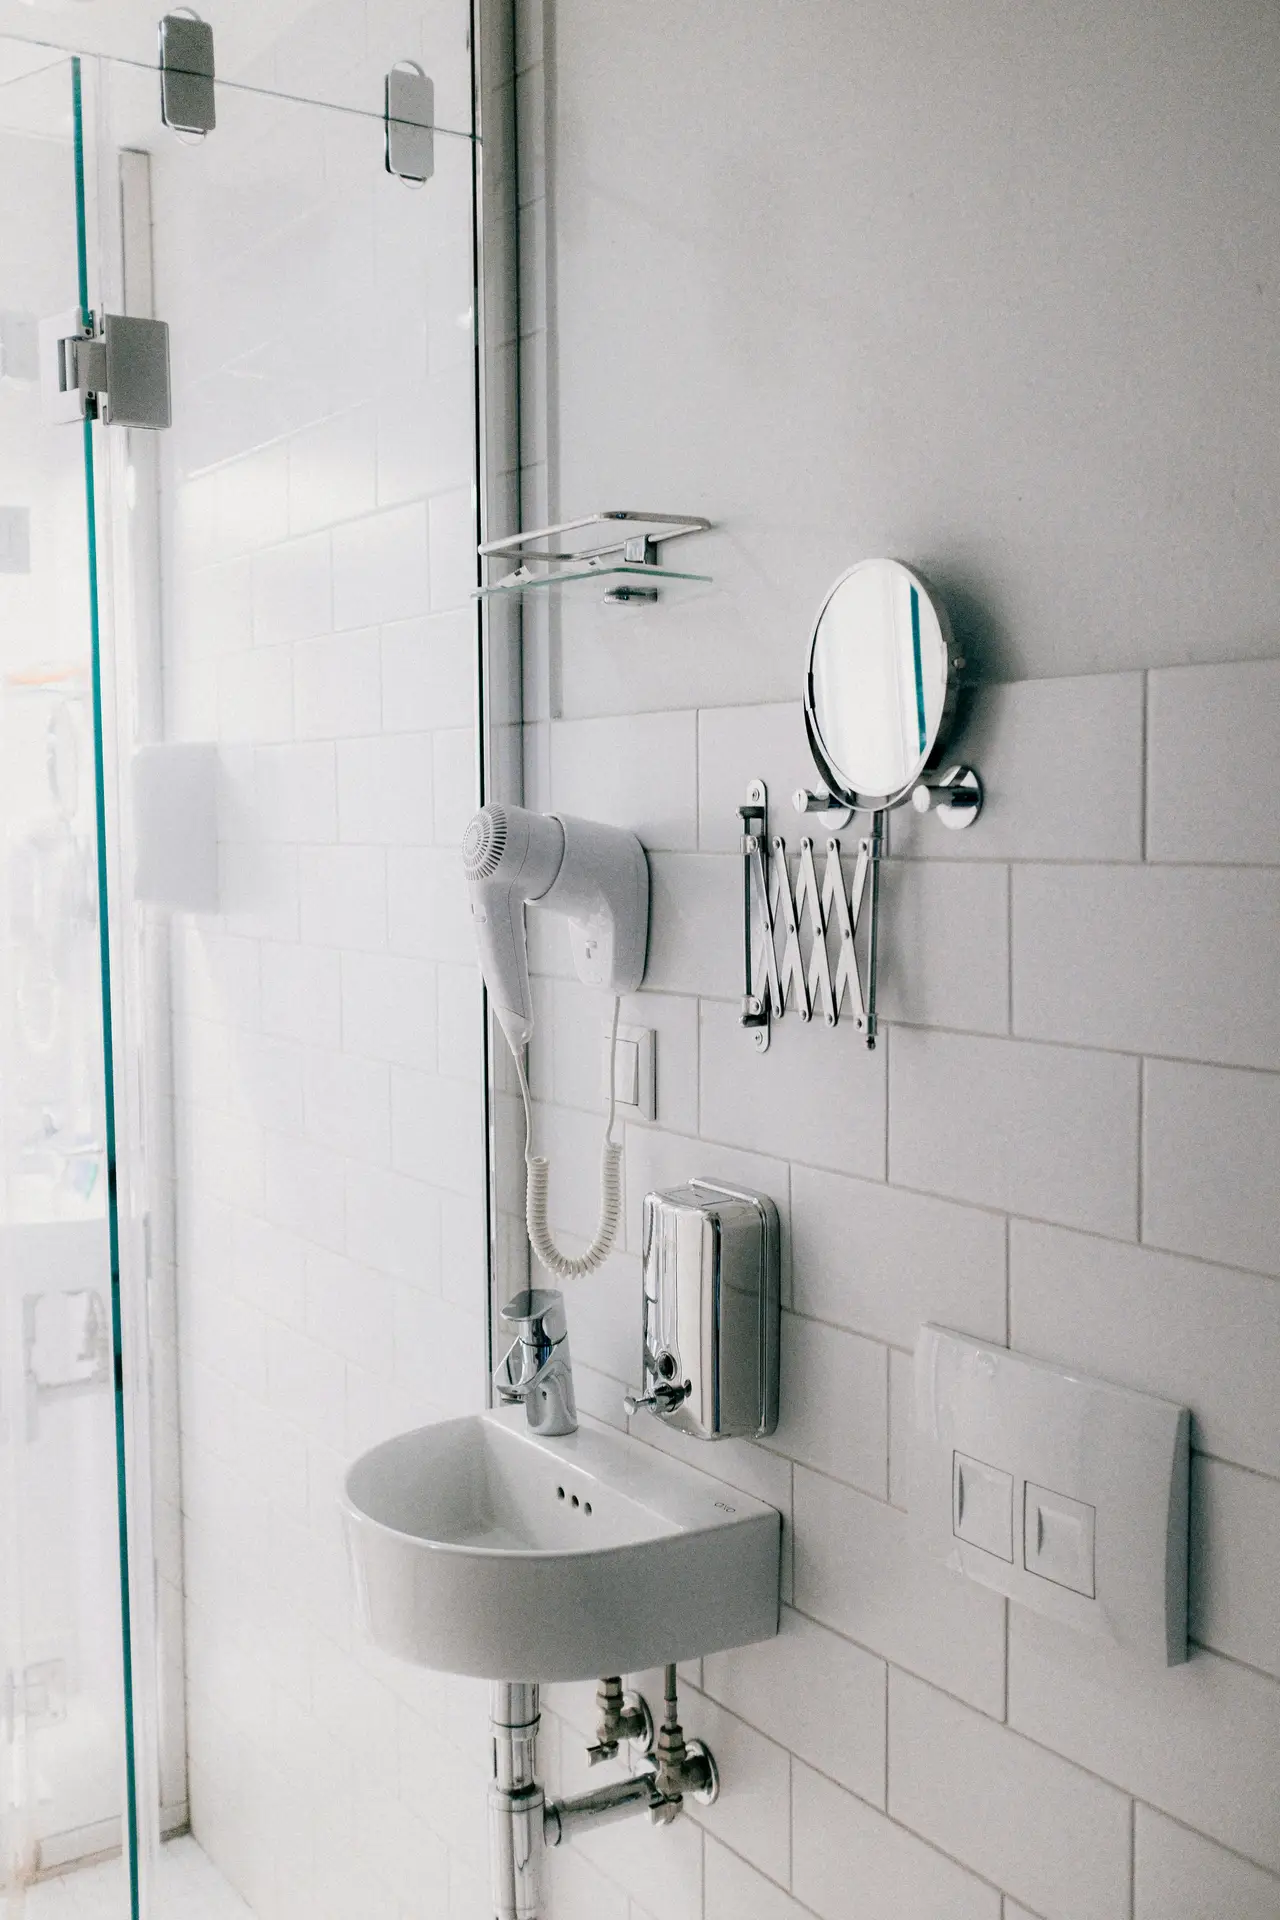
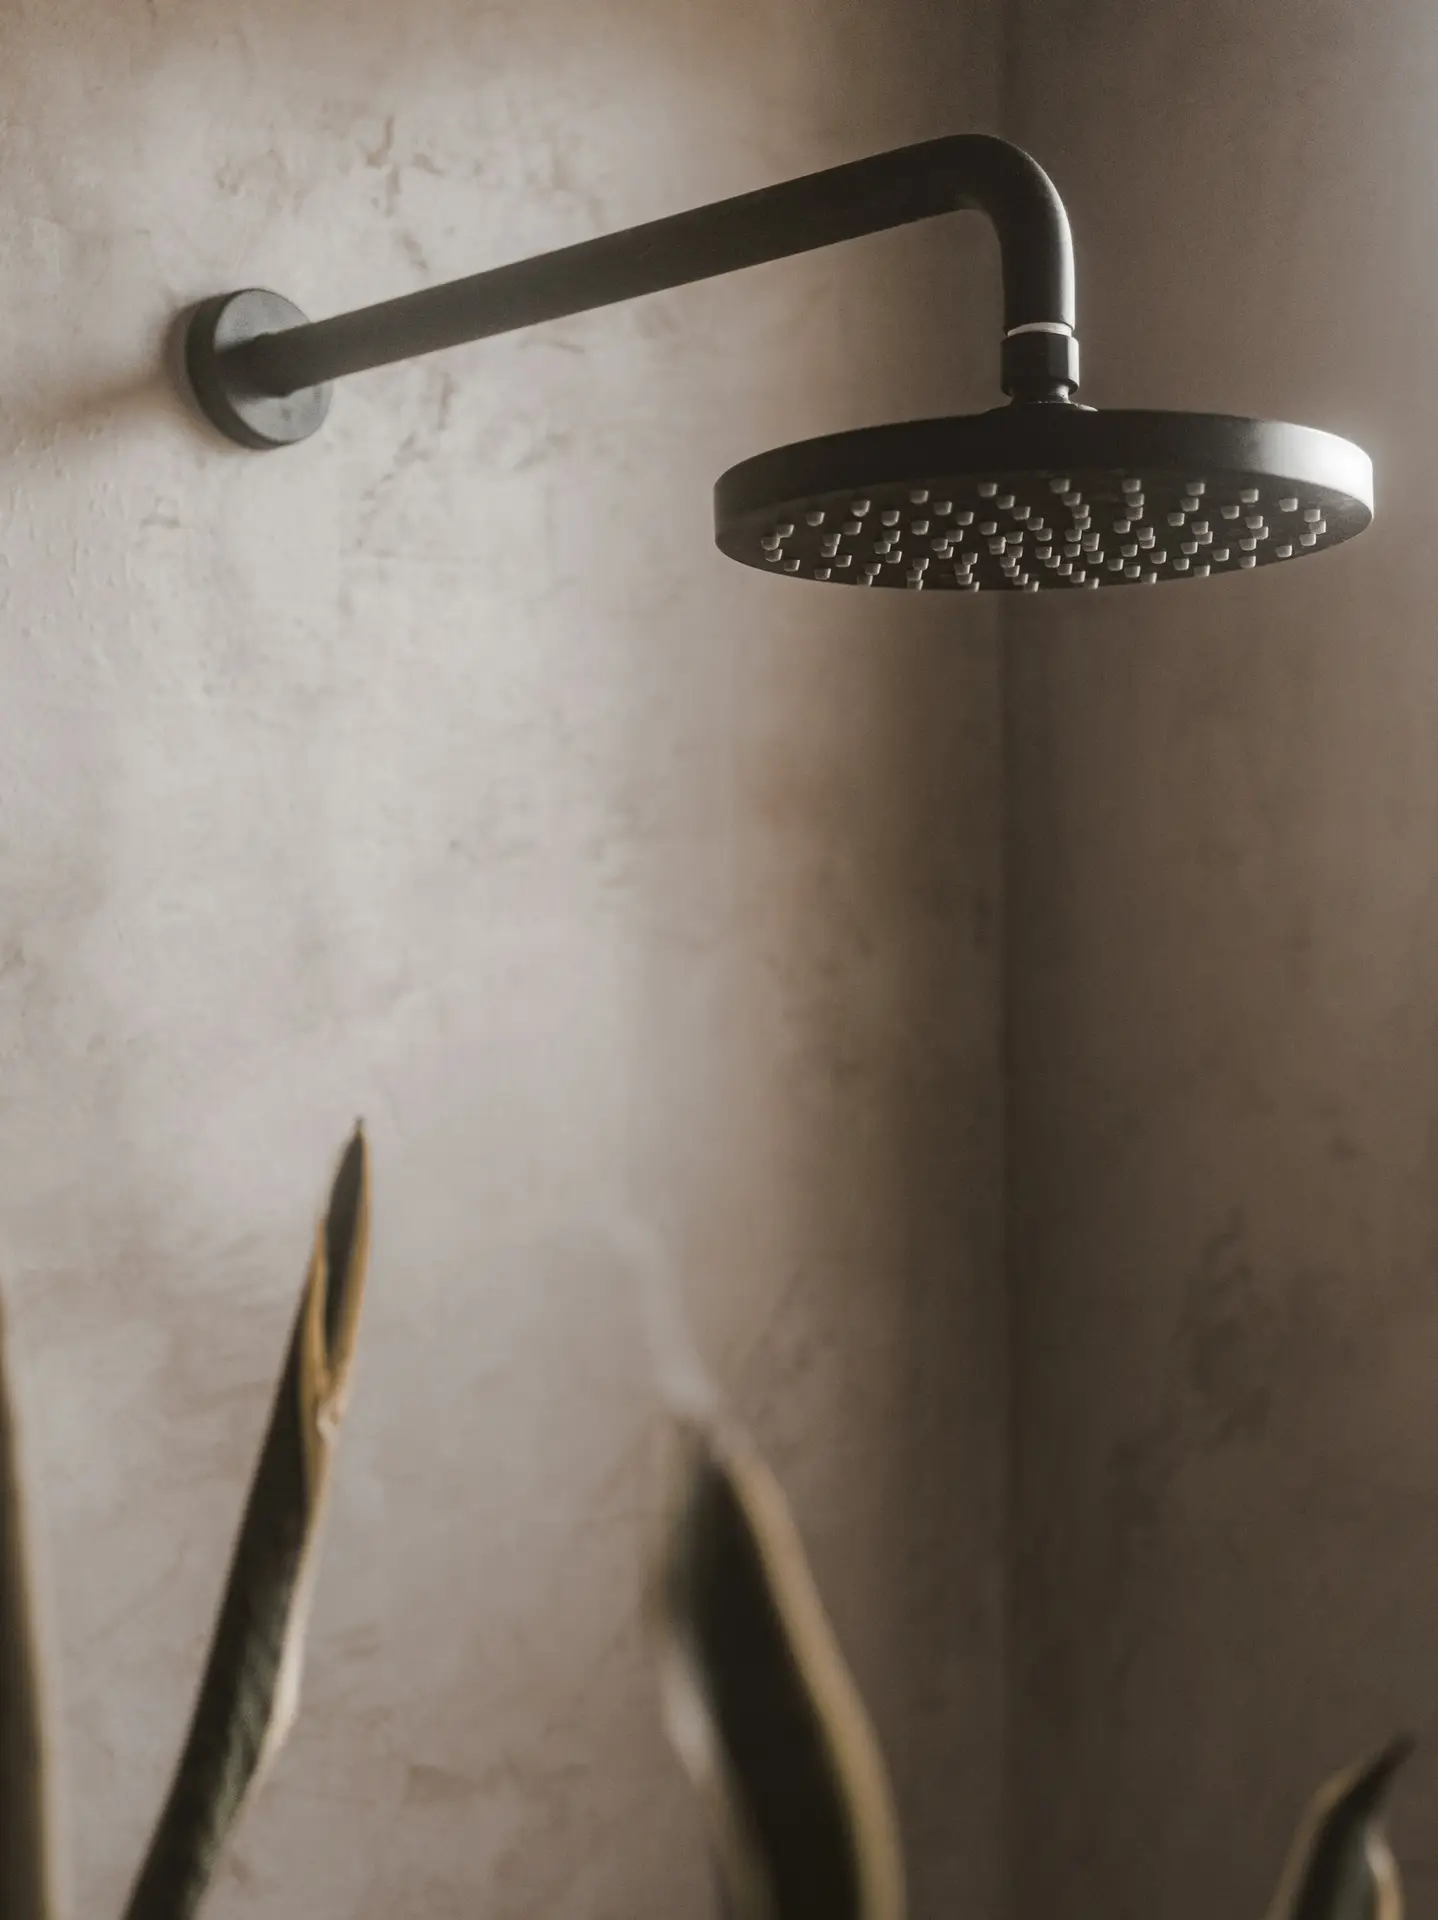
7. Replace The Fixtures For New Ones
 Save
Save Swap out your old faucets, showerhead, handles.
Small change, big difference.
Don’t have much money? This is where you get the most impact without spending a fortune.
Pick a finish like brass, matte black, chrome and use it everywhere. Mirror, hooks, towel bar, all of it. That consistency is what makes it look intentional.
Add a decent soap dispenser, maybe a plant, some new towels and suddenly those new fixtures actually pop instead of just blending in.
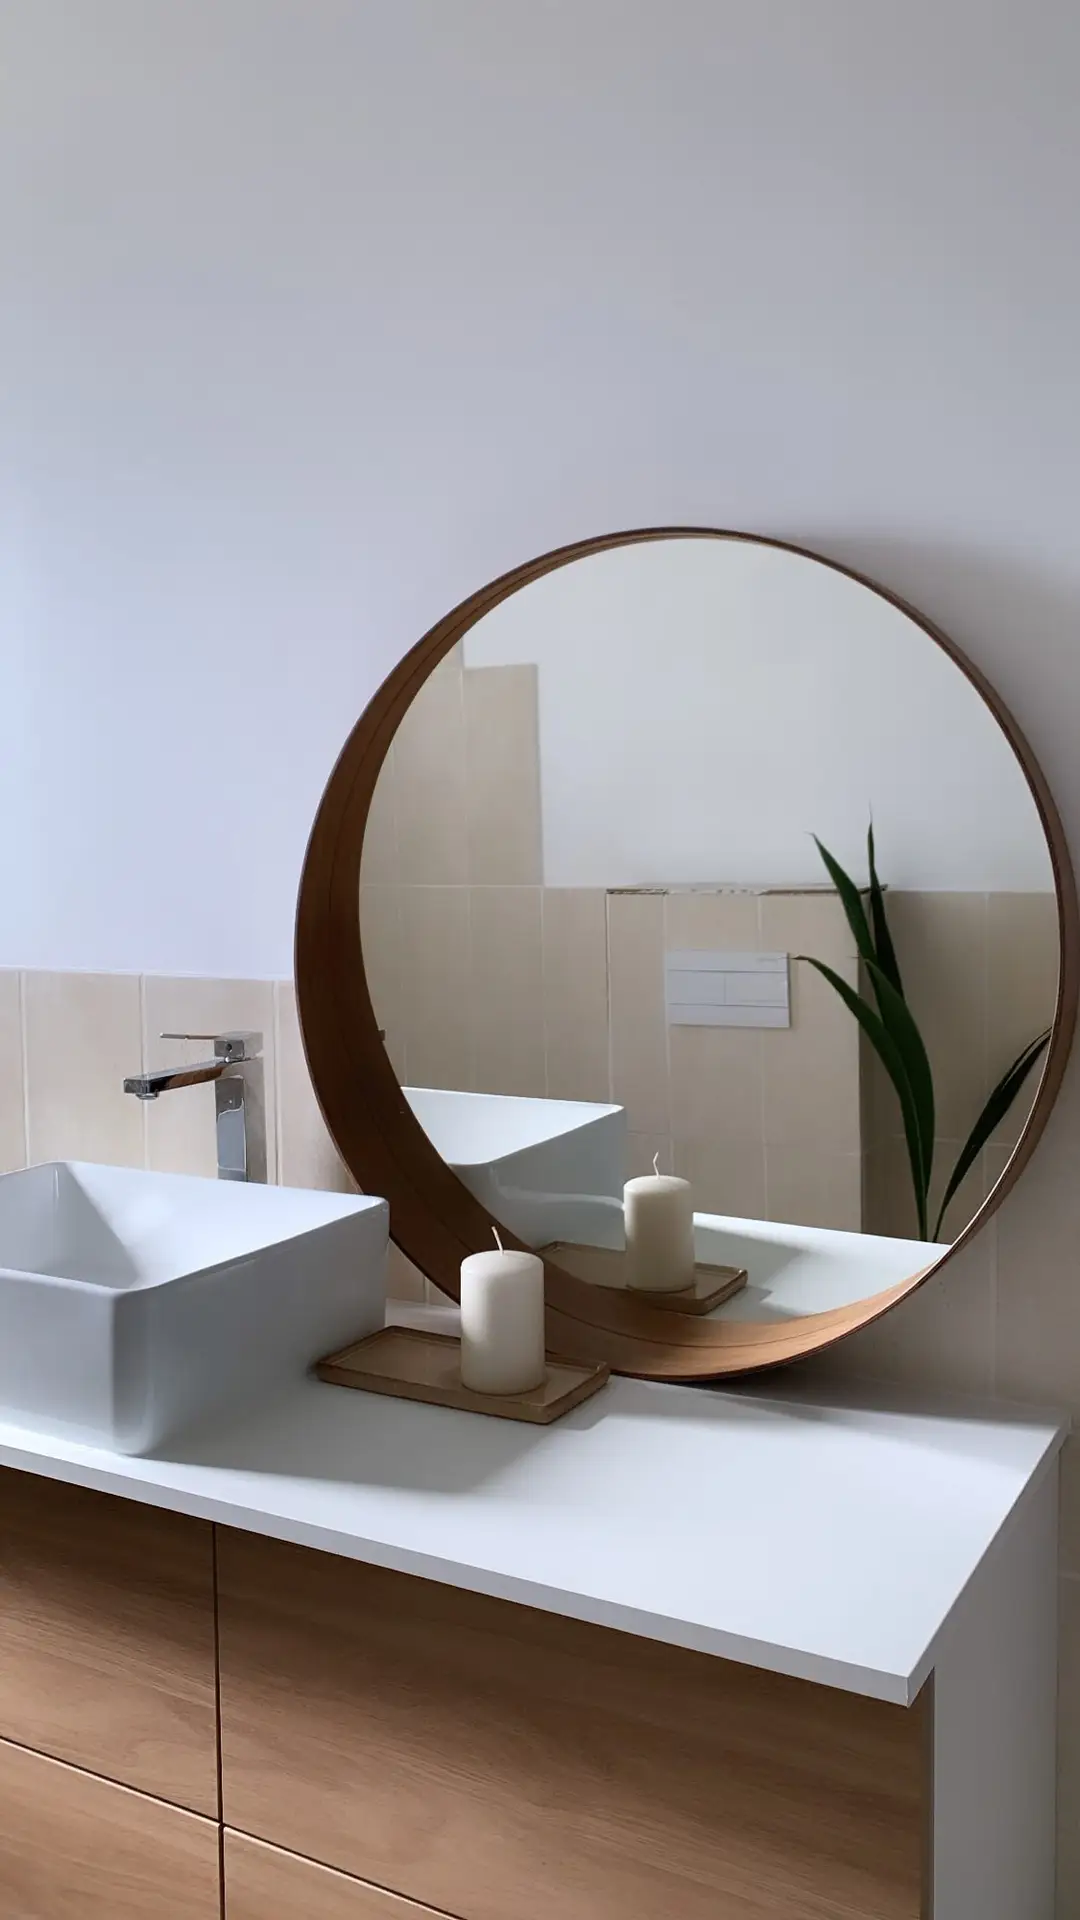
8. Slim Washbasin – Small Bathroom Remodel
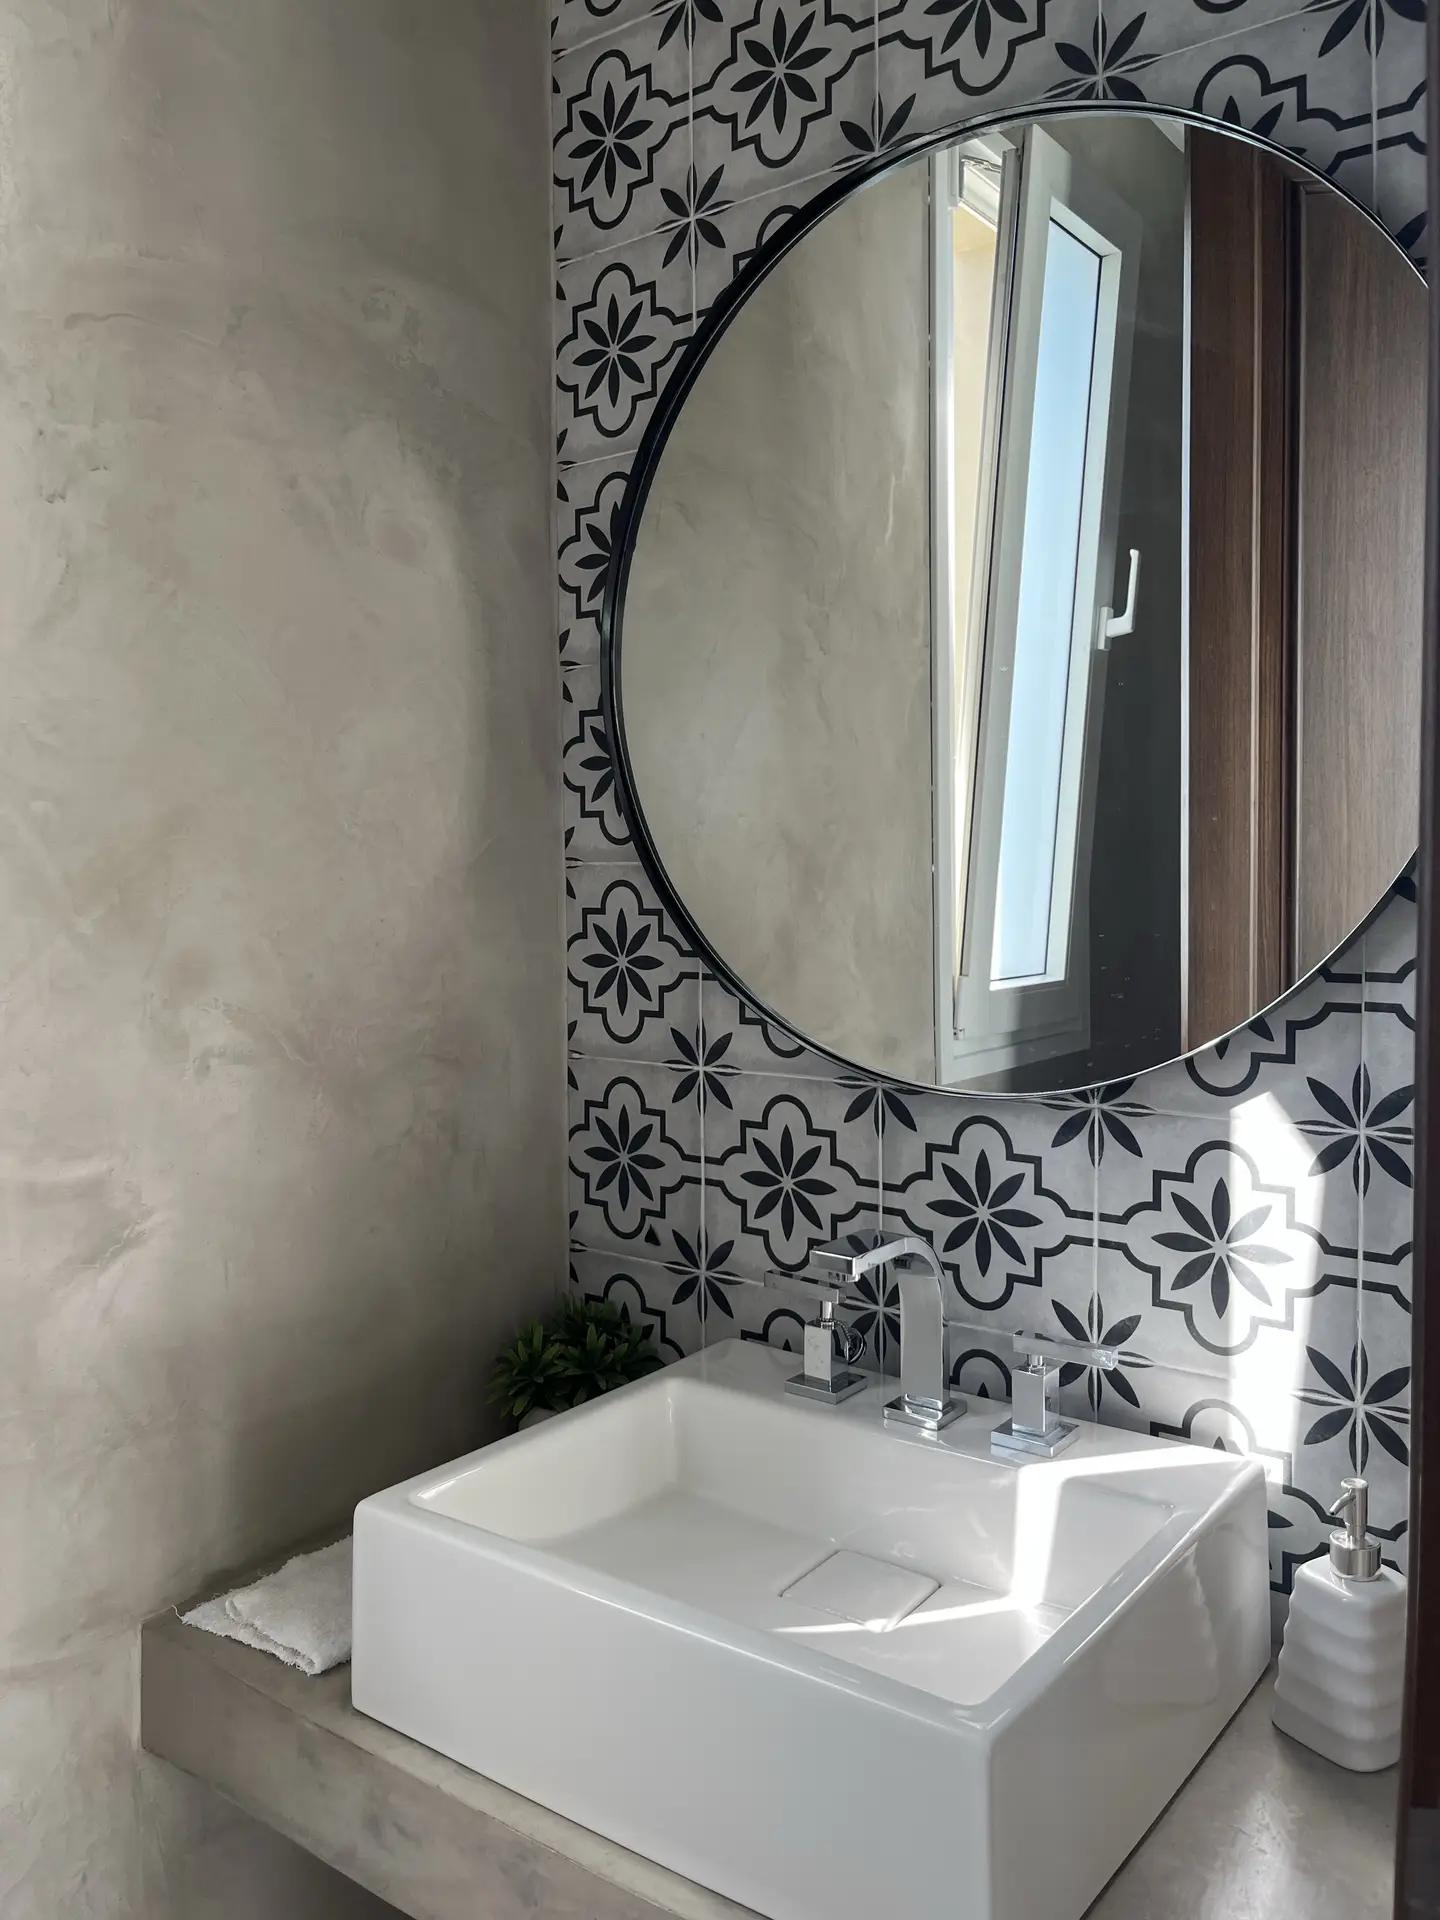 Save
Save Tucked neatly against the wall, a slim wash basin brings lightness to the room.
I recommend to combine it with a tall mirror above to support the visual openness.
When it comes to decorations, I would take a subtle approach on it. For example, just add a small ceramic soap dish.
That can be enough to turn this compact piece into a stylish little focal point.
9. Hook System Instead Of Wide Bar
 Save
Save Skip the long towel bar. Get a row of small hooks instead, they almost look decorative lined up like that.
And they’re way more practical too. Towels, robes, each thing gets its own spot instead of piling on top of each other. It’s easier to grab what you need.
I recommend to match them to your other fixtures so it all flows.
Then hang some nice towels with patterns or even a plant if you can.
Suddenly your hooks are part of the design instead of just utilitarian.
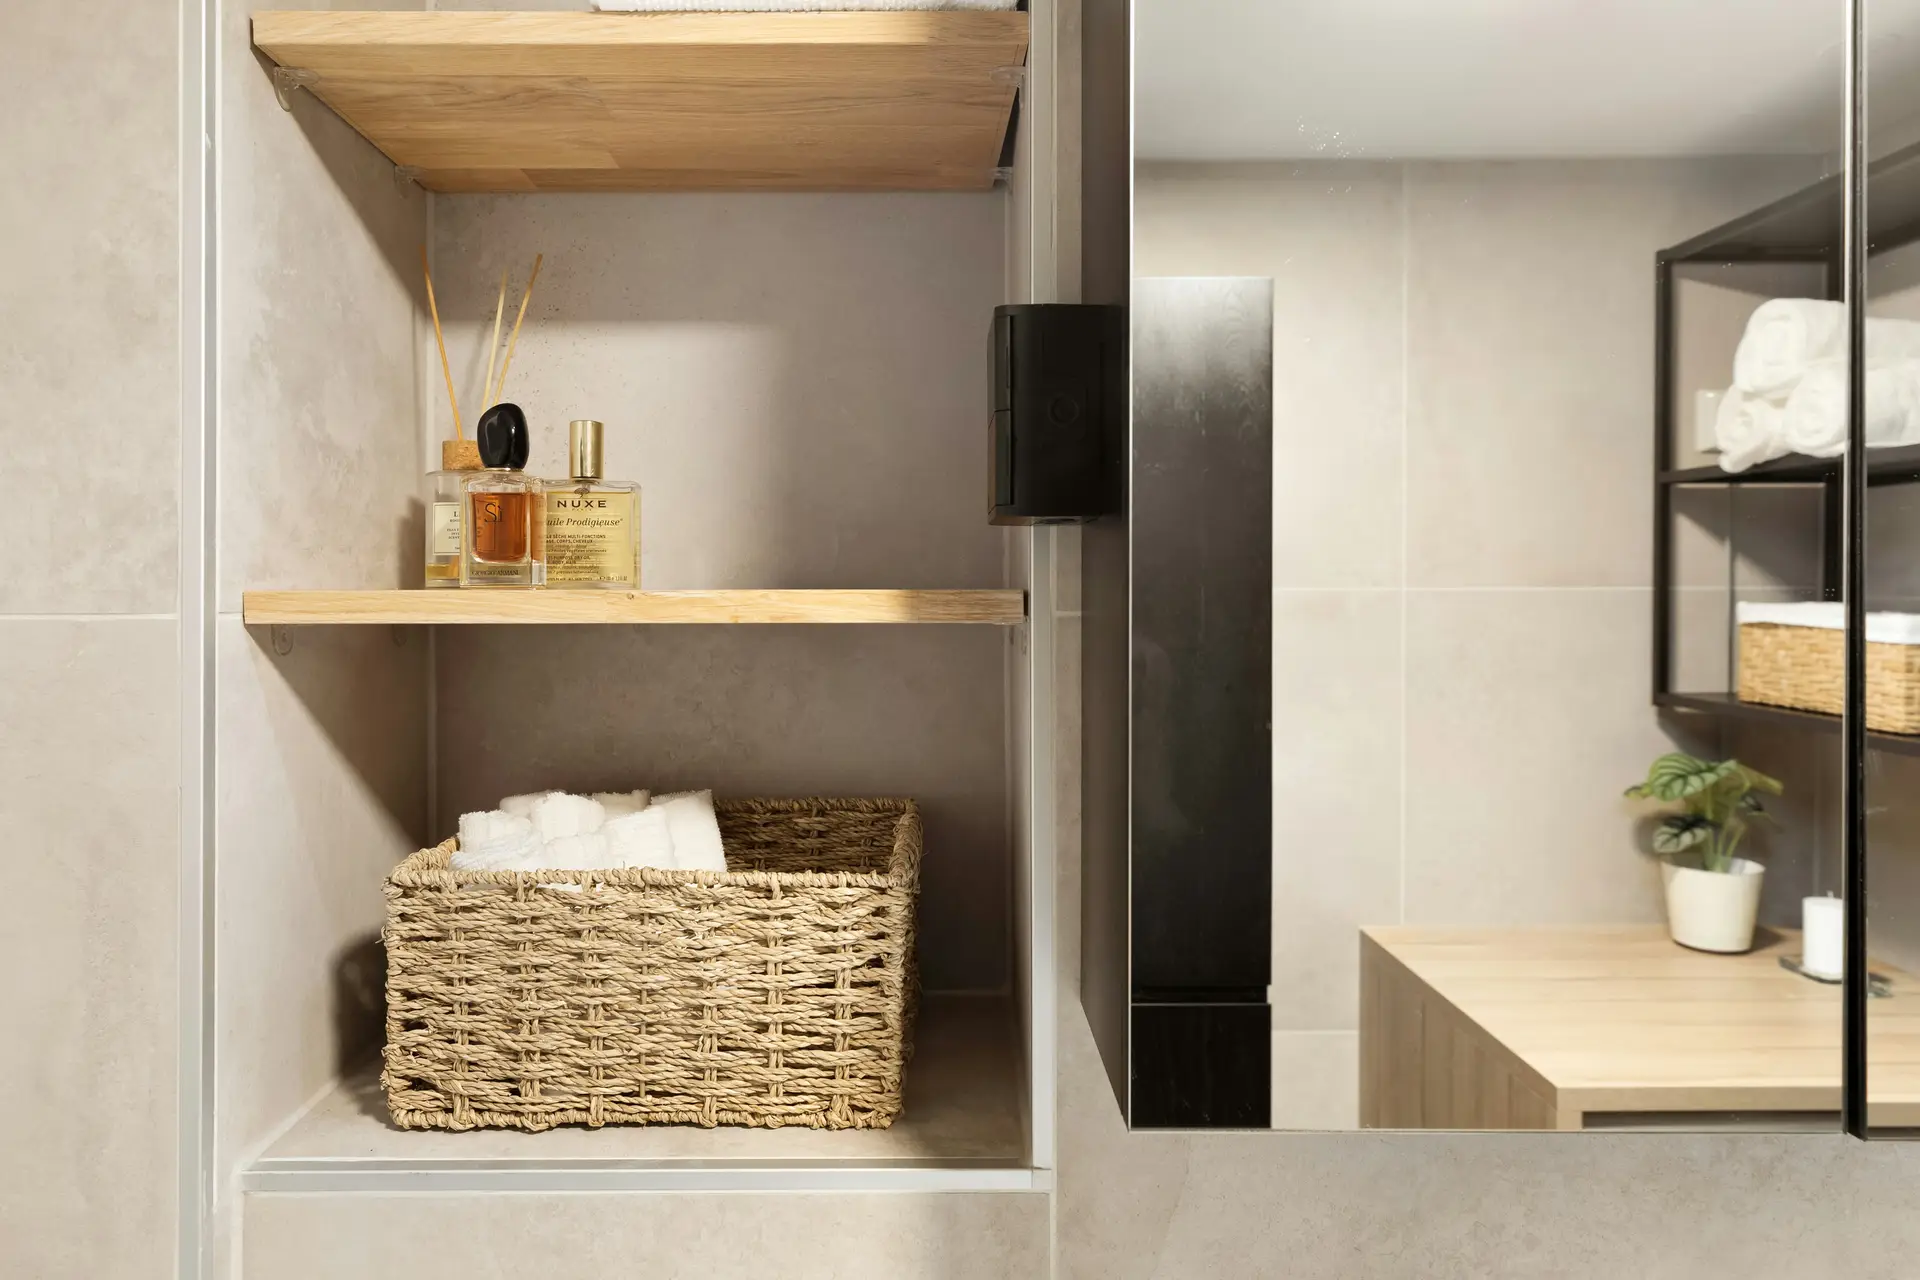
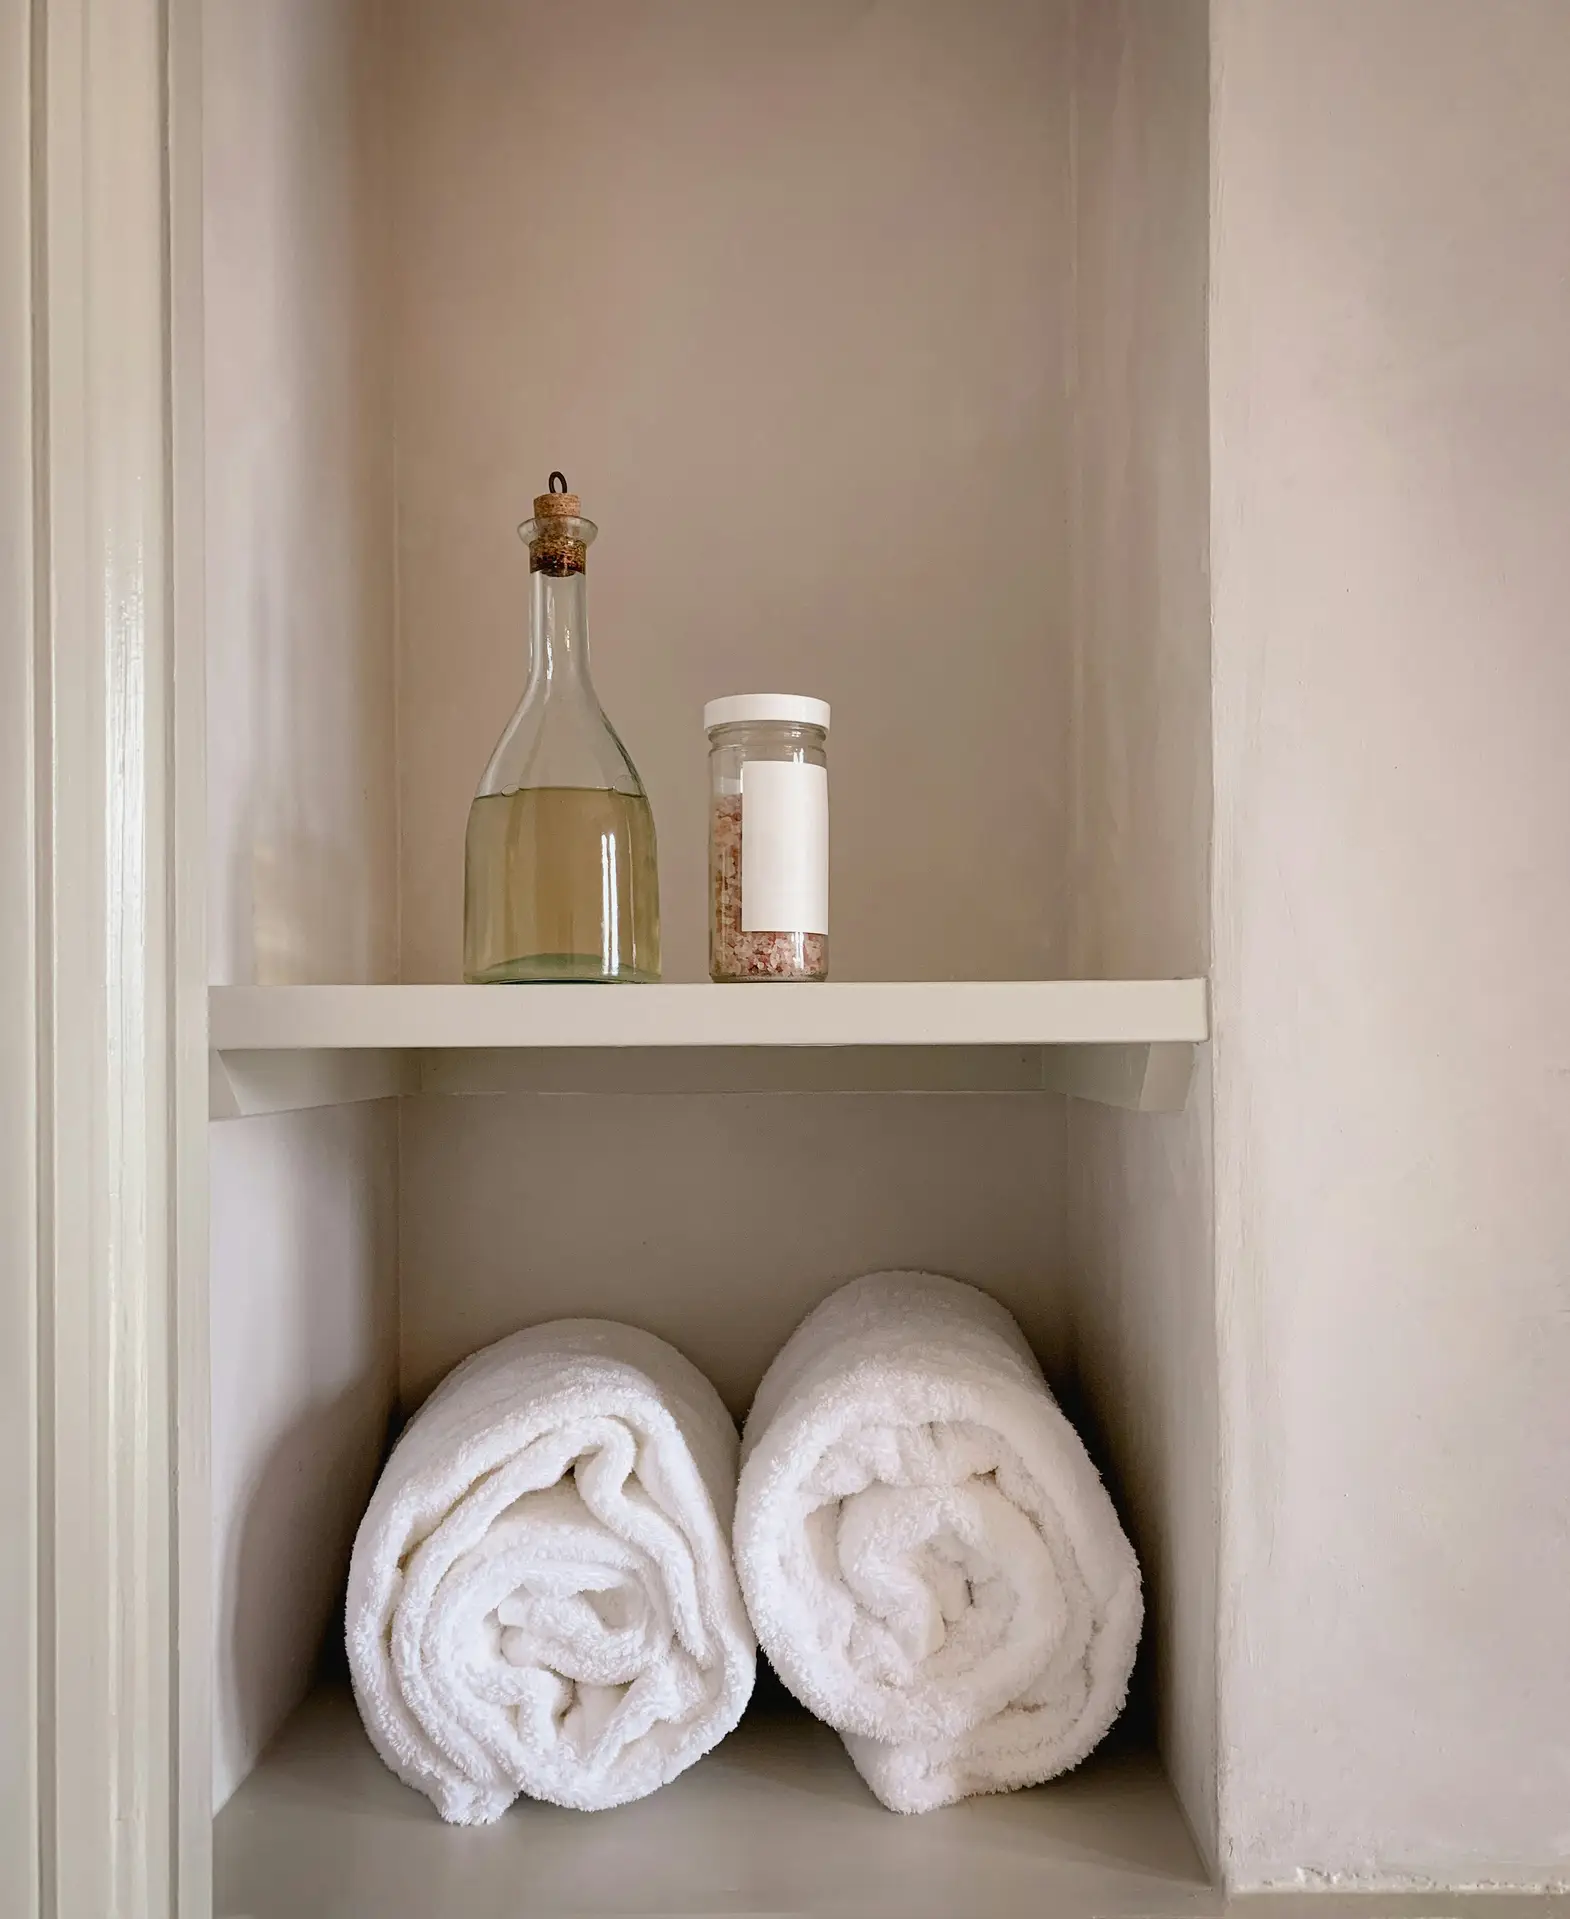
10. Niche Shelf In The Shower
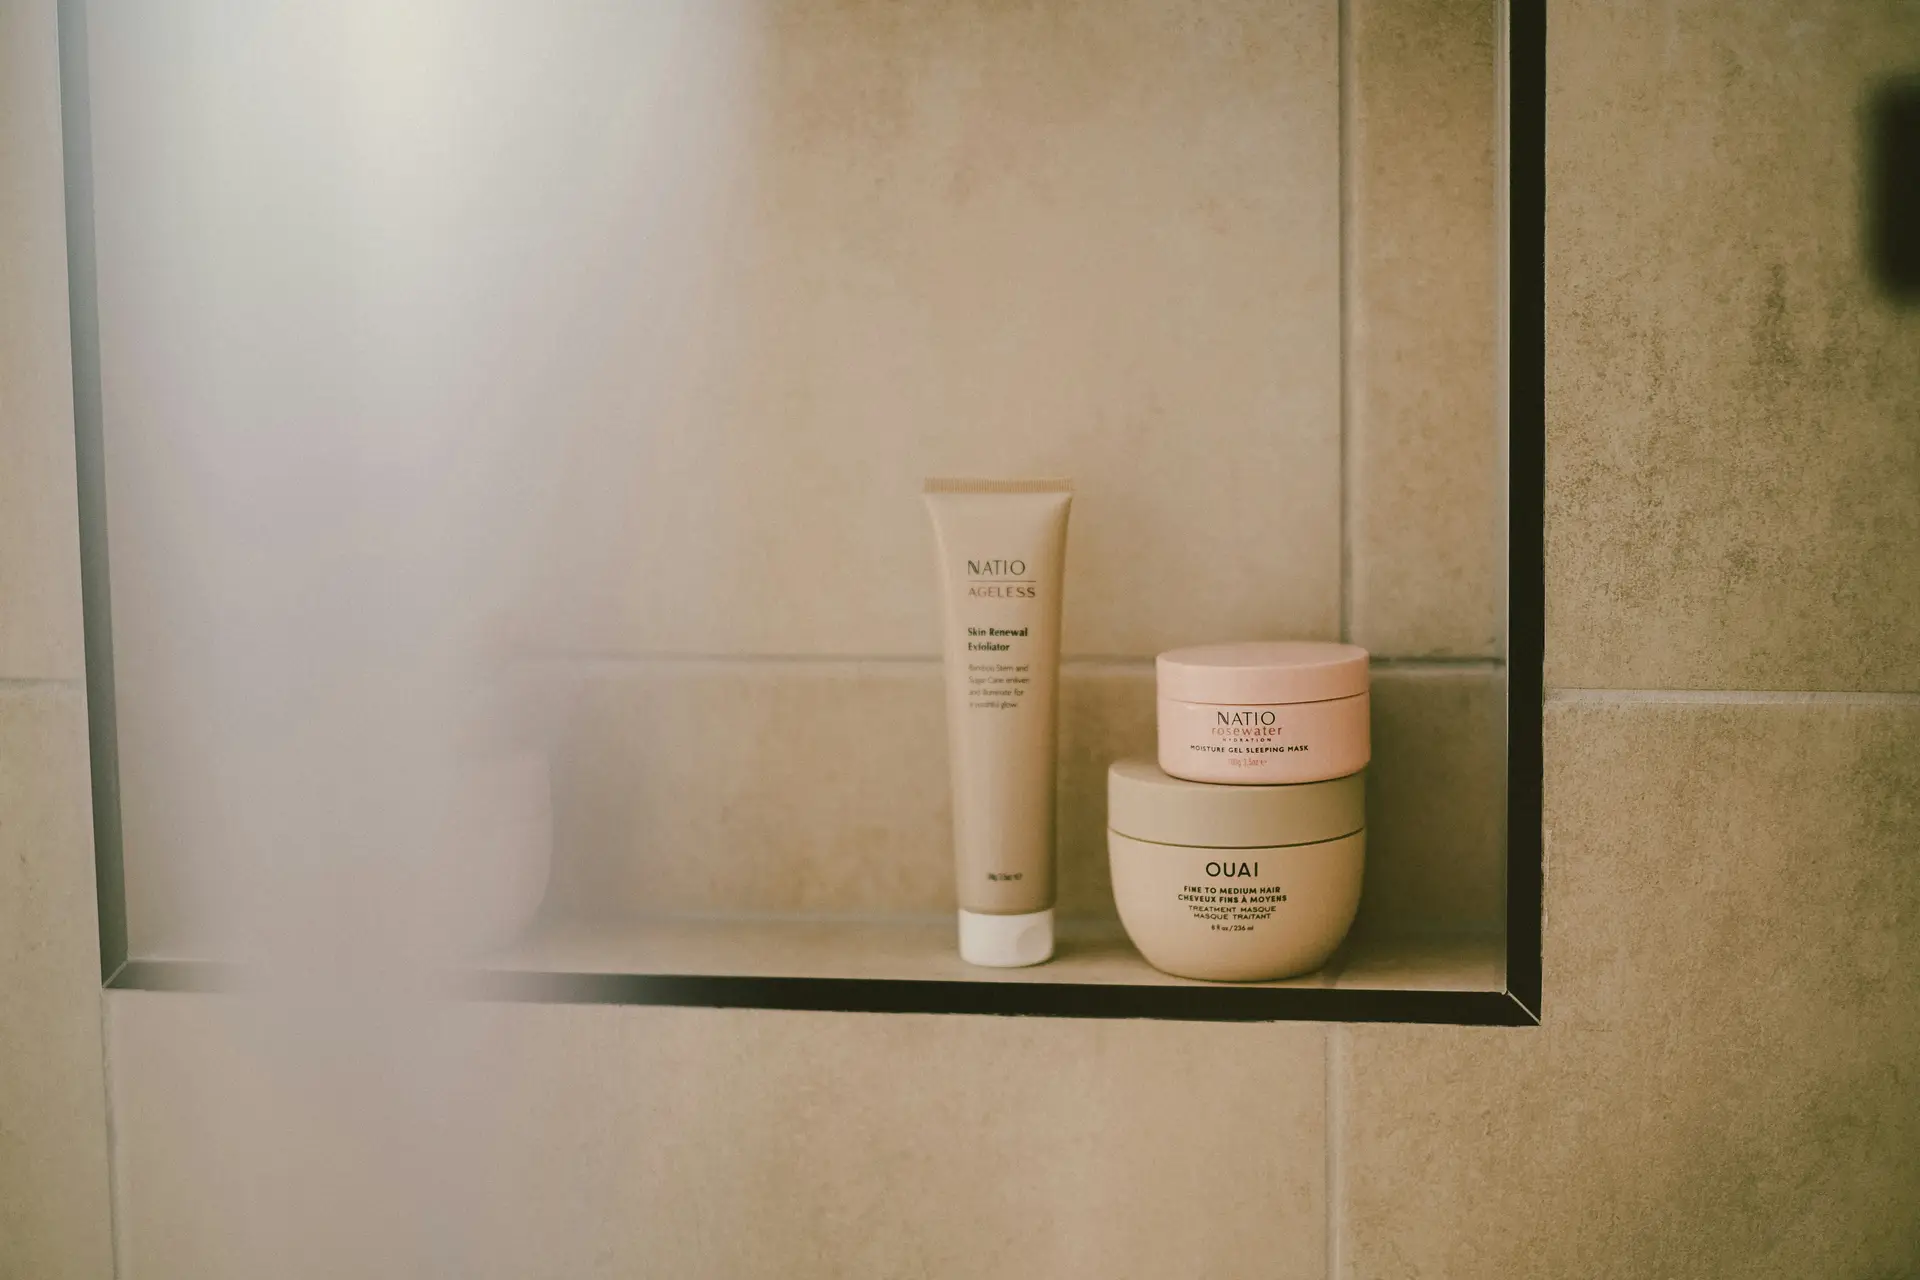
A built-in niche in your shower wall keeps all your bottles and stuff contained without cluttering things up.
Looks clean, works well.
Here’s a trick: Tile the inside with a different pattern or color. This makes it a feature instead of just a hole in the wall for storage.
Want to make it look nicer? Throw in a natural sponge or a small plant that drapes down a bit.
11. Single-Color Textiles
 Save
Save Towels, bath mat, shower curtain: All the same color creates this calm, cohesive look in the bathroom.
I’m kind of obsessed with how unified it makes everything feel. Yes, maybe that’s weird, but it just works for me.
Soft beiges or grays keep it timeless and easy.
Want something with more personality? Navy or sage are calming but still have some energy to them.
Don’t make everything the same texture though or it gets boring.
Waffle weave towel, plush mat, linen curtain… Different textures in the same color keep it interesting.
12. Vertical Cabinets
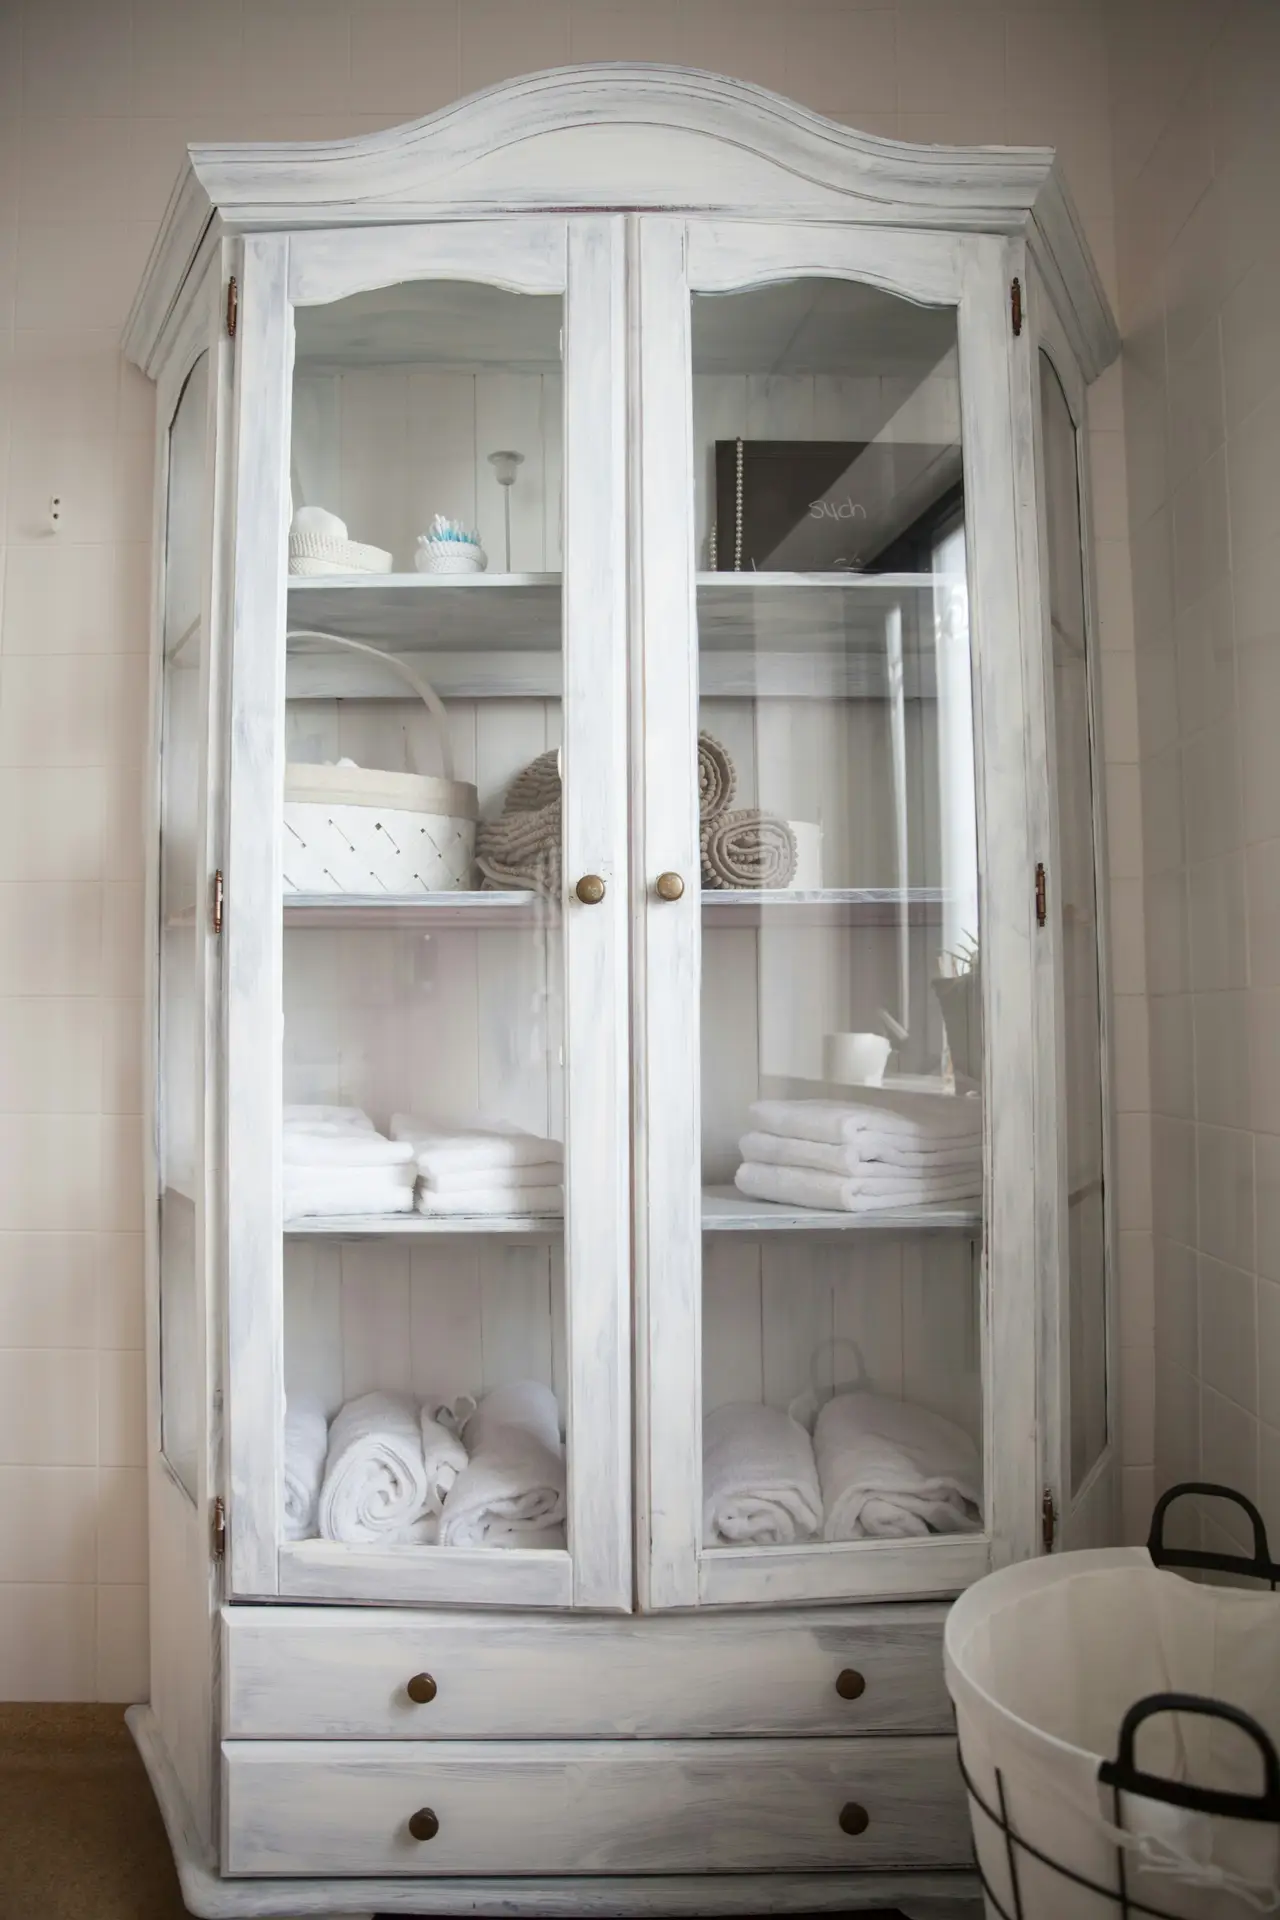 Save
Save Tall vertical cabinets rise like slim towers against the wall.
Plus: They also create an optical illusion that makes your small bathroom looks bigger. They draw the eye upward and create hidden storage.
If you ask me, they work best in narrow spaces where every inch matters.
Vertical cabinets are perfect for stacking towels, baskets and even cleaning supplies out of sight.
I’d add sleek handles, a soft accent color or a small plant on top to make it a part of the overall design.
13. Small Decorations
 Save
Save A few small things, like a glass jar with cotton pads, soft-toned candle or a bit of greenery, make the bathroom feel more welcoming.
The trick is not overdoing it. Two or three intentional pieces add warmth. More than that and it starts feeling cluttered.
Natural materials like wood and ceramic bring warmth without making it busy. They keep the bathroom calm instead of visually noisy.
14. Add Luxurious Elements
 Save
Save Luxury doesn’t mean expensive or huge changes.
Soft towel on a stool, a mirror with a gold trim, a rainfall showerhead or a marble soap dish… All of these are small items that shift how the whole bathroom feels.
It’s not about dropping a ton of money. Just pick one or two nice details that feel refined.
Mix them with natural materials like linen, stone or wood for a visually harmonious combination.
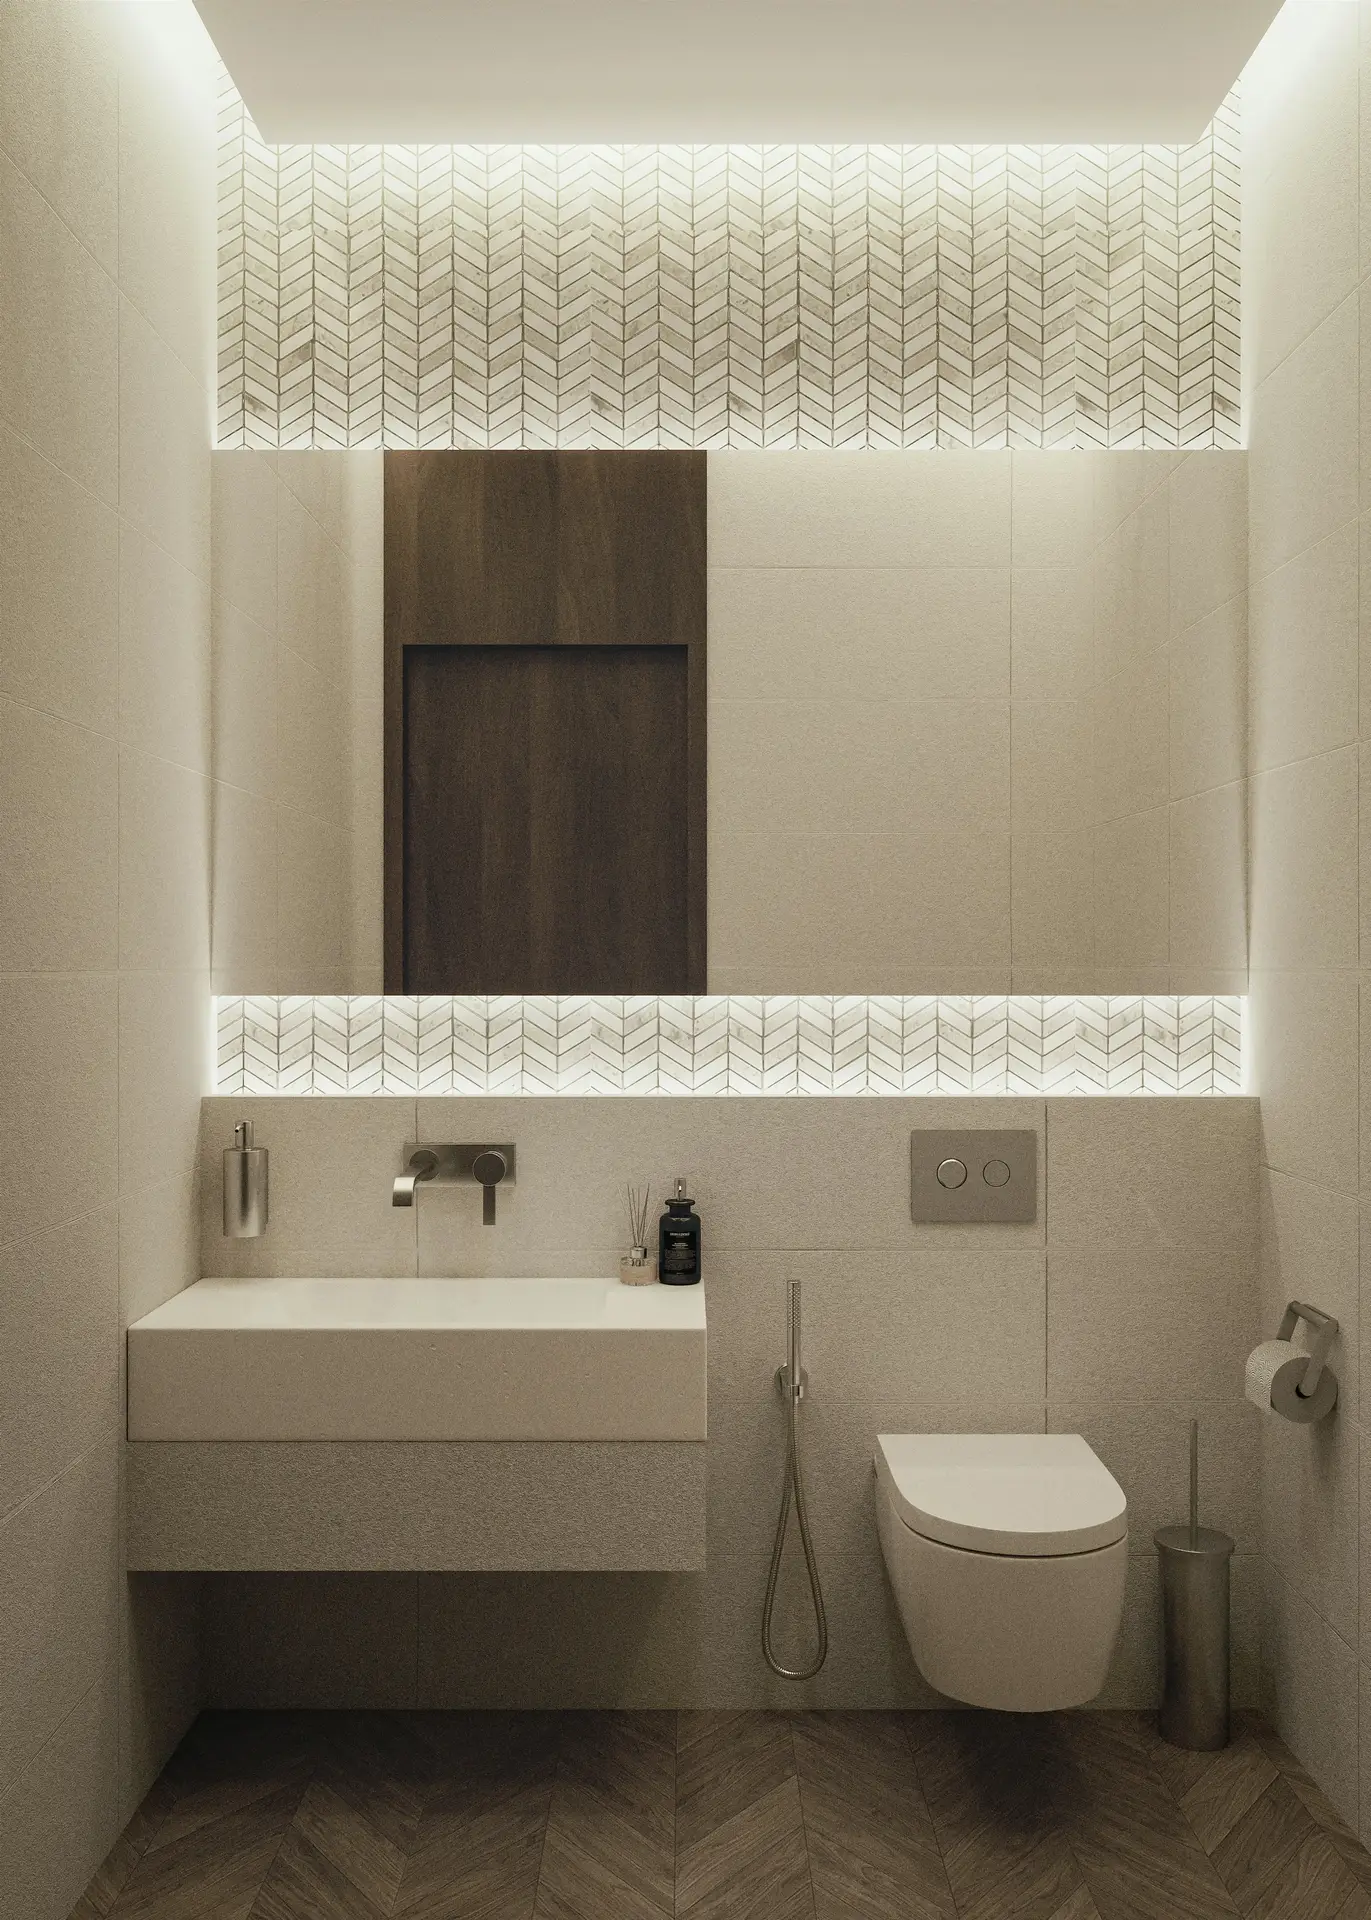
15. Clever Lighting – Small Bathroom Remodel
 Save
Save Light hitting the mirror just right or tucked into a shelf niche changes everything about how the bathroom looks.
It’s kind of amazing how much lighting matters when you’re redoing a bathroom. People underestimate it.
Layer it like you would anywhere else: Ceiling light for general brightness, sconces on the walls for balance, maybe LED strip hidden under a shelf for some depth.
Warm bulbs make a difference. Get a dimmer if you can. Throw in a candle or two. Then you’ve got something that works for your chaotic morning routine and also feels relaxing at night.
16. Incorporate Smart Storage Solutions
 Save
Save Drawers that glide out smoothly, baskets tucked into corners or hidden shelves in wall niches: Smart storage solutions can almost disappear into the design.
Plus: They make daily routines much easier.
The best approach is, in my opinion, to combine closed storage for clutter with open shelves for a few decorative touches.
Woven baskets, matching glass jars or even a tray with rolled towels can turn clever organization into part of the decor.
17. Use The Space Above The Washing Machine
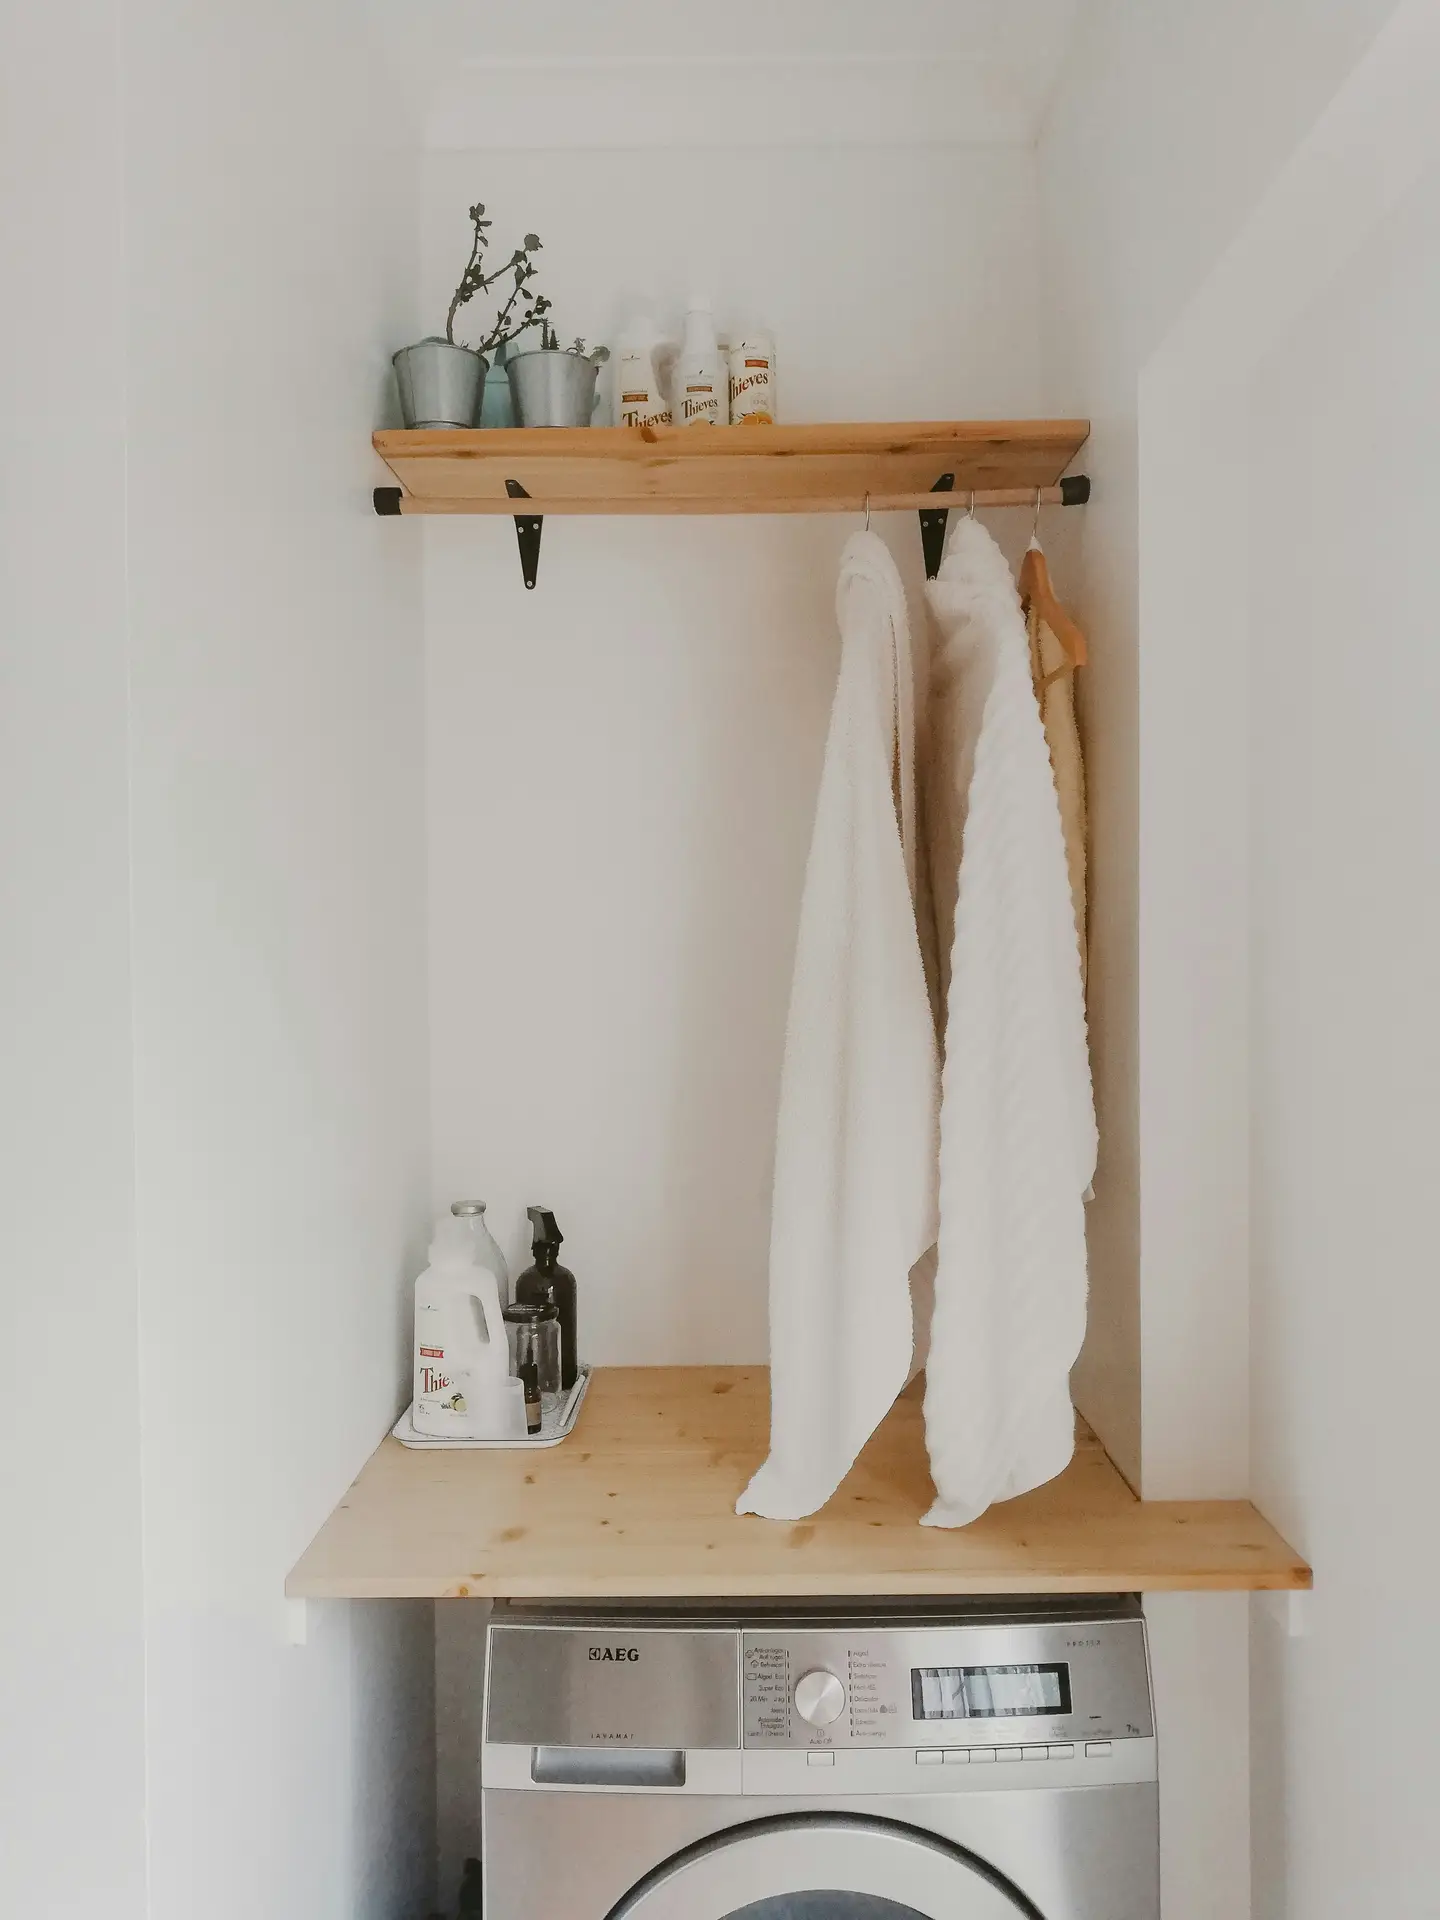 Save
Save Above the washing machine, there’s often a stretch of empty wall just waiting to be useful.
I think it’s the perfect spot to expand storage.
You could install a cabinet or shelves there and put woven baskets or detergent jars in them or on them.
A tip of mine: Mixing in a framed print or a trailing plant keeps the setup from looking too utilitarian and turns it into part of the room’s design.
Shopping List & Toolkit
Having a clear shopping list and a small toolkit prepared helps you stay on track when you go out and buy all the necessary essentials.
So let me help you out with this one:
Shopping list:
- Moisture-resistant paint
- Sanitary-grade silicone
- Grout pen/paint
- LED strips with diffuser
- Mirror or mirrored cabinet
- Hooks/shelves/niche insert
- Faucet
- Shower curtain with rod (if needed)
- Organizers/boxes/baskets
- Cleaning and descaling set
Toolkit:
- Painter’s tape
- Caulking gun
- Silicone smoother
- Measuring tape
- Level
- Cordless drill with bits
- Screwdriver set
- Safety gloves
- Microfiber cloths
- Utility knife
Realistic Weekend Plan
You know that problem where you want to redo your bathroom but you’re scared it’ll become this endless project you never finish?
Yes, I get it. Here’s how to actually get it done without it dragging out:
Day one: Toss the clutter, actually clean everything properly, fix the gross silicone and grout, paint.
Day two: New mirror or lights, storage solutions, make it look nice, seal things.
Next week sometime: Bigger things like new faucets, shower glass if that’s happening, whatever finishing touches are left.
My tip really is to split it up and suddenly it doesn’t feel impossible.
Small Bathroom, Big Transformation
Redoing your bathroom doesn’t mean emptying your wallet.
Small updates make a surprising difference. New grout, fresh paint, better lighting, smarter storage… All of that has an impact on the look of your bathroom.
And honestly? The simple stuff usually has more impact than the expensive changes anyway.
You’re working on a tight budget? Focus on what actually matters, take it step by step, don’t try to do everything at once.
Even a cramped bathroom can turn into something you actually like being in. Just takes some planning and not overthinking it.
If you need more inspiration for your home, feel free to take a look around my blog.
Did you enjoy this article?
If you’d like, treat me to a coffee ☕ Your support means the whole world to me!