17 Easy Pumpkin Carving Ideas You’ll Want To Copy This Halloween
This blog post shows you easy pumpkin carving ideas.
Pumpkin carving is one of those fall traditions that always sounds simple, until you’re standing at the kitchen table with pumpkin seeds everywhere, a half-finished face and a knife that suddenly feels completely wrong for the job.
The good news is that a great carved pumpkin starts long before the first cut.
In this blog post, we’ll look at how to choose the right pumpkin for your design, which tools actually make carving easier and the simple process that helps everything go much more smoothly.
You’ll also find 17 easy pumpkin carving ideas to copy this fall, from friendly classics to slightly spookier designs, plus practical tips to help your finished pumpkin stay fresh and looking good for as long as possible.
This site includes affiliate links, meaning I may receive a small commission, at no additional cost to you.
Pick The Right Pumpkin Before You Pick The Design
The very first step to any great Halloween display is, of course, choosing the absolute perfect pumpkin for carving.
Honestly, I think this step is so crucial!
Taking a little extra time to find the right one makes the actual carving process so much easier and ensures your final design turns out beautifully.
Before you even pick up a carving tool, I always recommend giving your pumpkin a quick check for shape, stability and overall condition. Here is exactly what I look for when we’re out at the pumpkin patch:
- Firmness: It should be nice and firm, with absolutely no soft spots.
- Stability: Look for a thick, sturdy stem and a bottom that is as flat as possible so it sits beautifully on your porch without rolling away!
- Skin Condition: Try to avoid any deep cuts, dark bruises or significant scratches.
Match The Shape To Your Vision
If you already have a specific design in mind (hello, Pinterest inspiration!), I always suggest letting that design dictate the shape of the pumpkin you choose.
- Tall Pumpkins: These are absolutely amazing for spooky ghosts, elongated faces or any vertical motifs.
- Wide Pumpkins: The ultimate go-to choice for your classic, smiling jack-o’-lanterns.
- Small Pumpkins: So incredibly cute for carving delicate little stars, moons or sweet miniature patterns.
- Flatter Pumpkins: These offer such a gorgeous, unique canvas and are particularly perfect if you want to try out intricate floral or geometric designs!
Related: 19 Spooky Halloween Costume Ideas (You Will Obsess Over!)
Your Pumpkin Carving Tool Kit
Another important factor is the choice of pumpkin carving tools.
Using the right tools makes carving more precise, easier and safer.
I would definitely recommend using a few specialized tools rather than large kitchen knives.
In my opinion, small, specialized tools offer better control, especially when working on intricate designs.
In my view, the basic tools include:
- A small pumpkin saw
- A large spoon or scraper
- A washable marker for sketching the design
- A stencil or printout for complex patterns
- A small craft knife (use only for fine detailing)
“Nice-to-have” extras include:
- A linoleum cutter for shallow carving (without cutting all the way through the skin)
- A drill for creating dots, stars, or uniform hole patterns
- A thumbtack or pin for transferring a stencil design
- A battery-operated candle for safe illumination
Safety Tip: I strongly advise using specialized pumpkin carving tools instead of large kitchen knives whenever possible. Small, serrated saws are easier to control.
Always make sure to cut away from your body and place the pumpkin on a stable surface.
Related: 19 Ultra Delicious Halloween Party Food Ideas Your Guests Will Love
Pumpkin Carving Ideas
Next, I’ll show you 17 concrete pumpkin carving ideas that can serve as inspiration or a template for your own pumpkin.
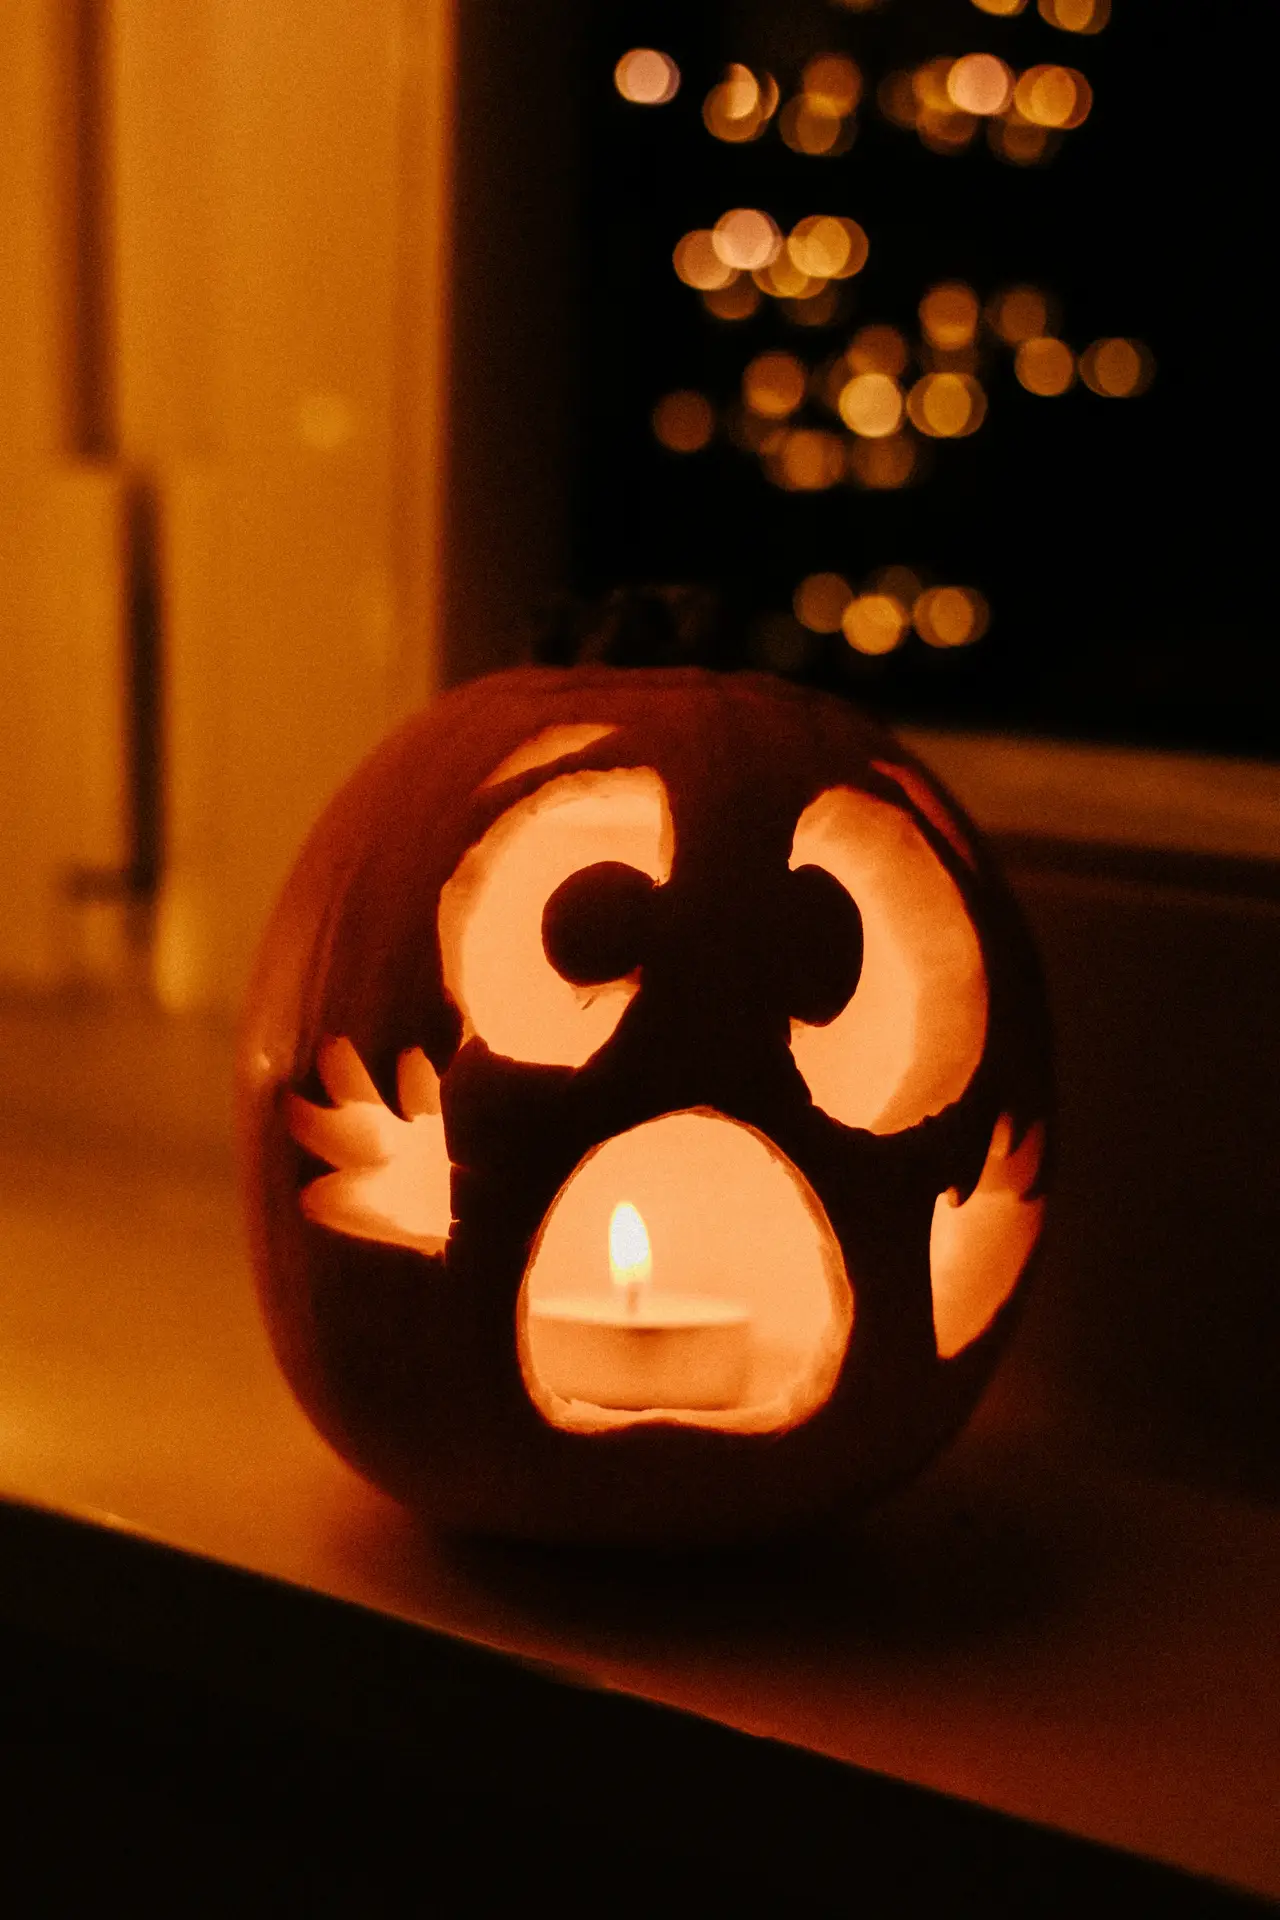
1. Frightened Face
 Save
Save The big eyes and open mouth give this face an expressive look, don’t you think?
What I find so practical about this design is that it’s especially easy to execute, since no fine details are required.
That makes it a design suitable for beginners.
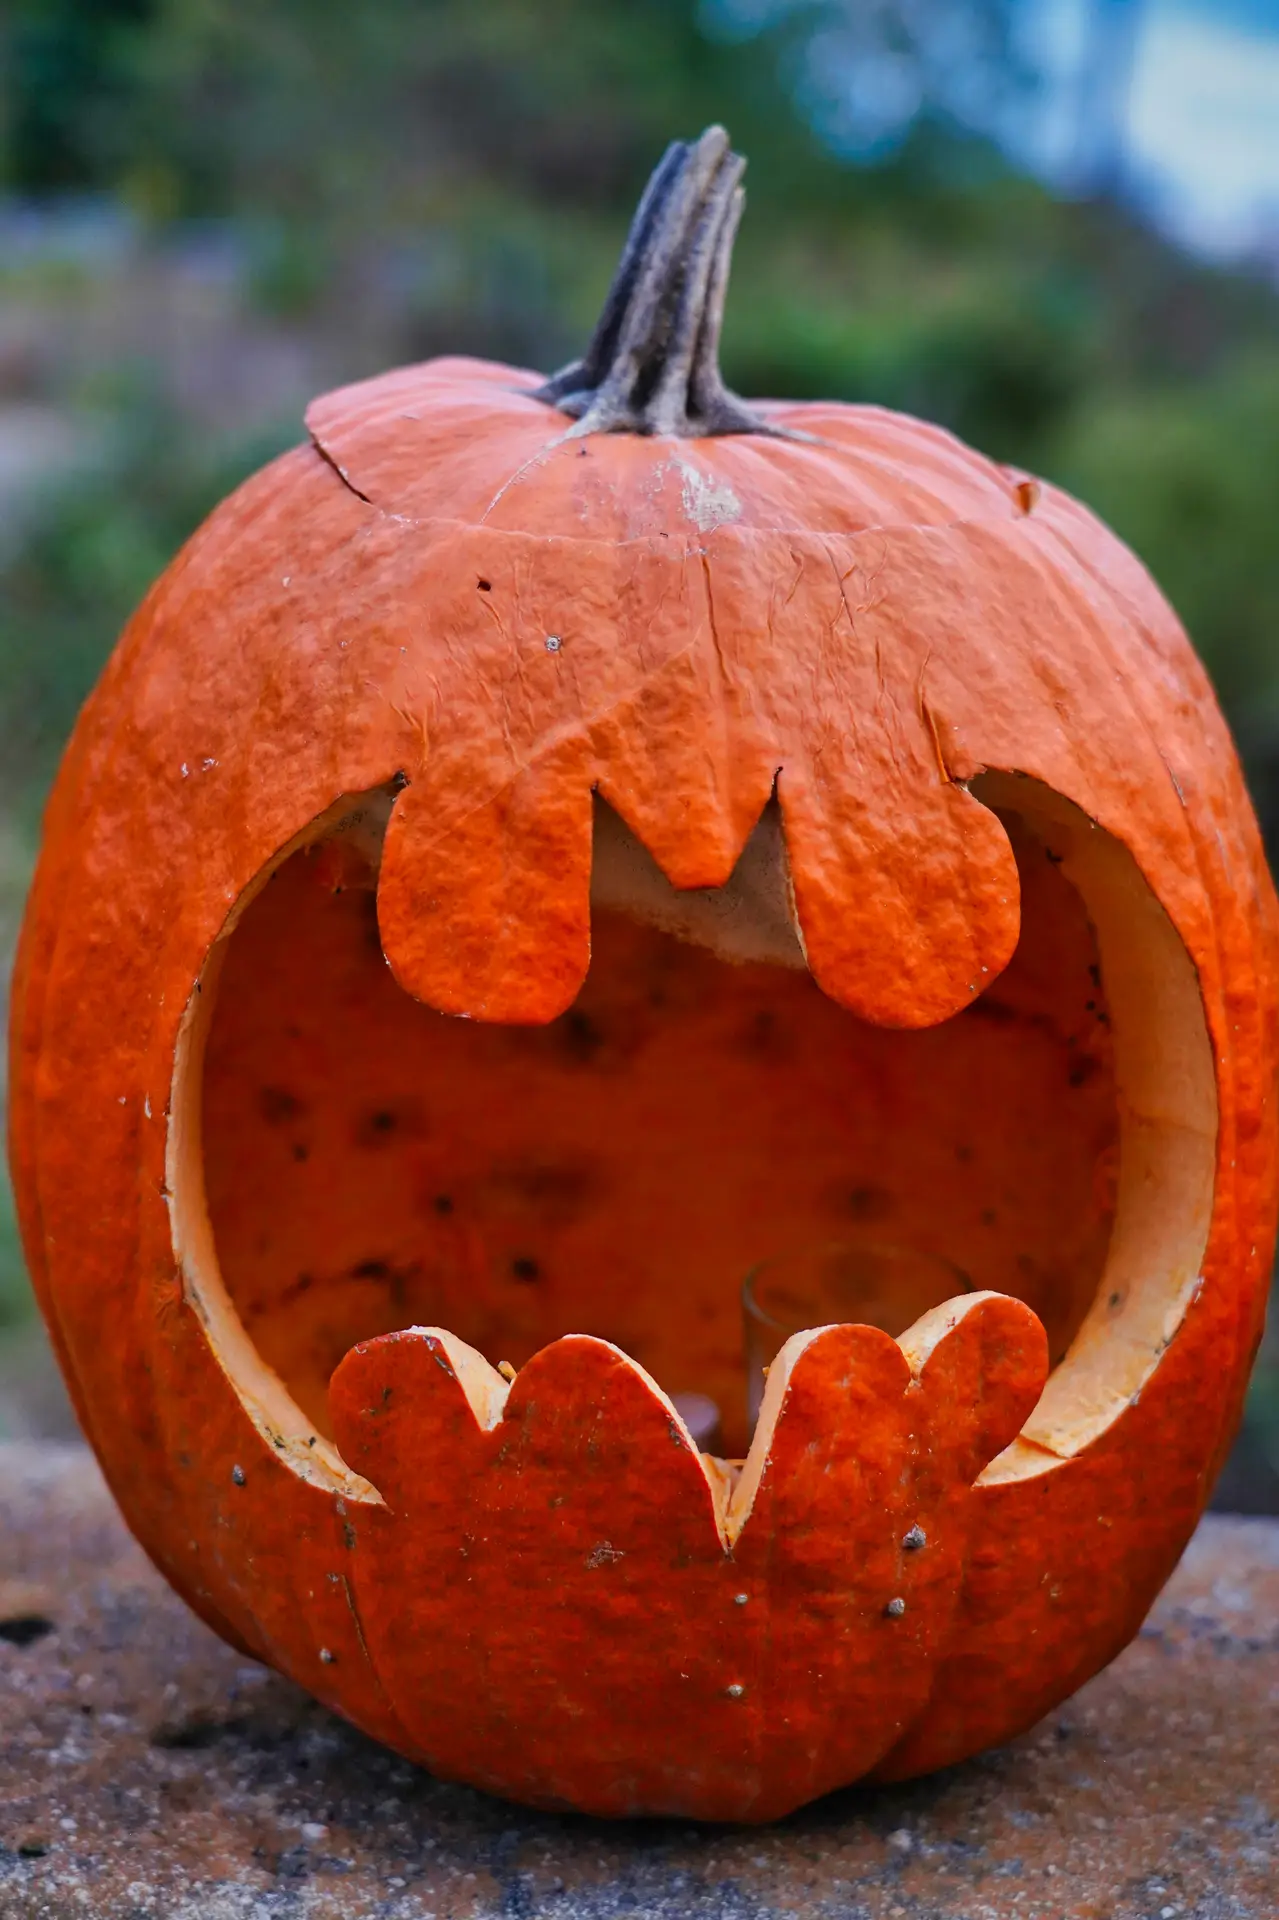
2. Bat – Pumpkin Carving Ideas
 Save
Save Don’t you think bat motifs go perfectly with classic Halloween decorations?
I would use a stencil for this to help transfer the wings and outlines neatly.
I can picture this design working especially well on smaller or flatter pumpkins.
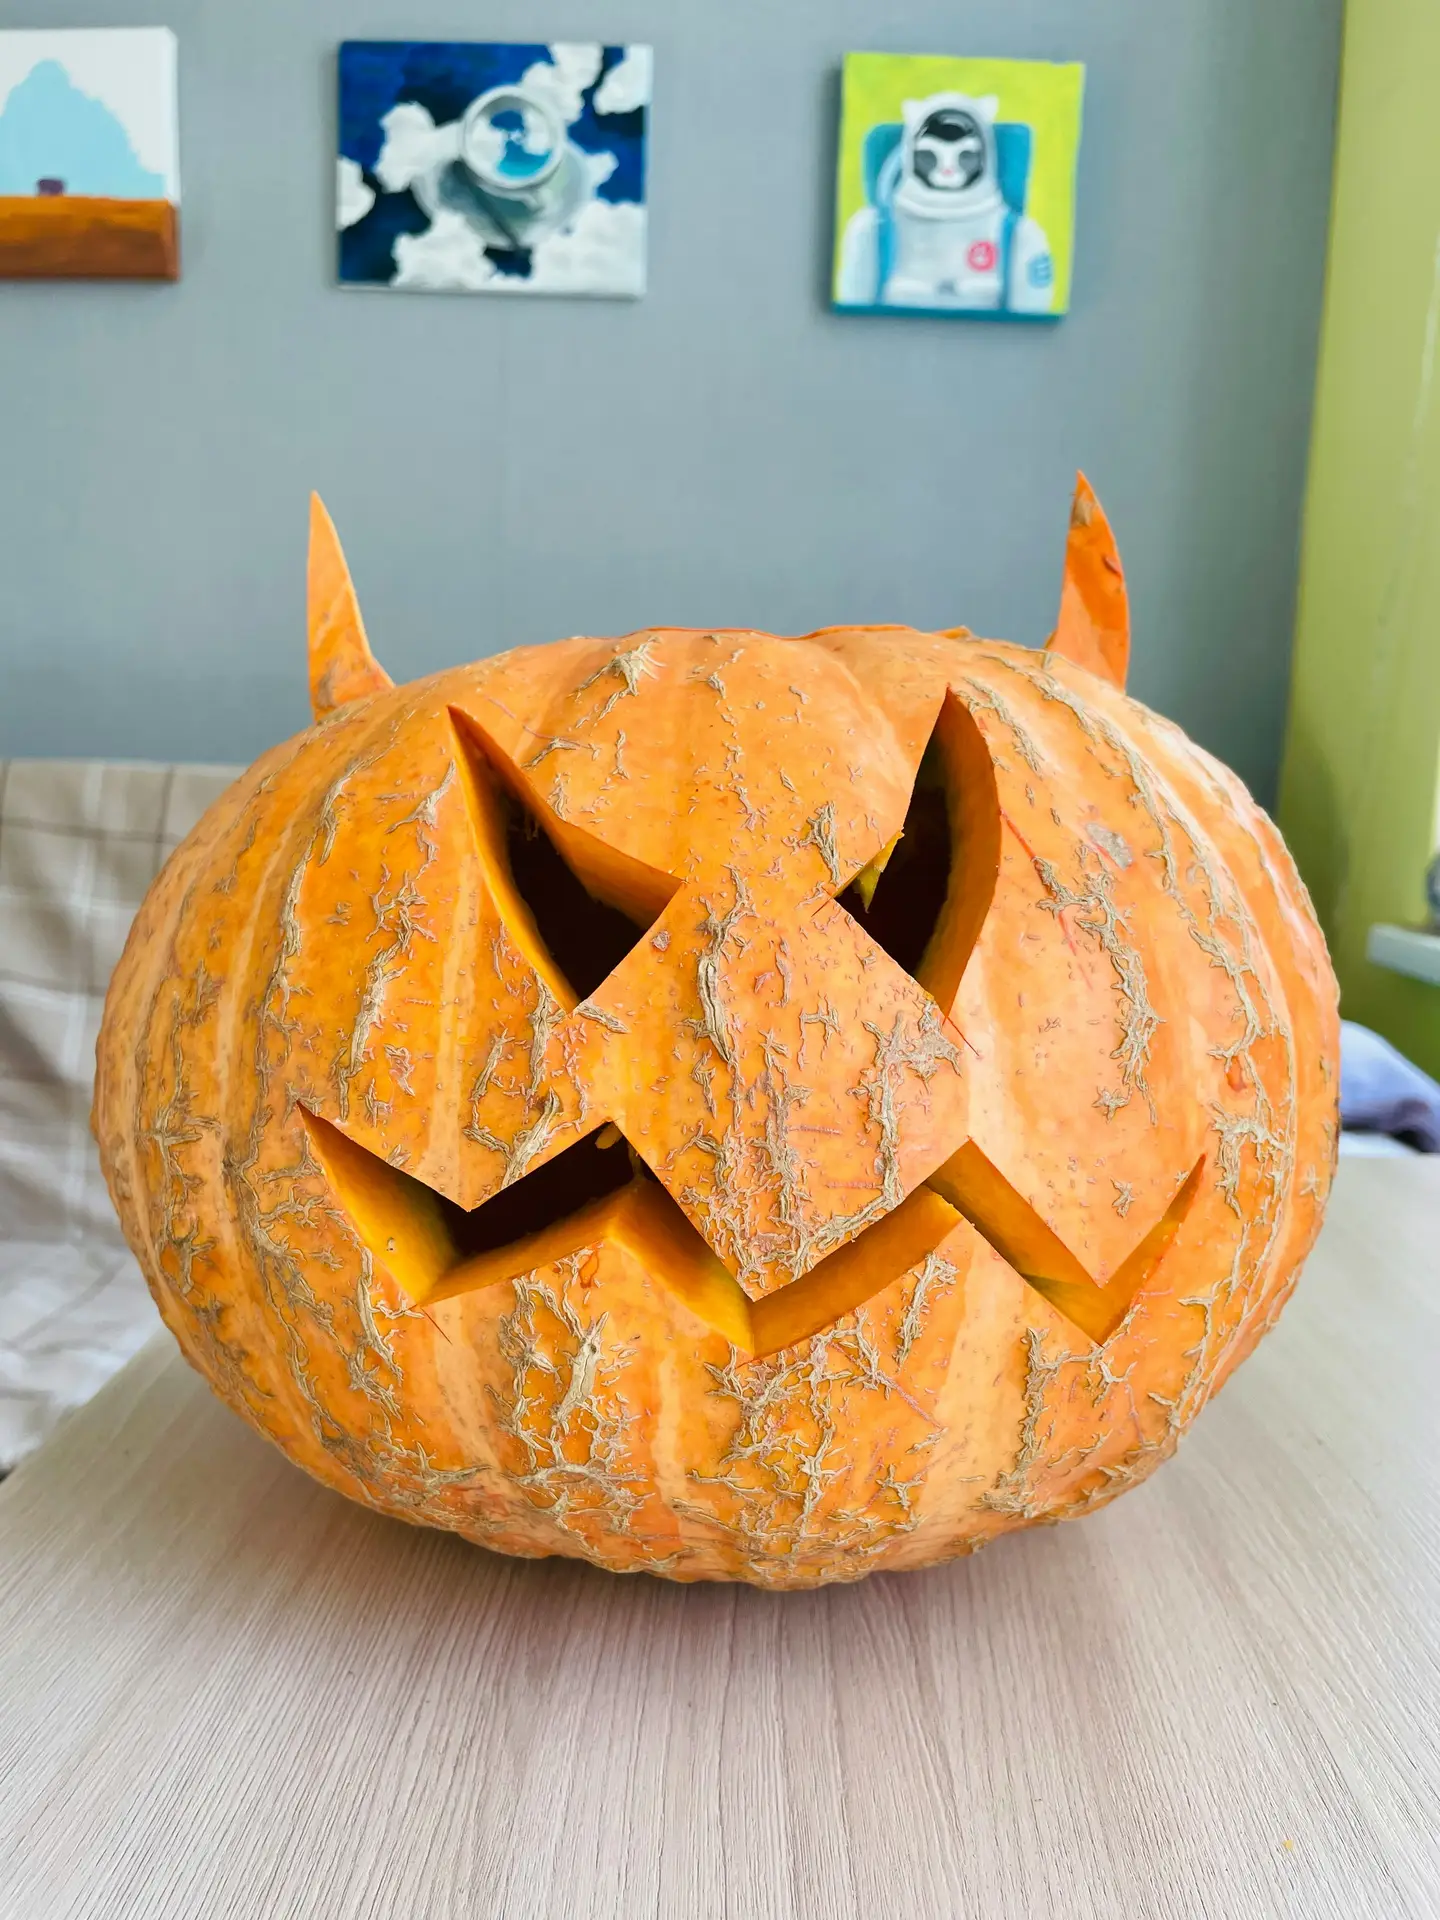
3. Devil Pumpkin
 Save
Save Horns, pointed eyes and a cheeky, jagged grin create a devilish look.
This design works particularly well on a slightly wider pumpkin, as it gives you enough room for the mouth.
If you like, you can also place red or warm-toned LED lights inside the pumpkin to make it look even more dramatic.
Related: When Your Home Takes A Darker Turn: 19 Super Spooky Halloween Decor Ideas You Can’t Miss
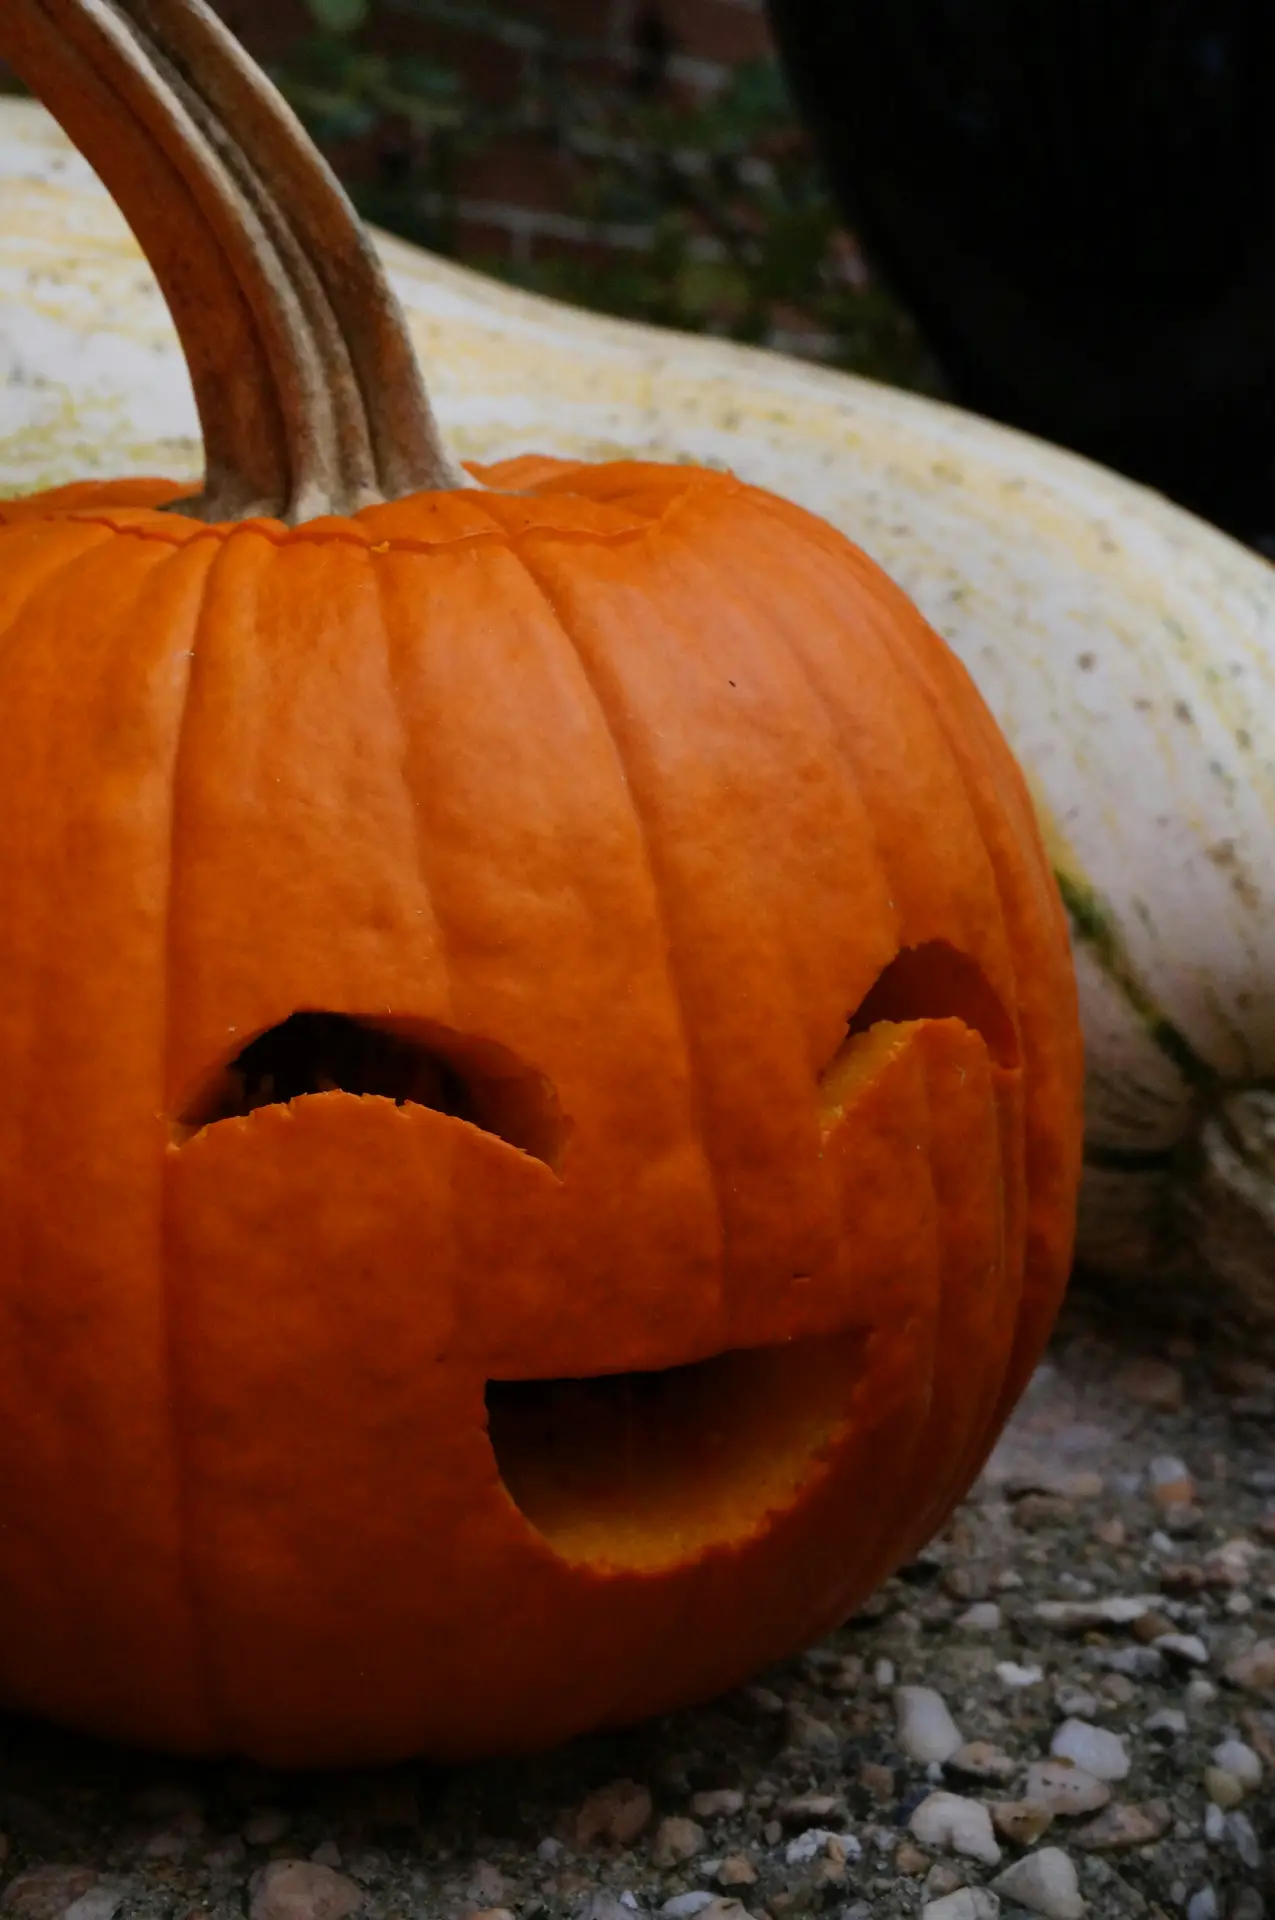
4. Cute Happy Face
 Save
Save This cute, cheerful face is ideal for friendly Halloween decor, making it perfect for families.
The design is easy to execute, as the round eyes and simple smile are simple to carve.
I think even beginners or younger children, with a little help, could easily pull this off.
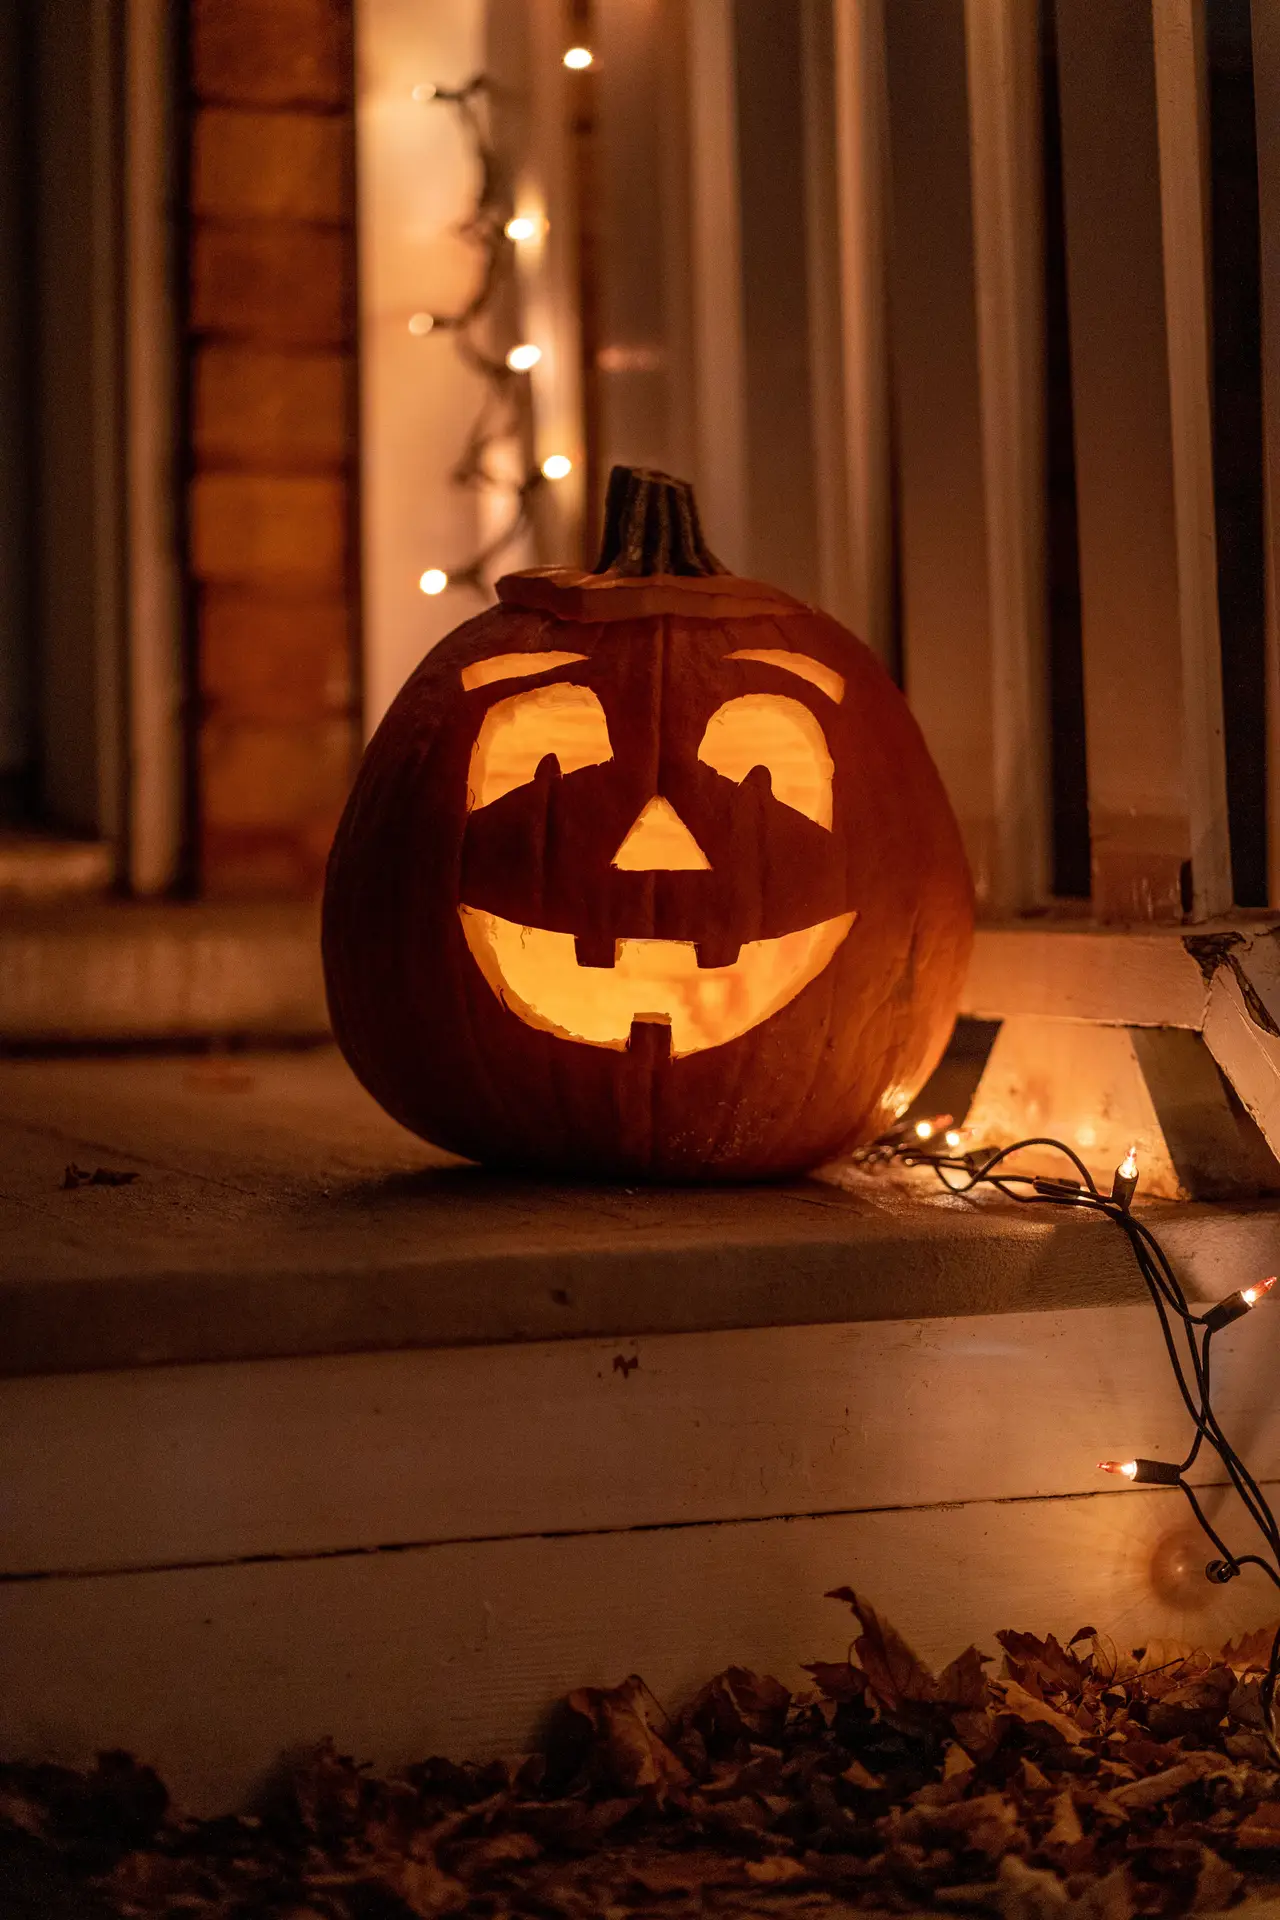
5. Friendly Face With Eyebrows
 Save
Save I think the eyebrows on this face instantly give it more character.
This is a perfect example of how even small changes to the shape can alter the entire expression.
In my opinion, this design works particularly well on a wide, round pumpkin.
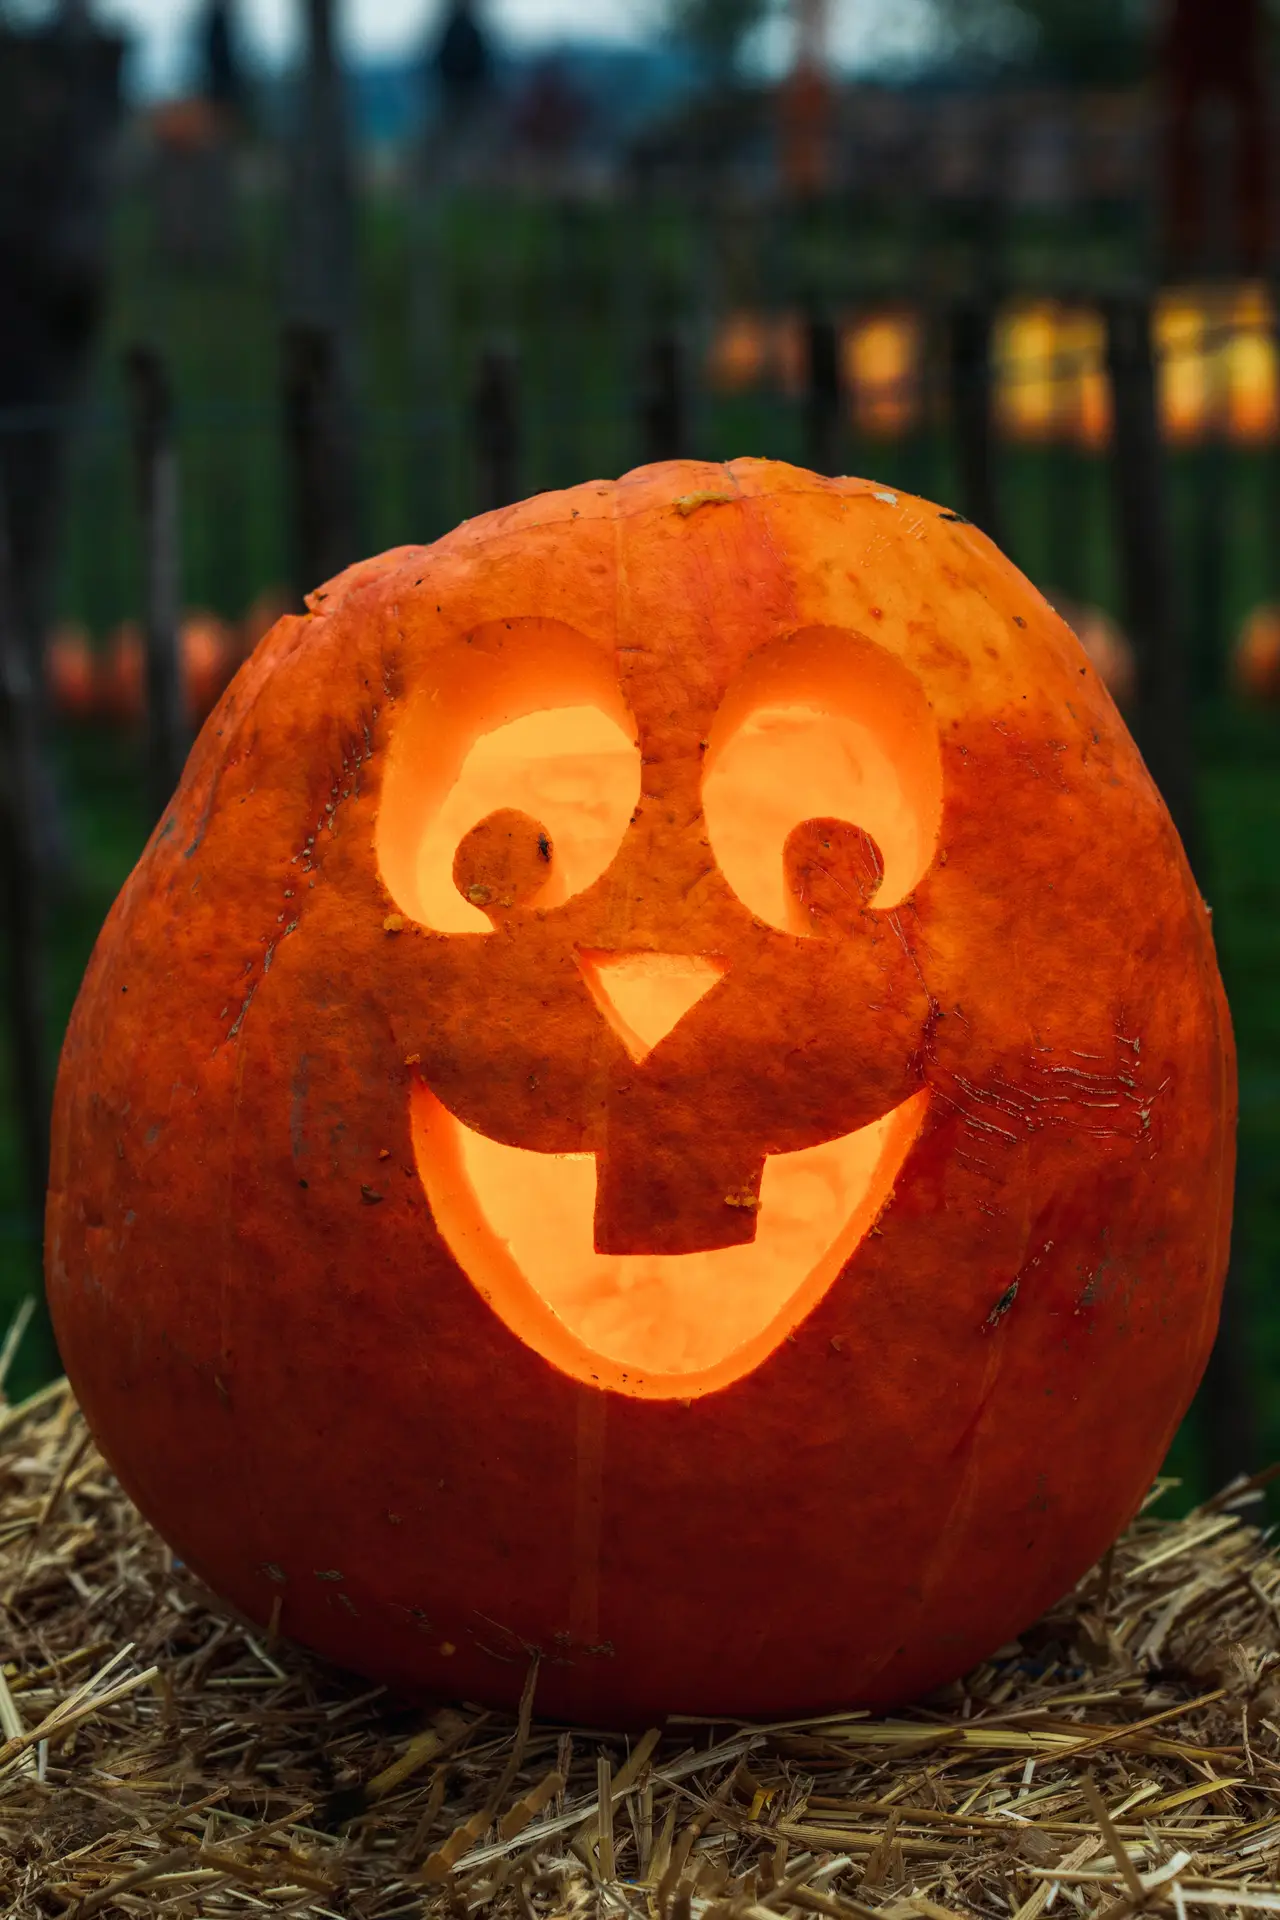
6. Bunny Face – Pumpkin Carving Ideas
 Save
Save This bunny face is a super cute alternative to classic spooky designs.
The face, complete with a tooth, makes the design instantly recognizable. If you like, you can also add long ears carved from a pumpkin.
I think this design is especially great for people who enjoy a playful style or have children.
Related: How To Transform Your Home Into A Snuggly Den: 16 Amazing Fall Living Room Decor Ideas
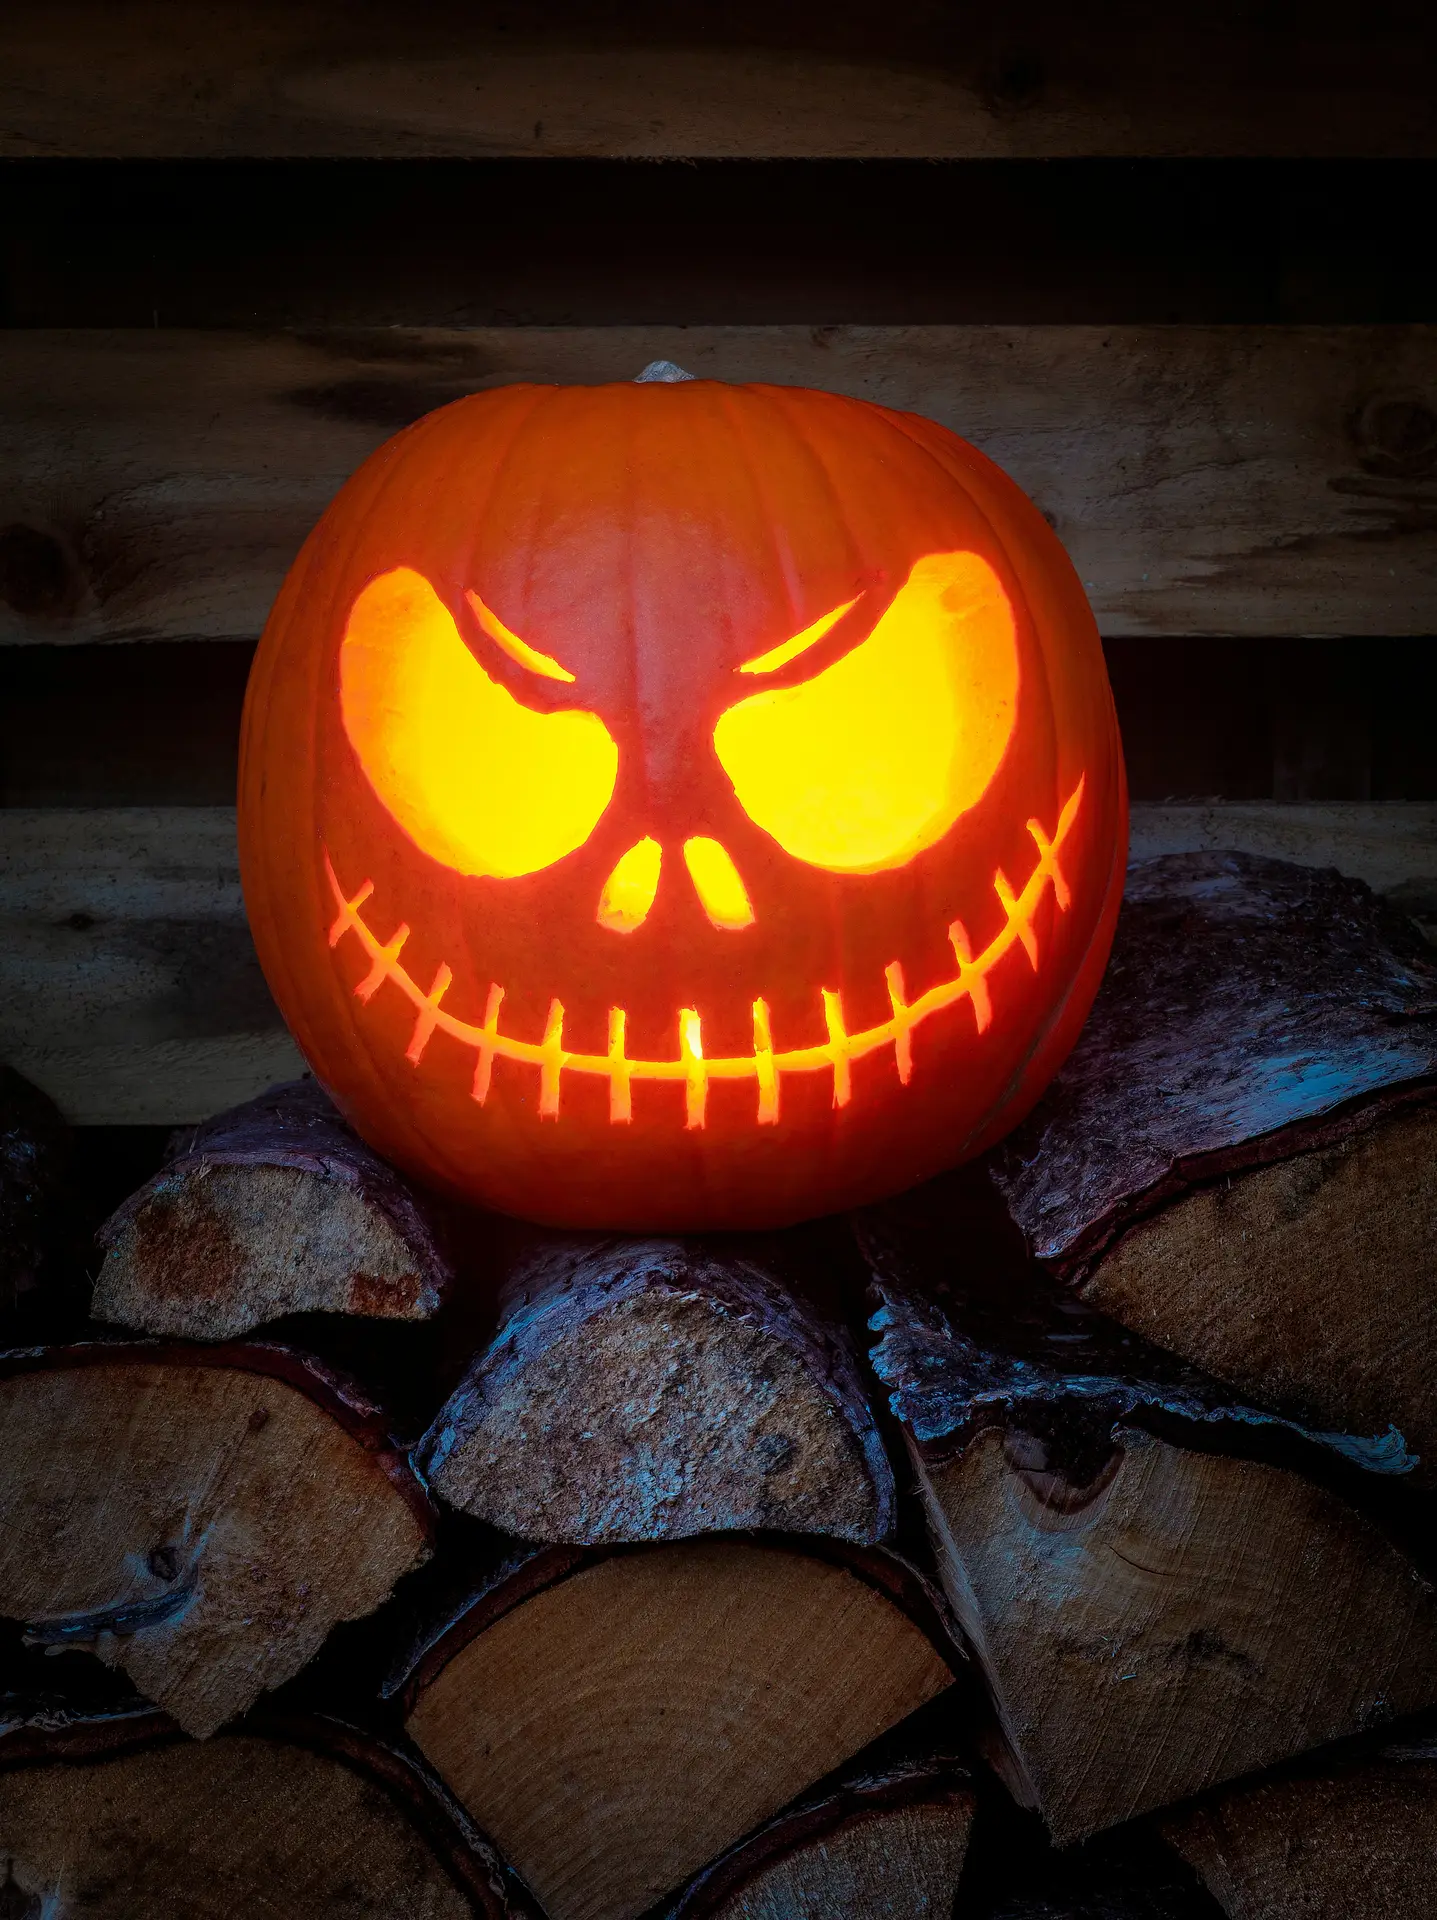
7. Jack Skellington Pumpkin
 Save
Save The iconic face is simple, yet instantly recognizable.
We are talking about the Jack Skellington pumpkin.
The large, round eyes and the long, narrow mouth work well on wider, round, smooth pumpkins.
I would also use a template for this to help with the even placement of the facial features.
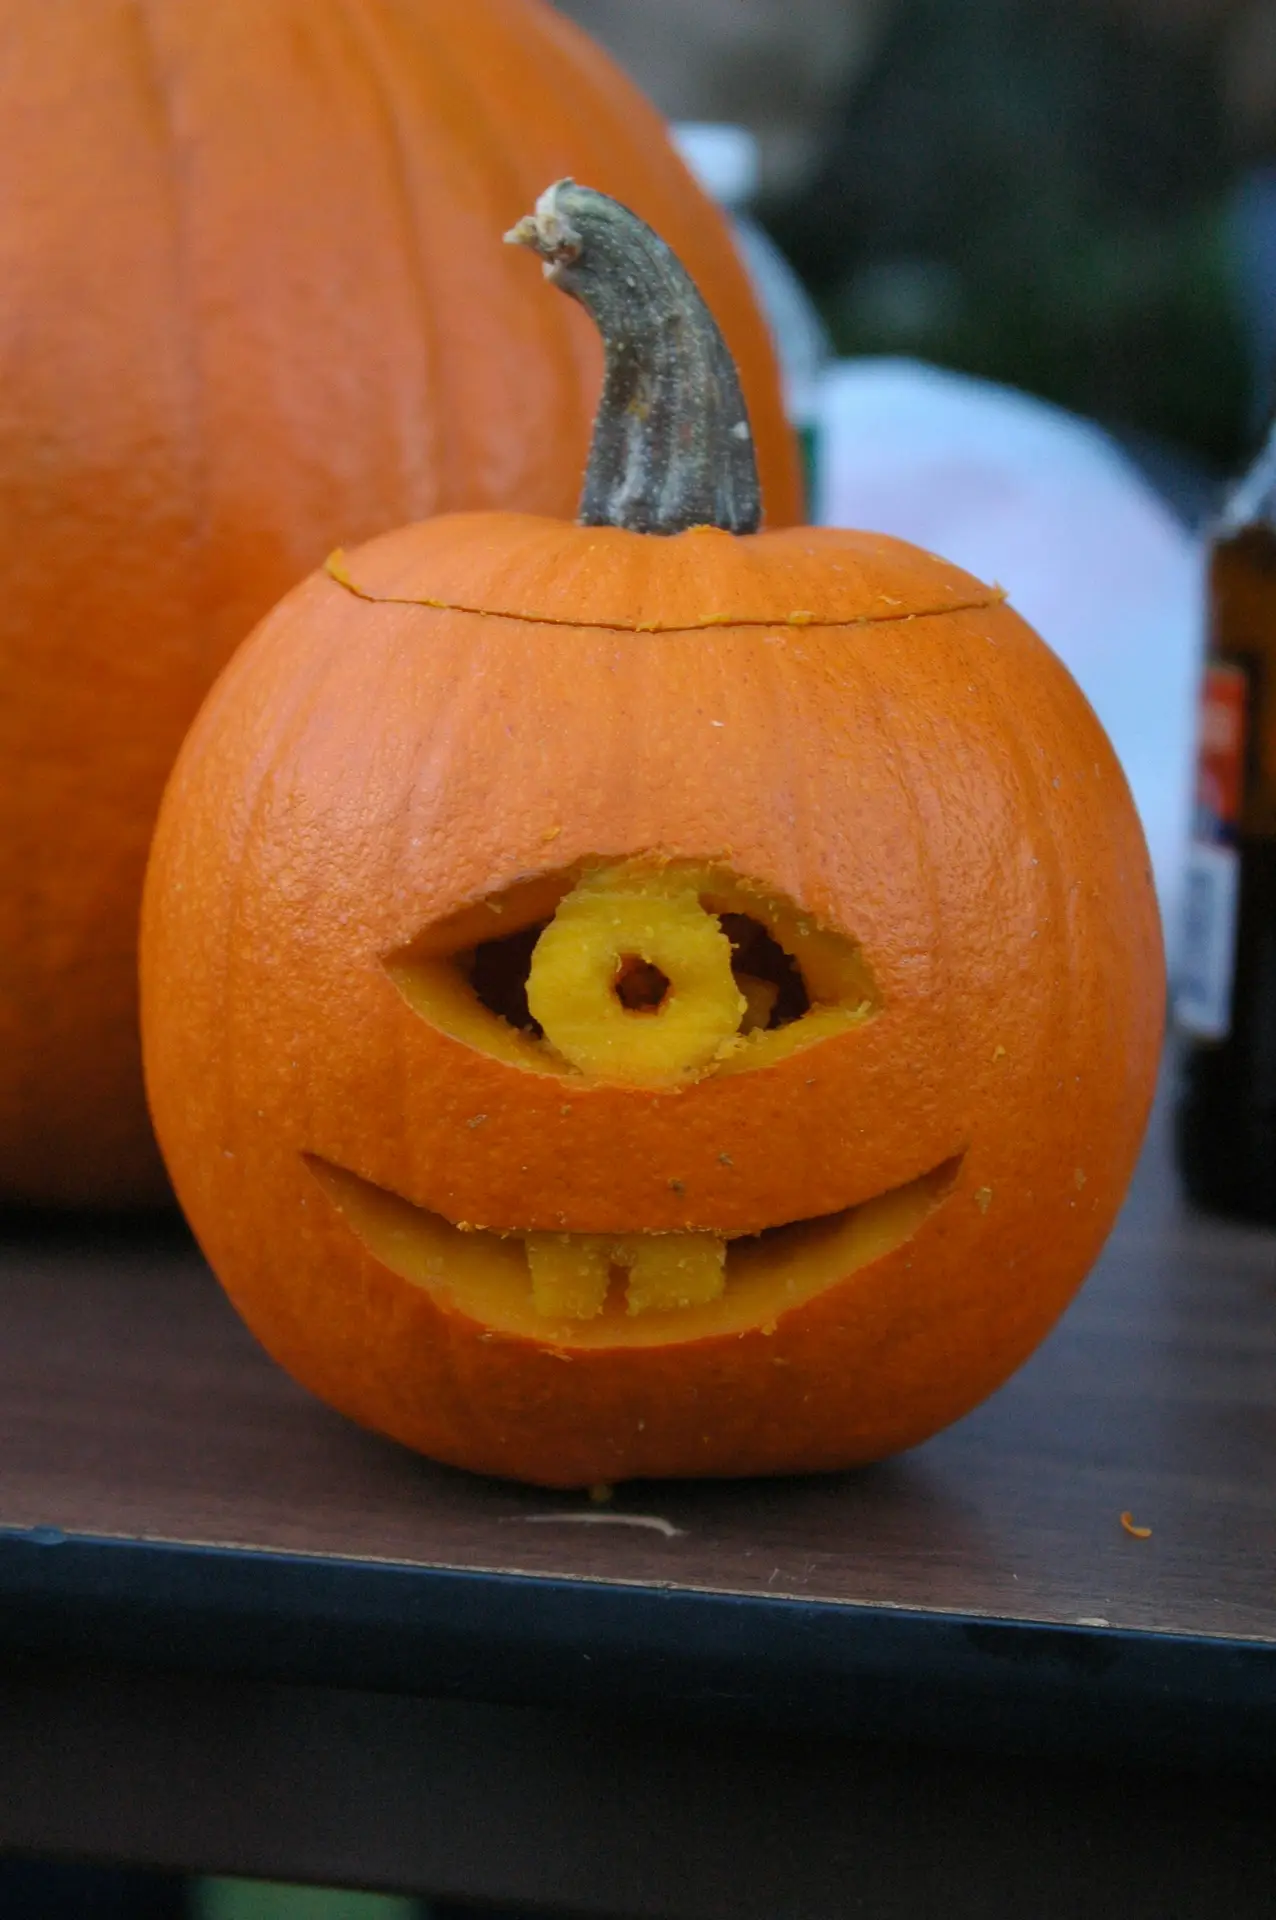
8. Cyclops Face – Pumpkin Carving Ideas
 Save
Save Looking for an original Halloween look?
How about this Cyclops face?
The single large eye creates a unique Halloween look.
The minimal cuts make the design relatively easy to create.
You can further customize the face by adding teeth or a crooked mouth.
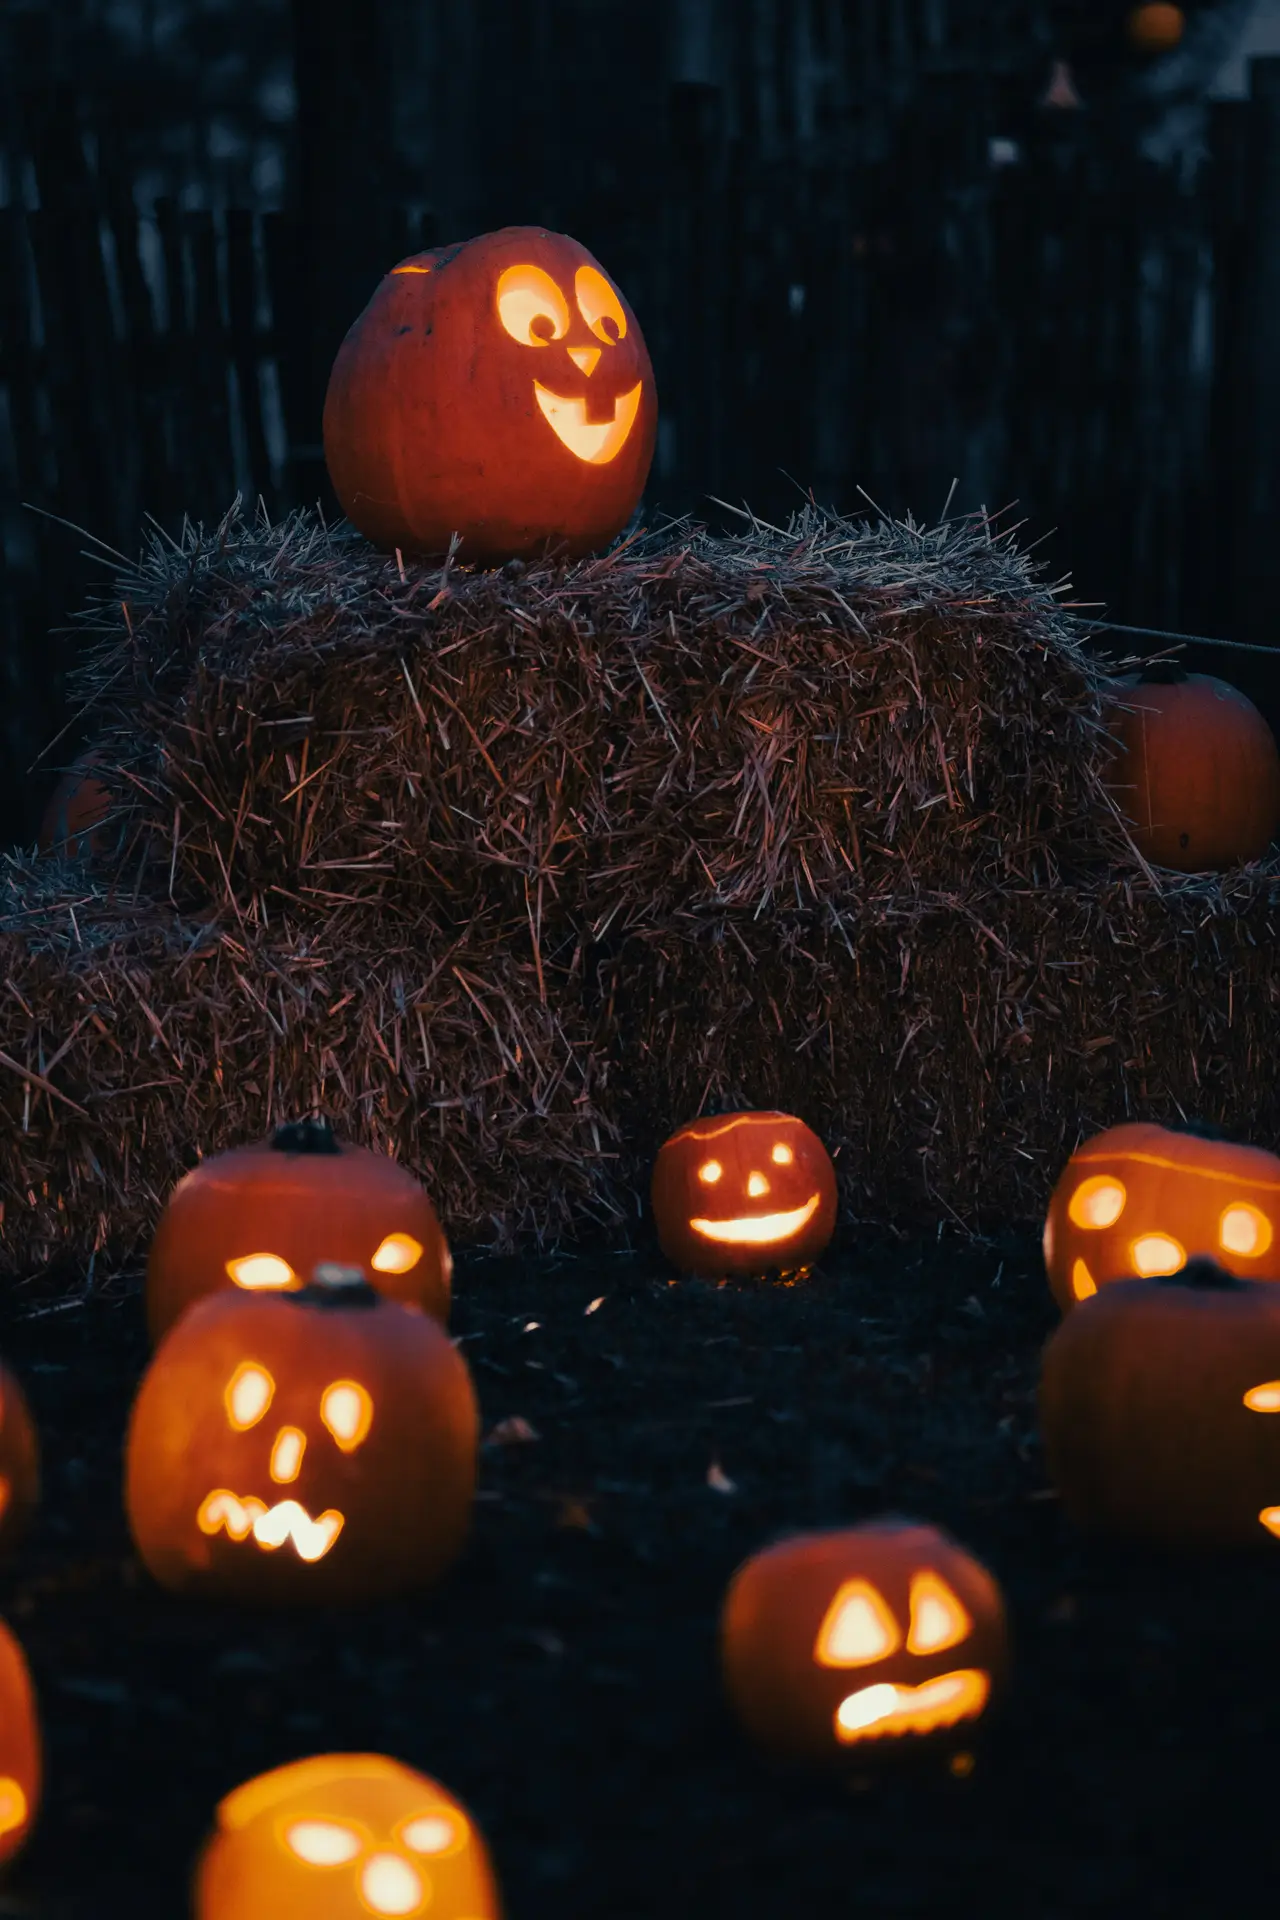
9. Mix Of Different Faces
 Save
Save Several pumpkins with different facial expressions look particularly lifelike.
I would combine different sizes and shapes here to create some visual interest and variety.
You can also arrange the various pumpkins nicely on steps, the porch or a windowsill.
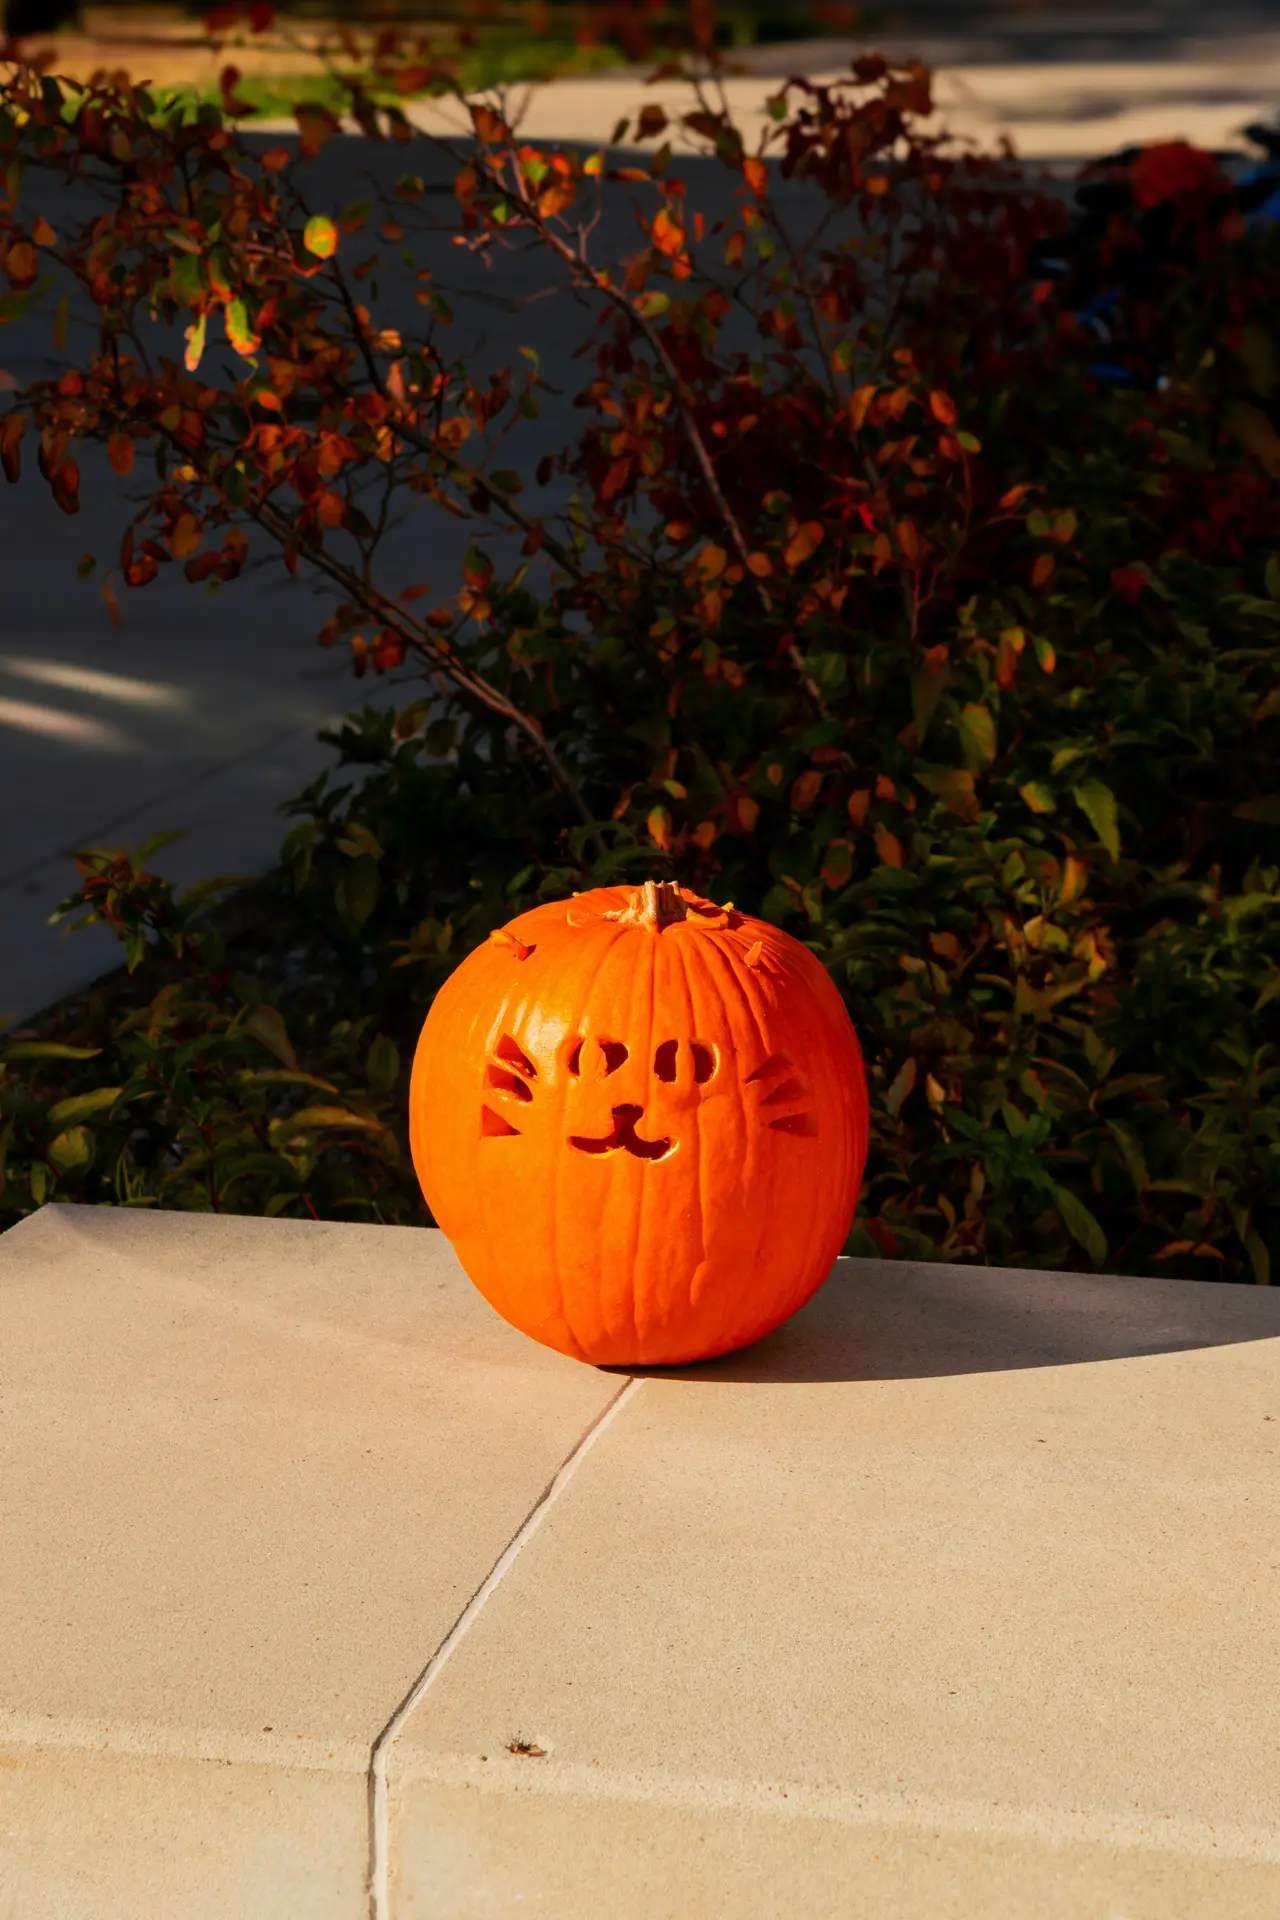
10. Cat Face With Whiskers
 Save
Save If you’re a cat lover, this idea is for you!
Simply carve a cat’s face into your pumpkin. But don’t forget the whiskers!
The eyes, featuring those characteristic cat pupils, really enhance the feline look.
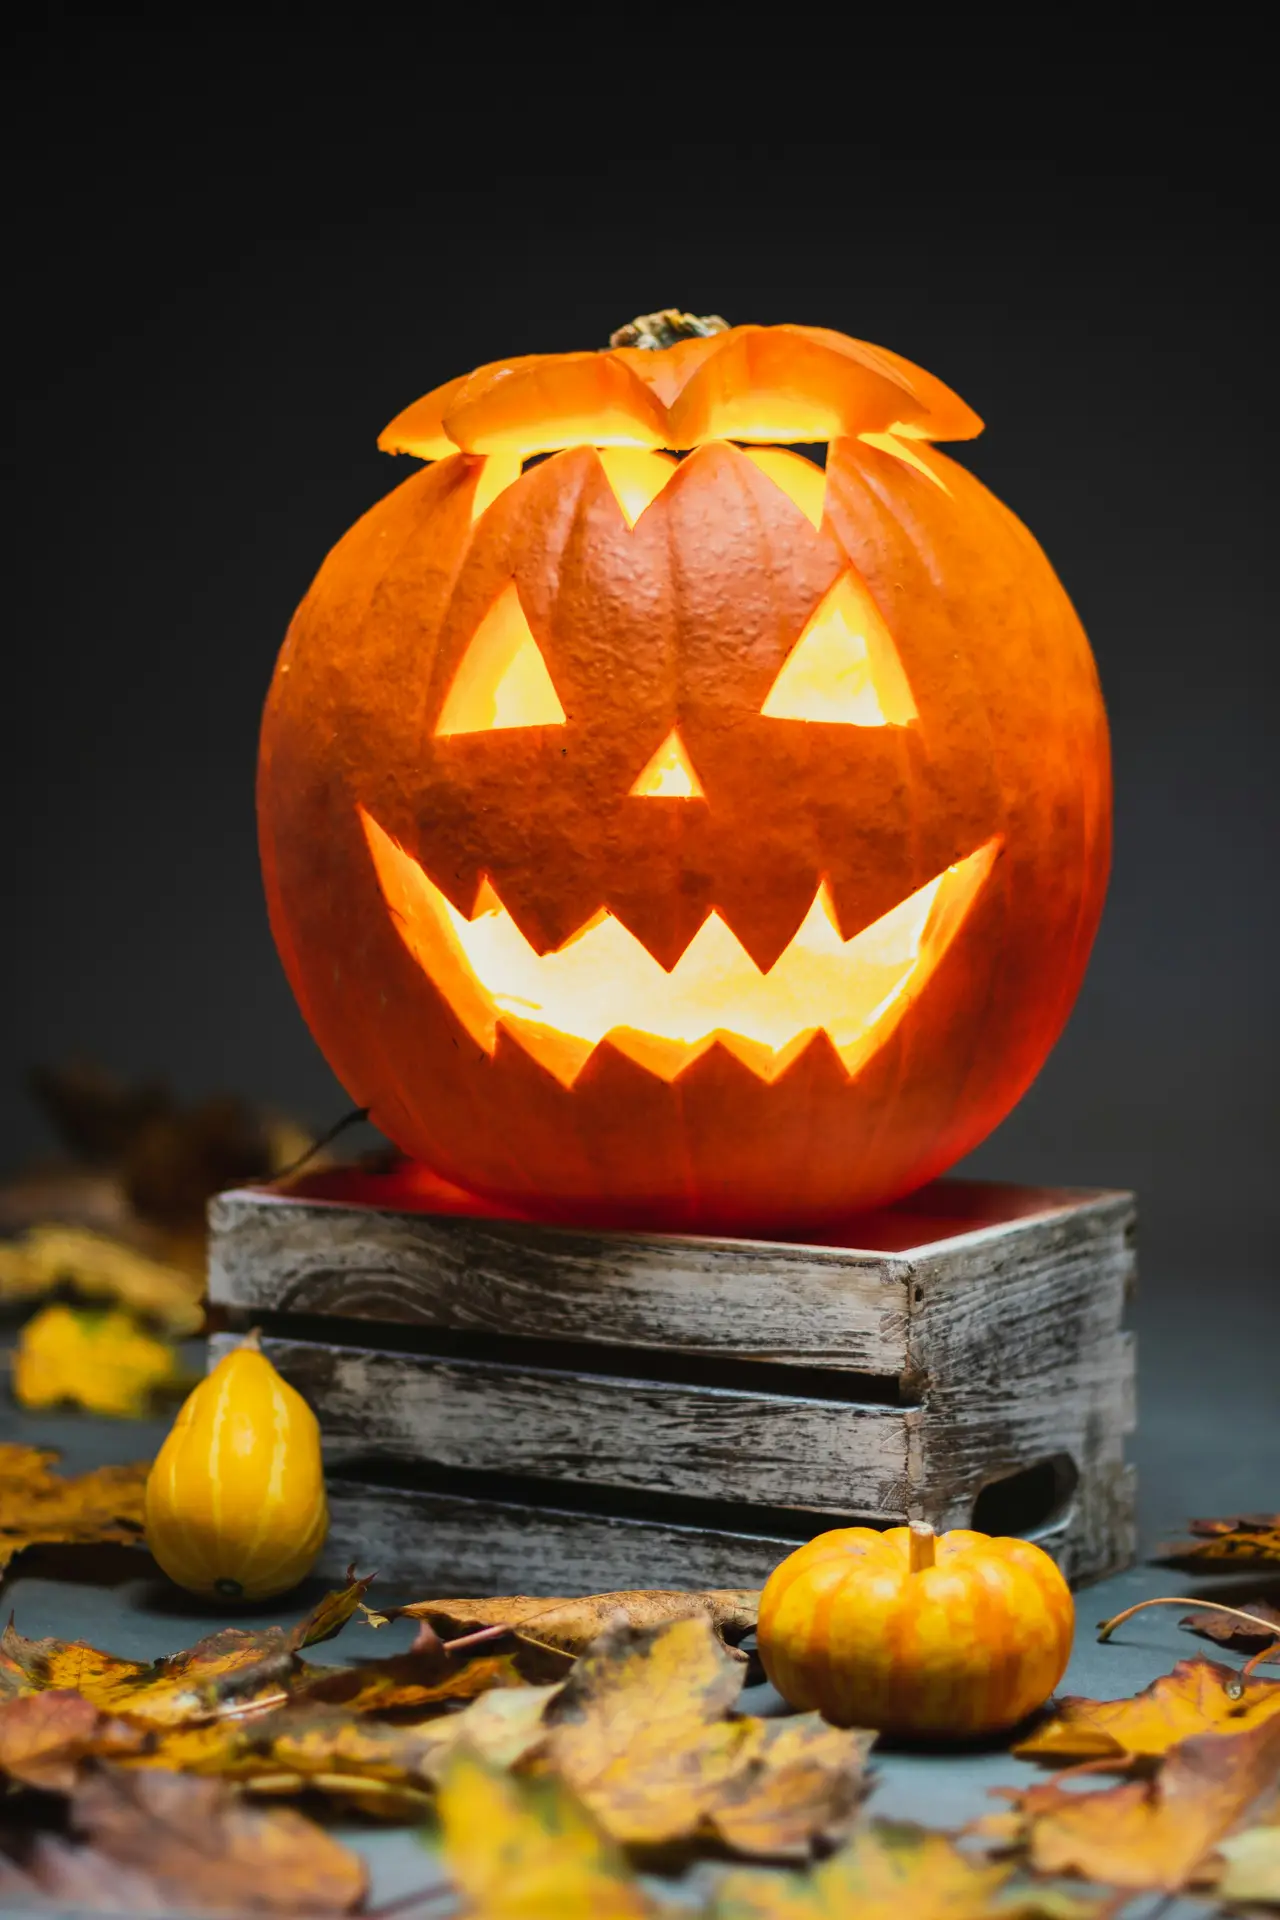
11. Jagged & Cheerful Mouth
 Save
Save I think a jagged mouth instantly makes a simple face more interesting.
The cheerful expression keeps the pumpkin from looking too scary, making it suitable for households with children.
In my opinion, this face works particularly well on large, wide pumpkins.
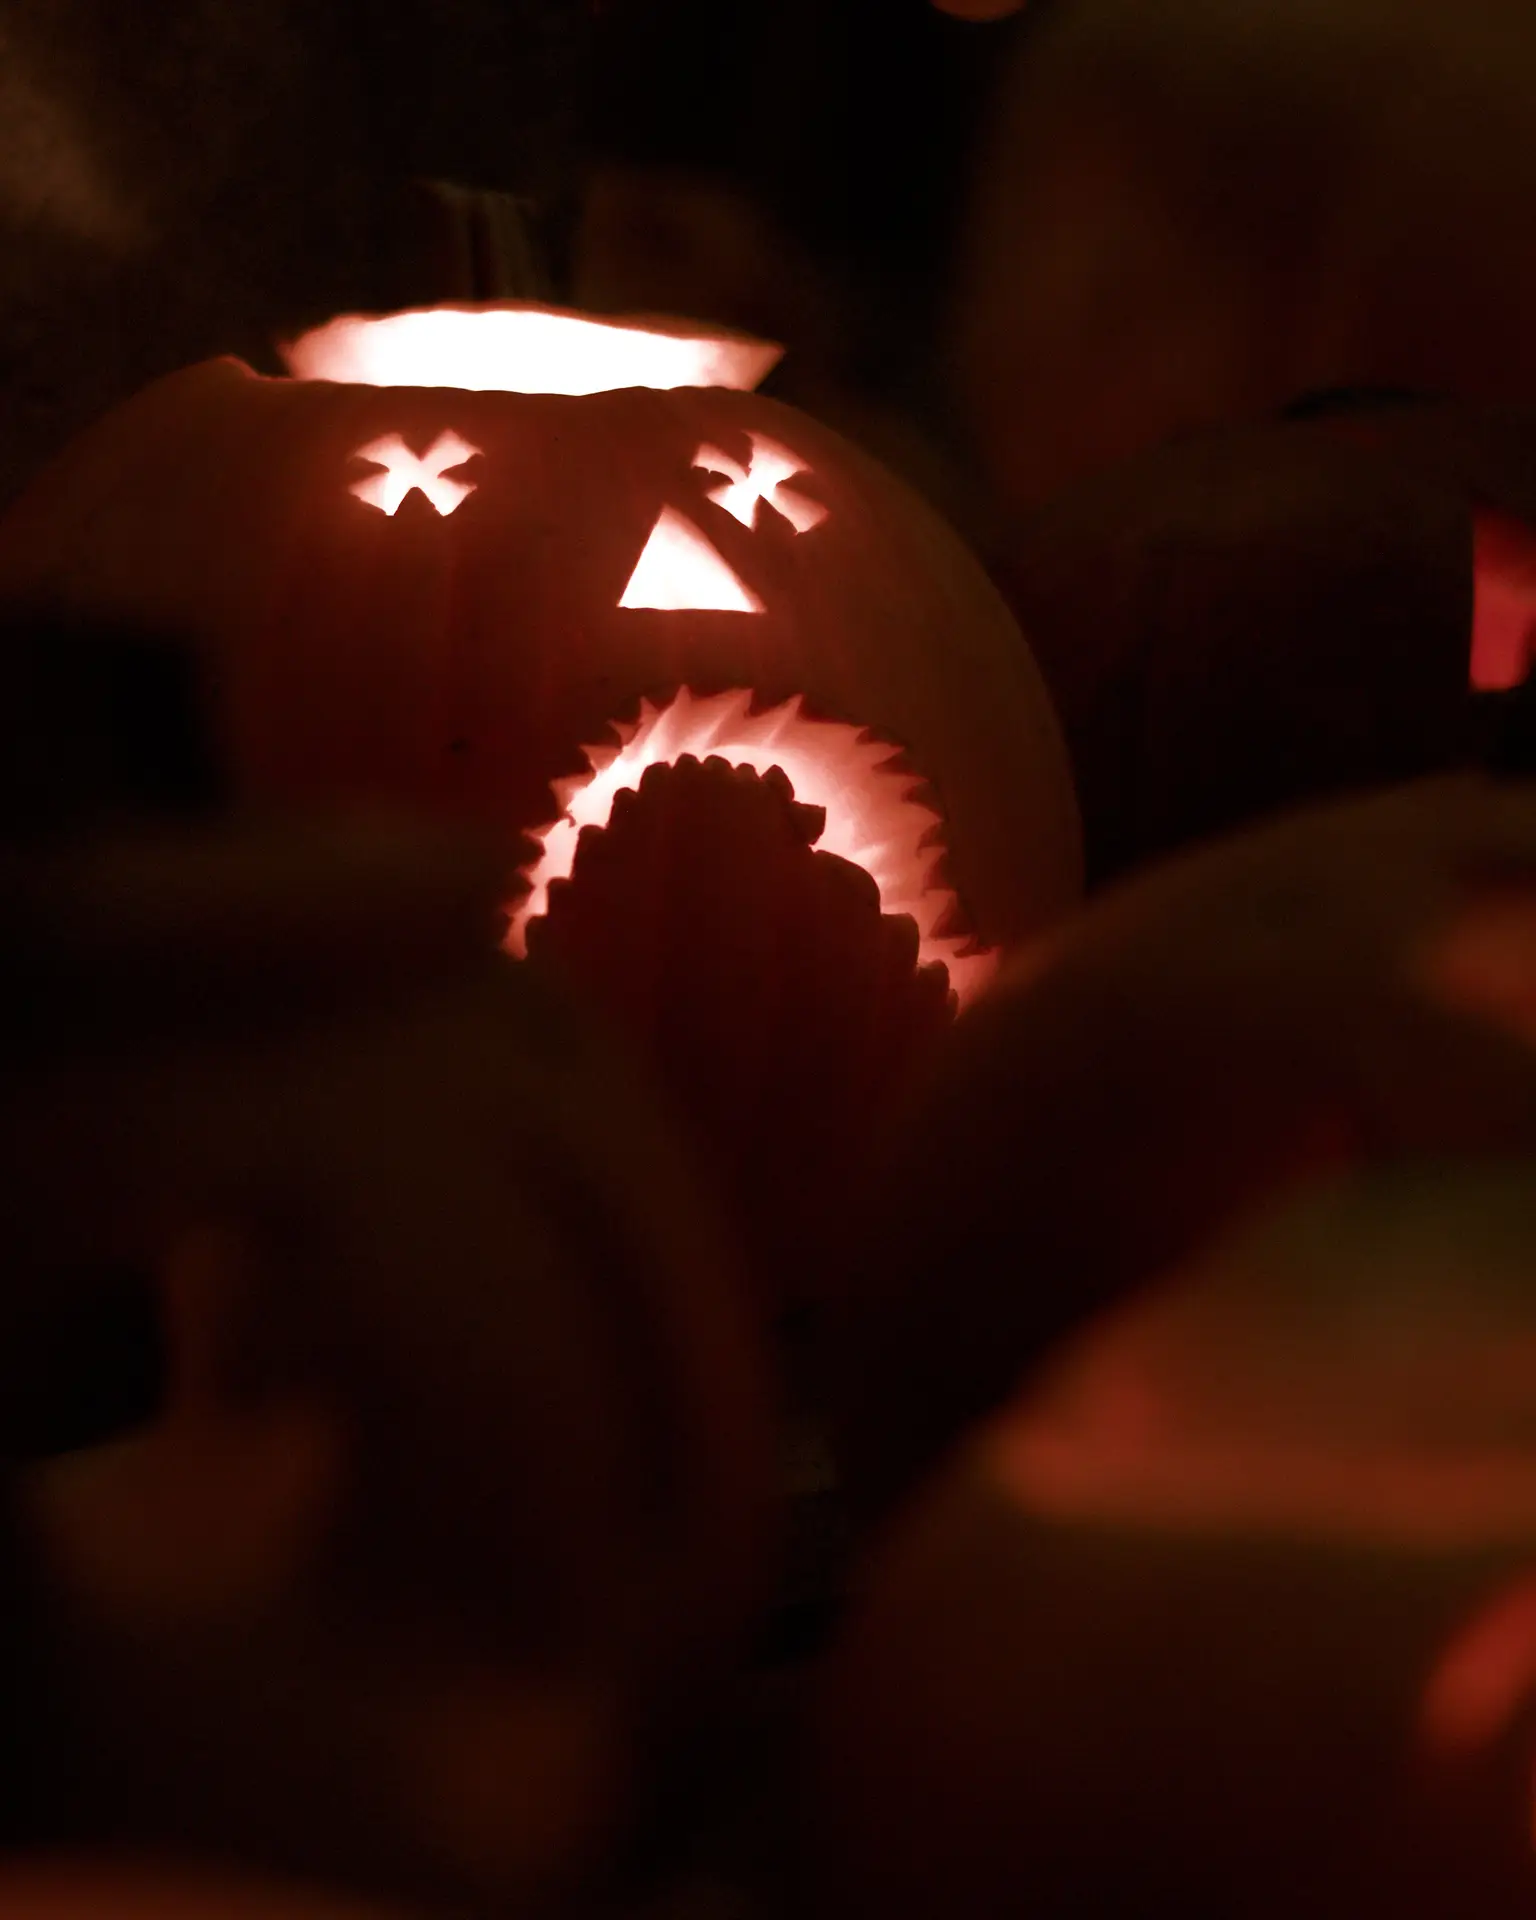
12. Sad Face – Pumpkin Carving Ideas
 Save
Save If you aren’t in the mood for a classic grinning face, a sad face makes for an unusual alternative.
The downturned mouth and the eyes, whether standard or drawn as crosses, as shown in the picture, create the sad expression.
I find this pumpkin face particularly ideal for combining with other expressions in a group of pumpkins.
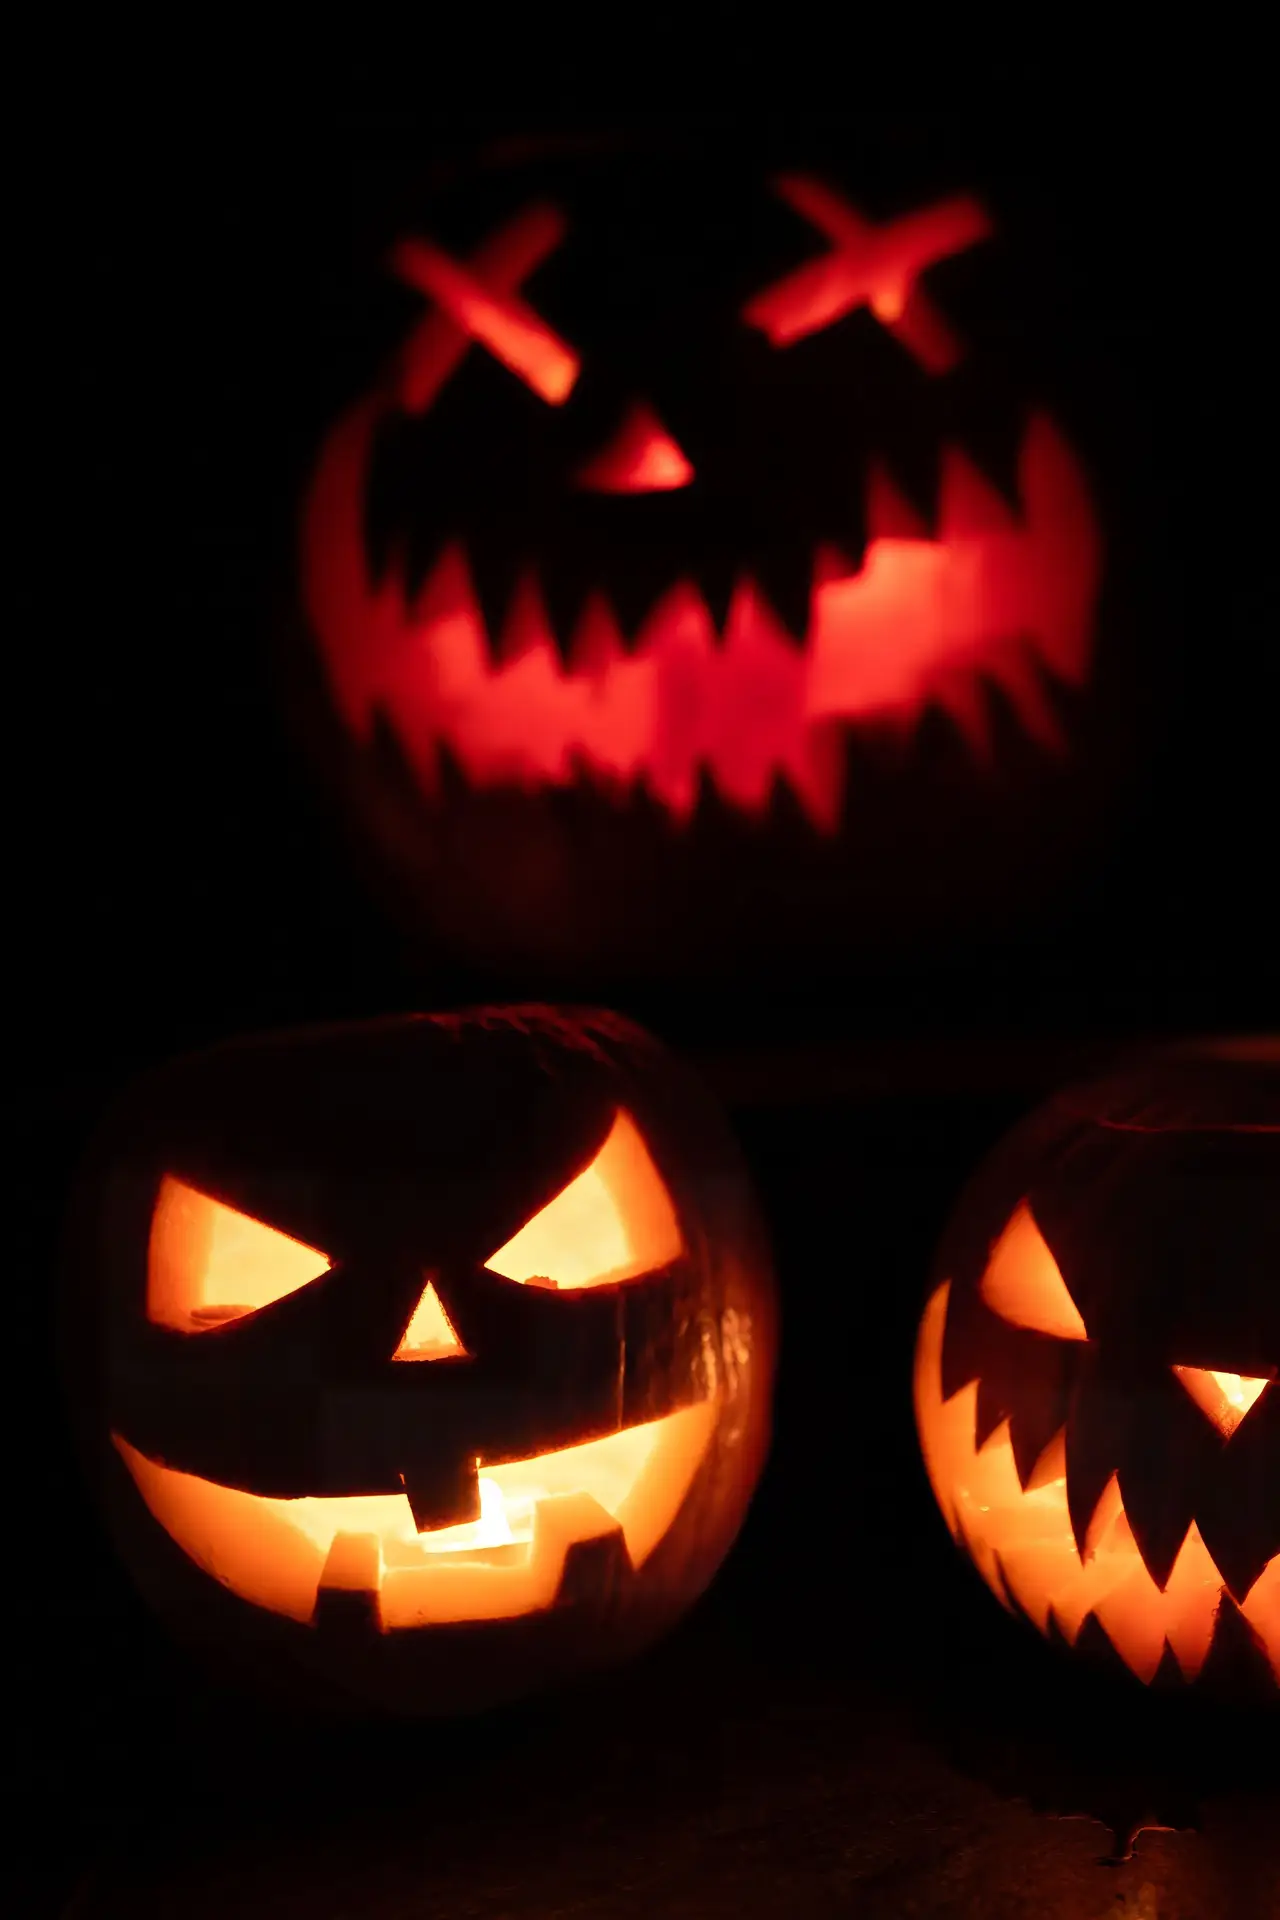
13. Evil Smiling Faces
 Save
Save If you really like things spooky, these eerily grinning faces are exactly what you’re looking for.
I think the narrow eyes and wide grins make the faces look truly evil.
In my opinion, the faces are particularly striking thanks to their sharp, triangular shapes.
Placing several similar faces side by side intensifies the effect.
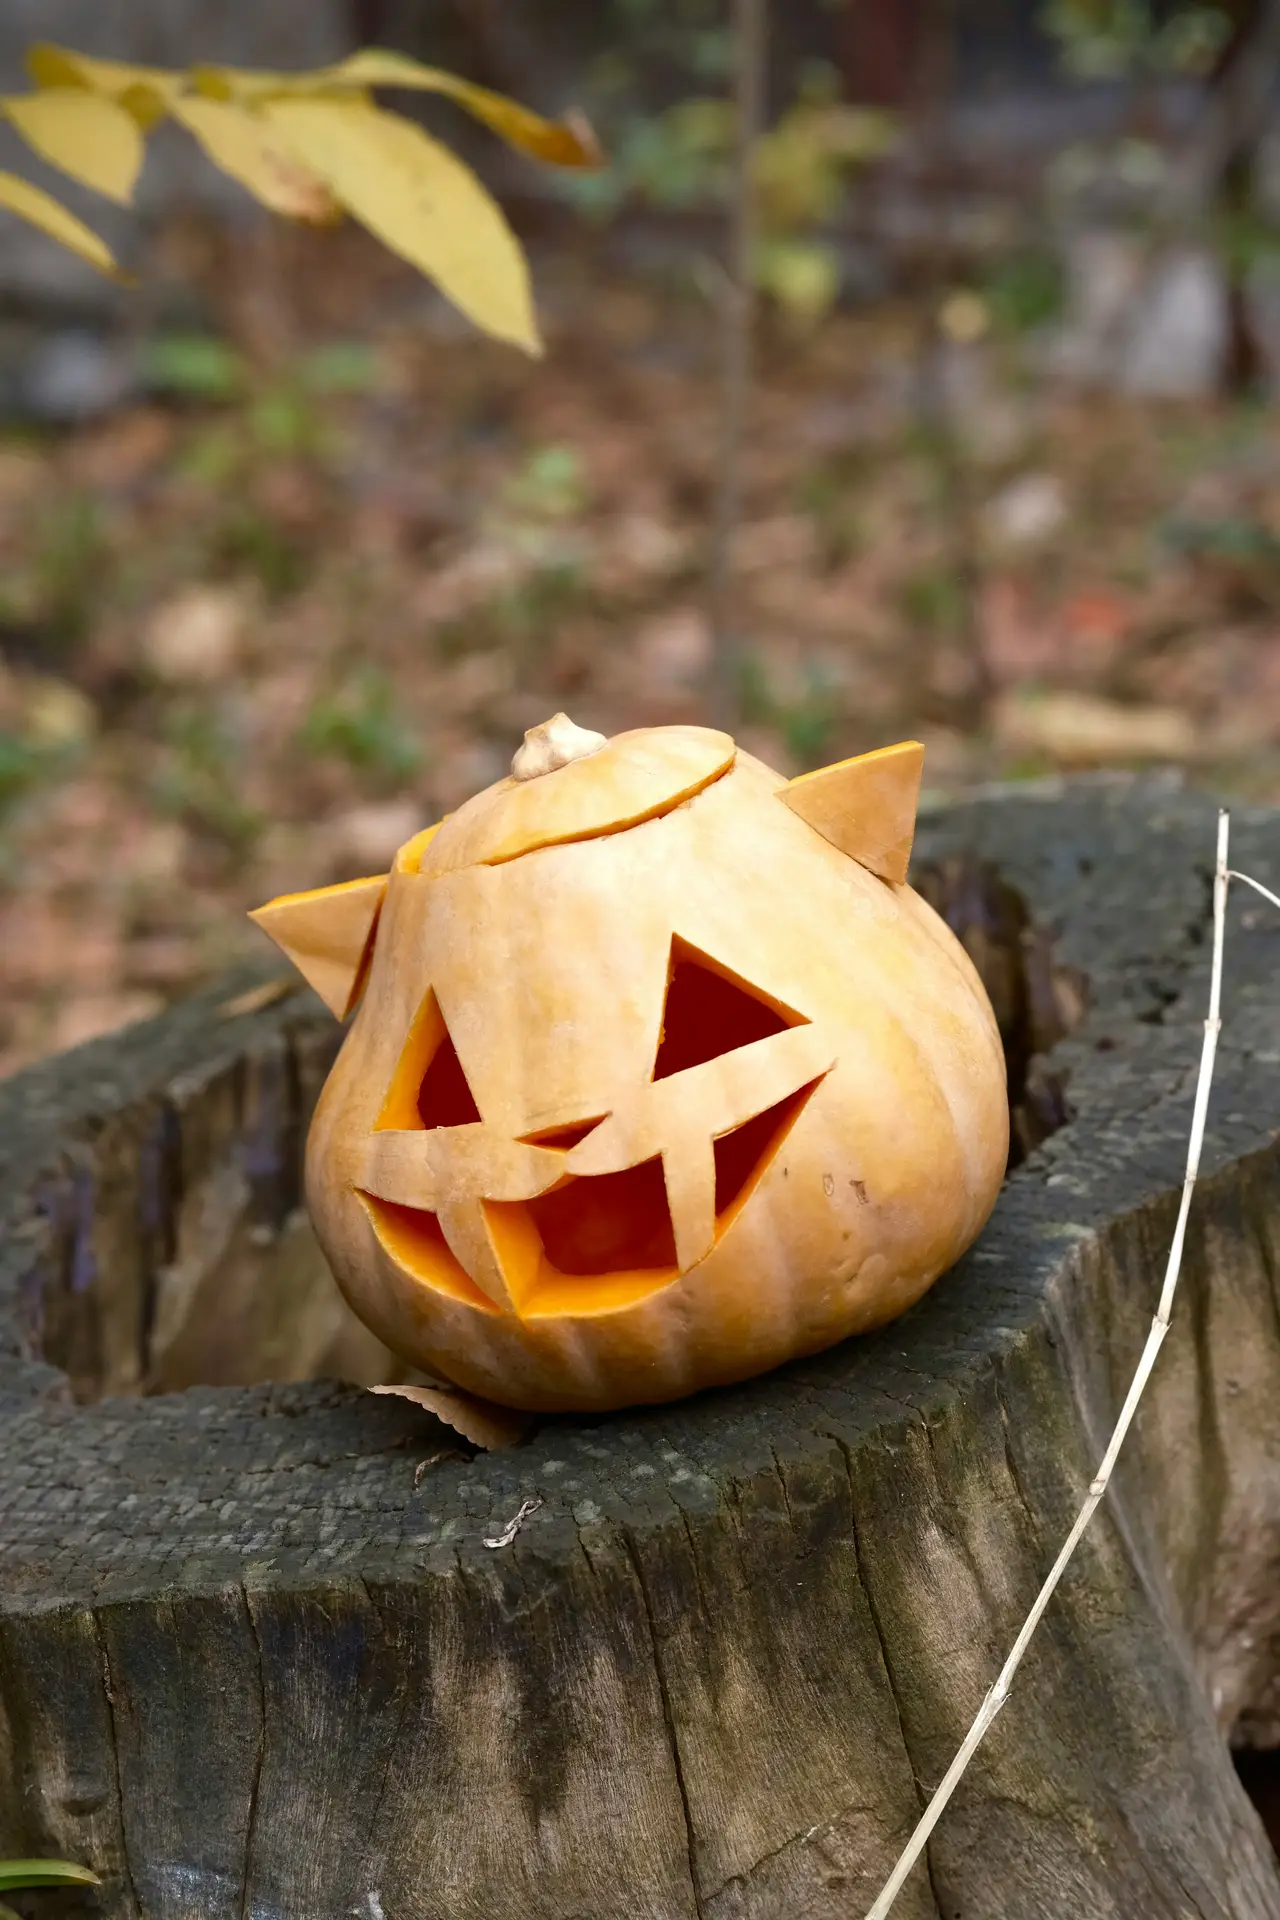
14. Cat With Ears
 Save
Save I love this pumpkin carving idea!
The attached or cut-out ears make the pumpkin truly unique and give it a three-dimensional look.
You can complete the cat look by adding eyes, a nose and whiskers.
My tip: Use small pumpkins for this idea.
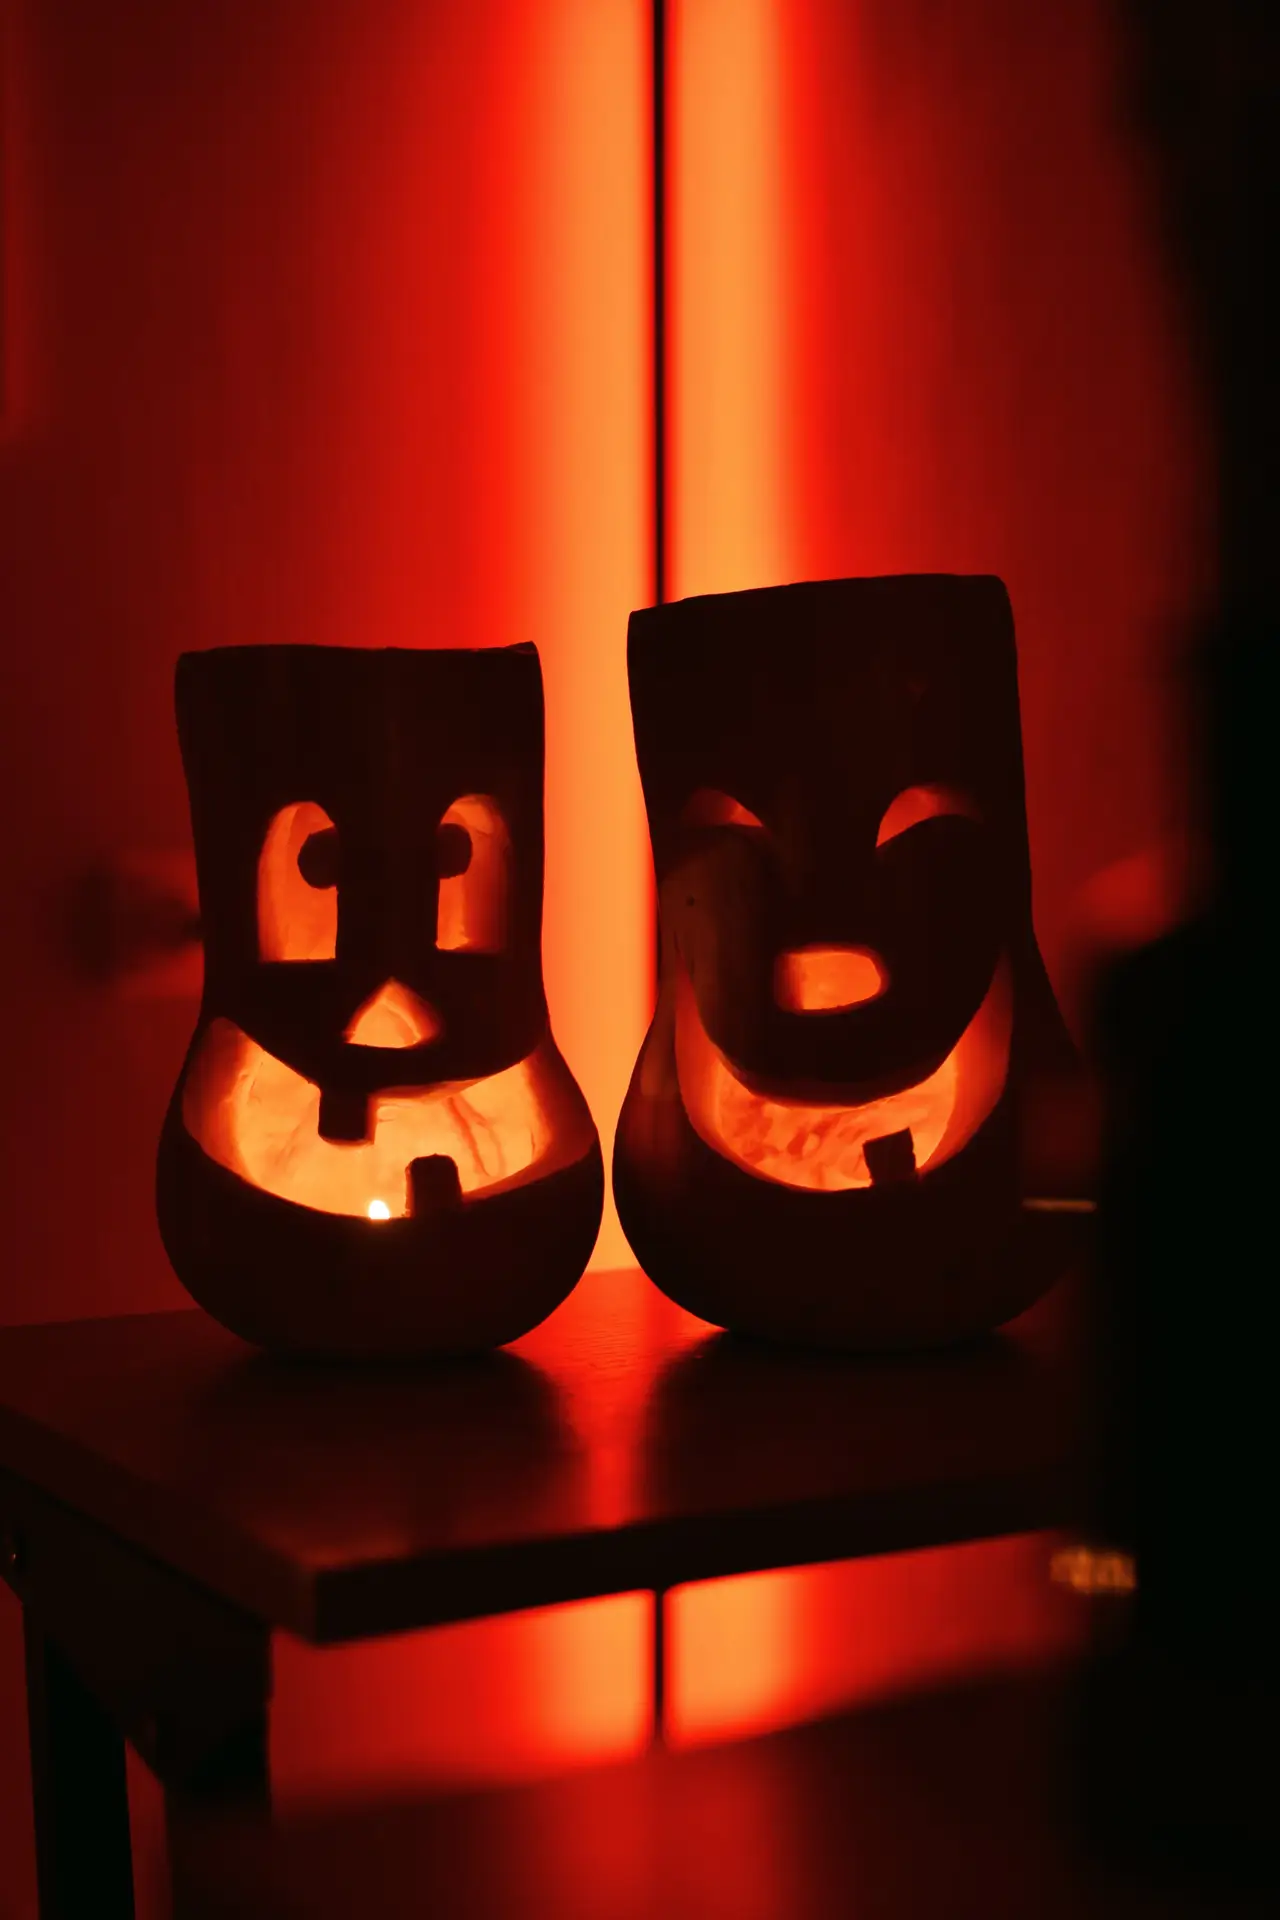
15. Two Smiling Pumpkins
 Save
Save What’s better than one pumpkin? Two pumpkins!
Choosing pumpkins of different sizes creates a harmonious duo while adding visual dynamism.
Matching facial expressions also create a cohesive look.
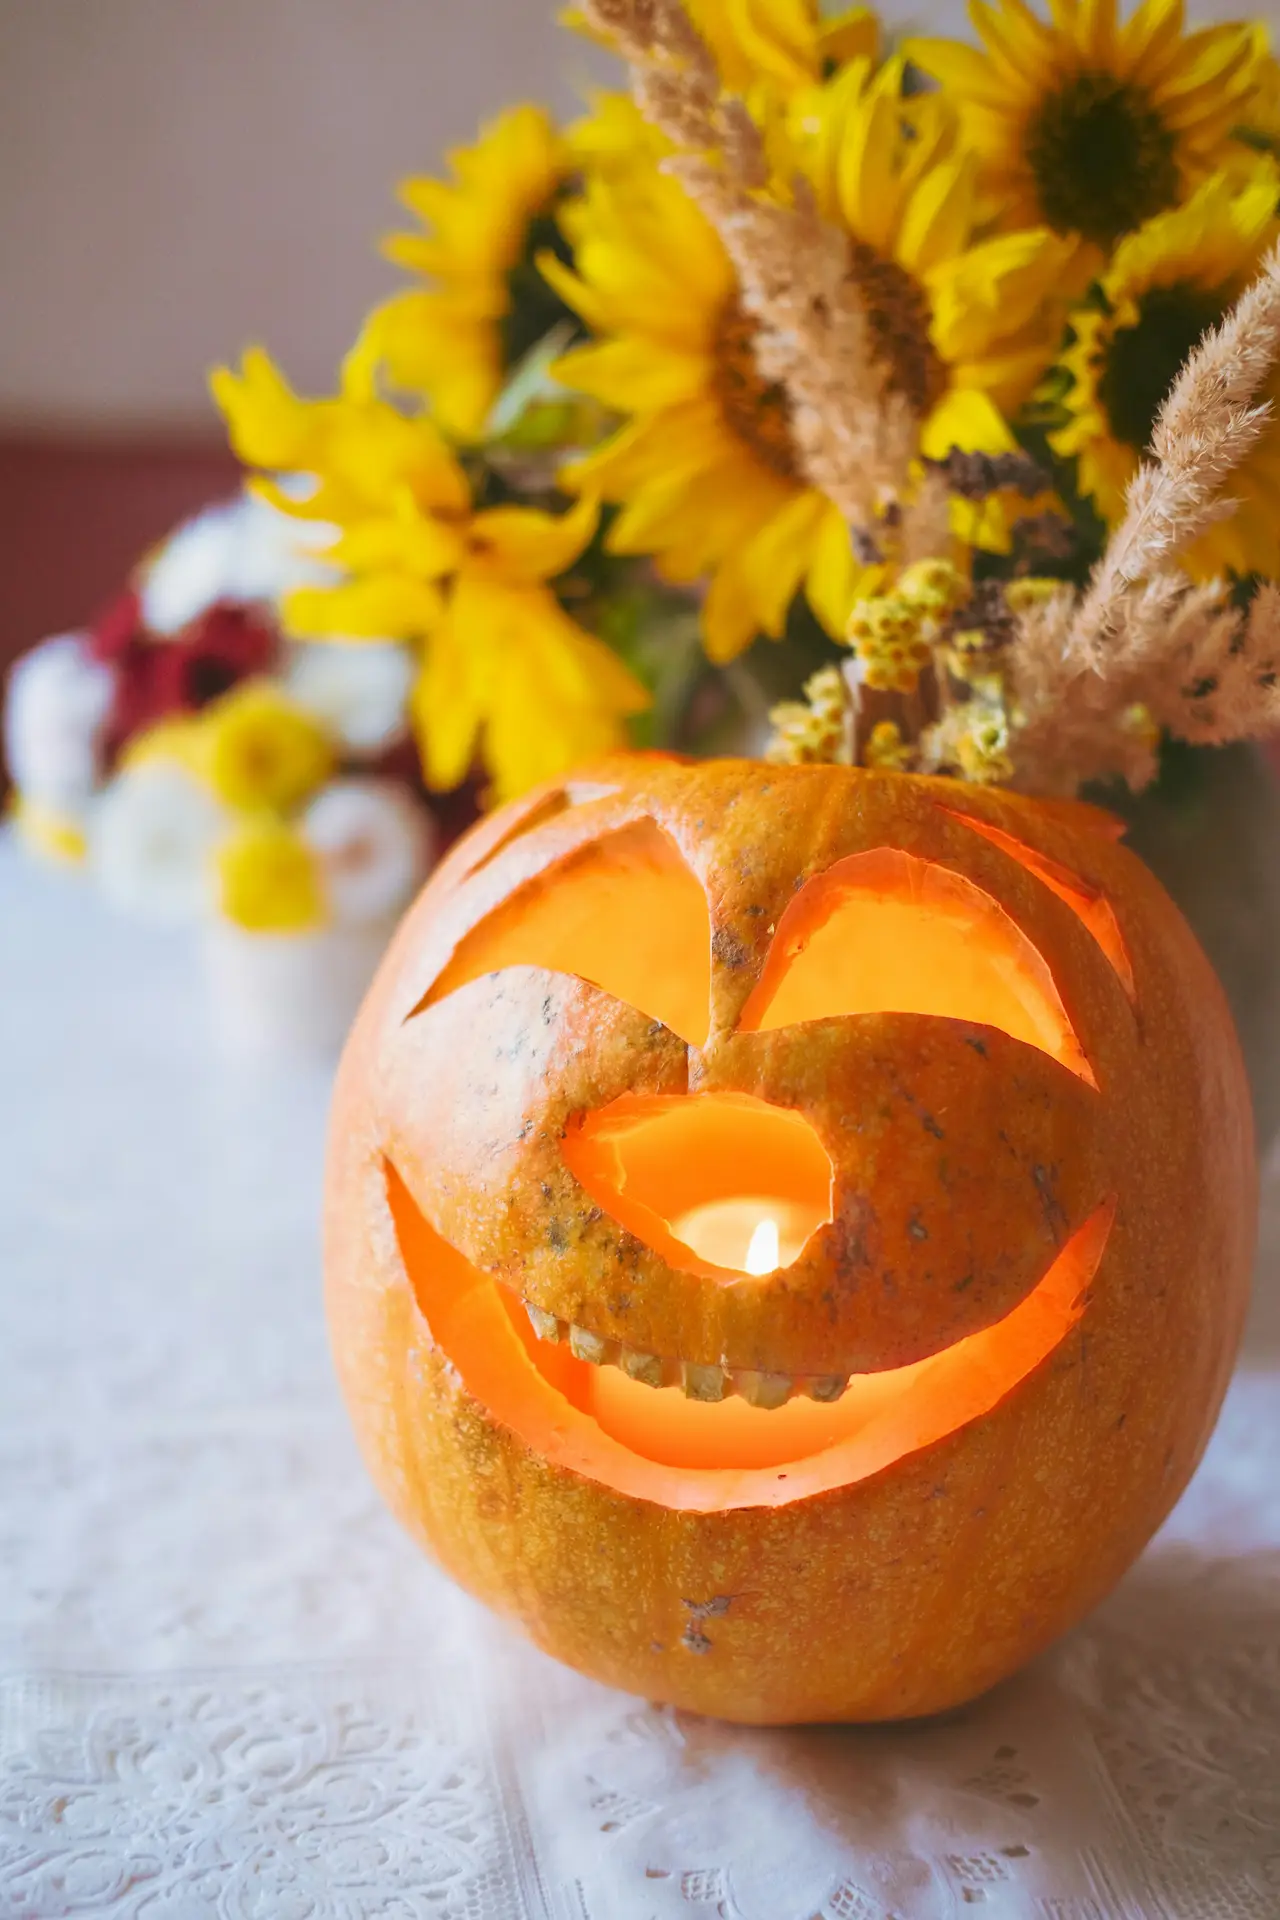
16. Happy Face With Teeth
 Save
Save I think this face is super cute, too!
The small teeth instantly add a bit more character to the smile and the wide-open mouth lets plenty of light shine through.
If you want a really happy look, I recommend to go for eyes that curve upwards.
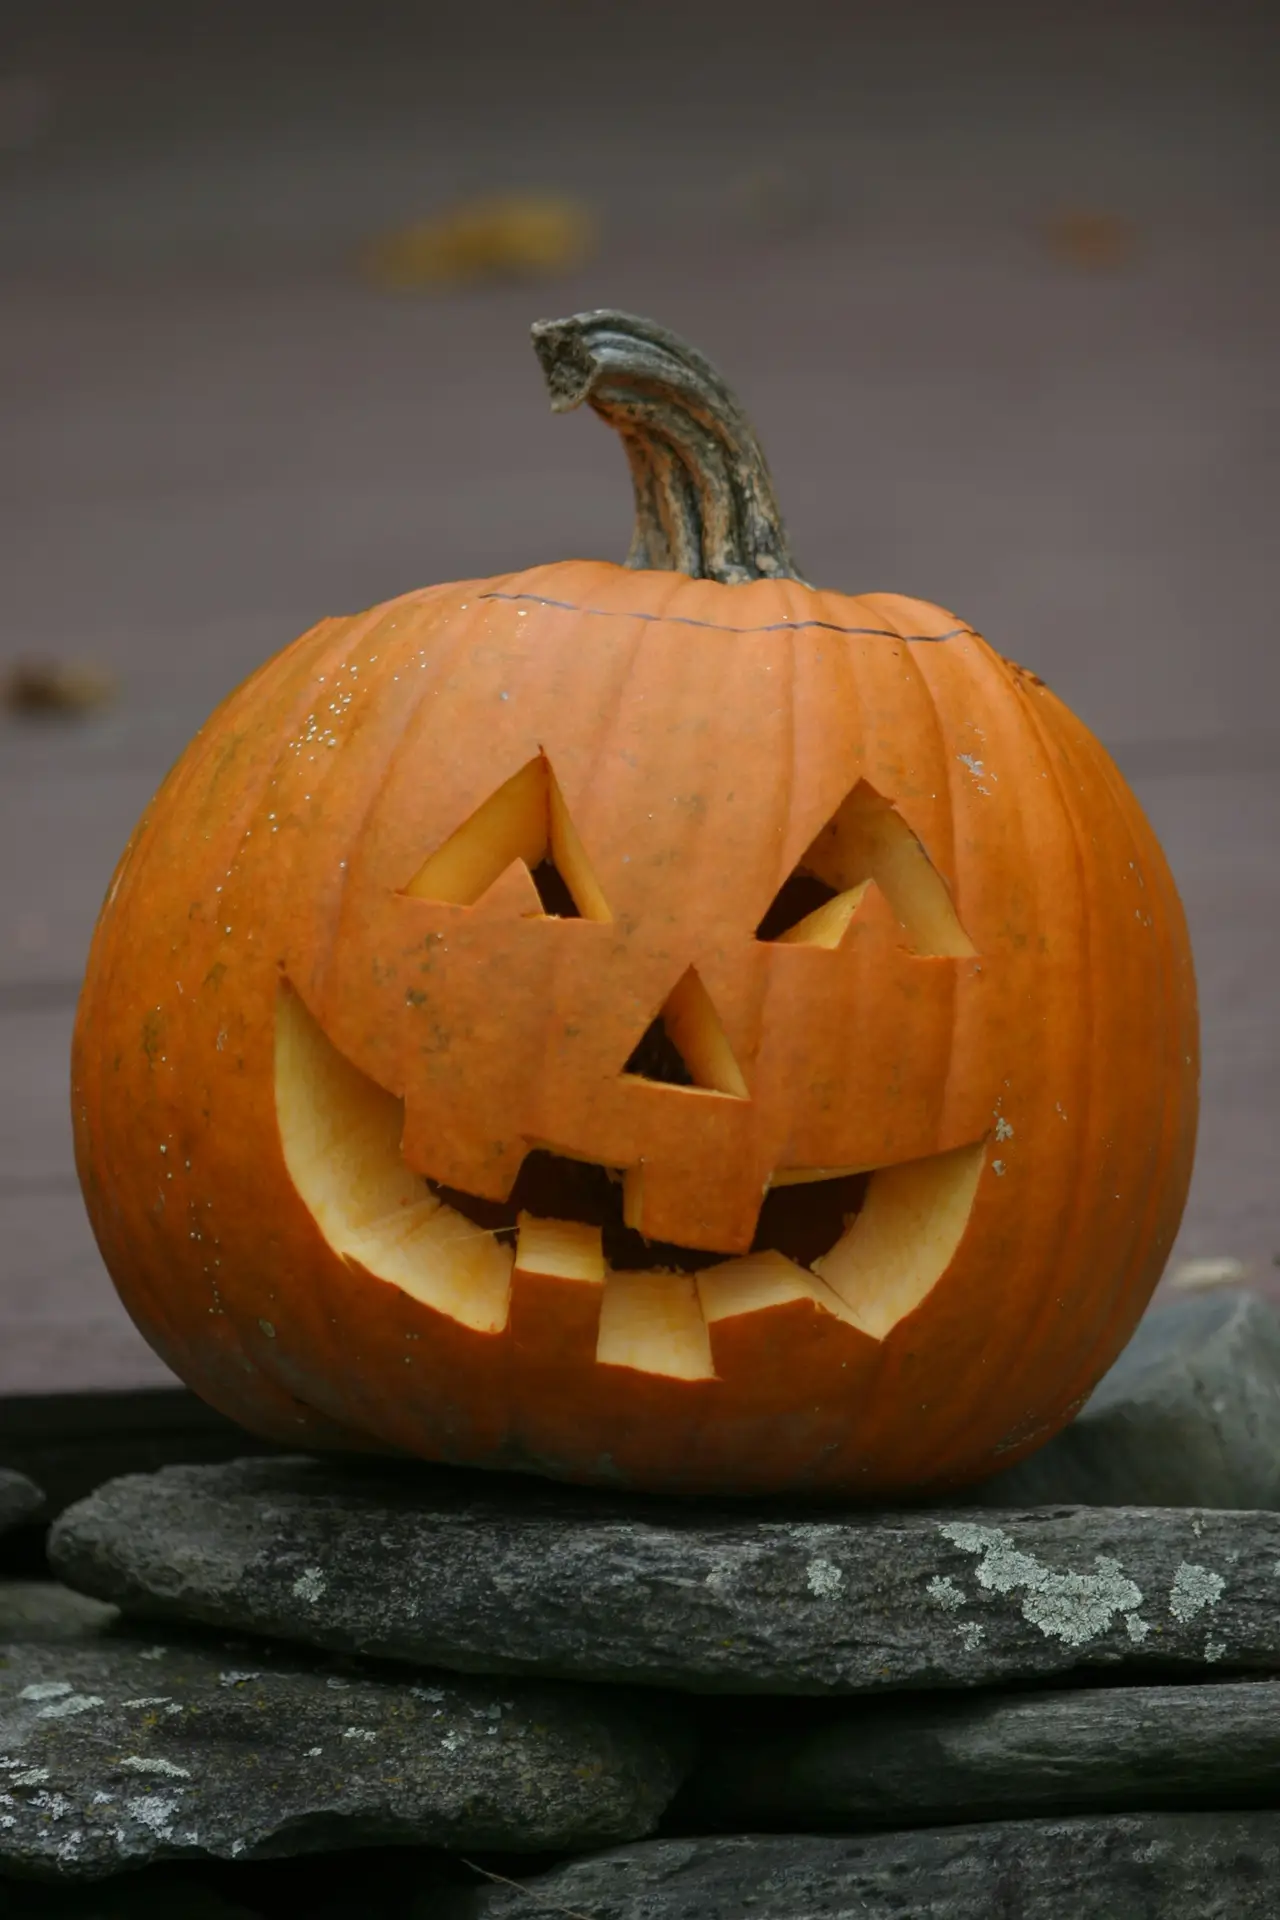
17. Classic Friendly Face
 Save
Save This jack-o’-lantern look is timeless and always works.
And the best part? Absolutely anyone can pull off this face!
The triangular eyes and simple smile are easy to create.
I think this face is perfect for beginners and for classic Halloween decor.
Carving 101: This Process Actually Works
To ensure nothing goes wrong while carving your pumpkin, I’ve outlined five foolproof steps here that guarantee a great result.
I prefer working step-by-step rather than cutting out large sections all at once.
Also, make sure to check the pumpkin’s stability periodically as you work.
Step 1: Cut from the bottom
Cut an opening in the bottom rather than around the stem. This usually makes the pumpkin more stable. It also makes it easier to place an LED candle inside and the “lid” won’t fall into the pumpkin.
Step 2: Scoop it really clean
I think it’s important to completely remove the seeds and fibrous pulp. You should also scrape the inner wall, specifically the area you plan to carve, until it’s a bit thinner. This makes it easier and more precise to work on.
Step 3: Transfer the design
Sketch the design directly onto the pumpkin with a marker. Alternatively, you can place a stencil over it and transfer the outlines. The pin-prick method works particularly well for intricate patterns.
Step 4: Carve small sections first
I recommend starting with the small, fine details. It’s best to work your way outward from the center. This keeps the pumpkin more stable and reduces the risk of delicate details breaking off.
Step 5: Test the glow
You can insert an LED candle before the final touch-ups. This allows you to check if all the lines and details are clearly visible. If necessary, you can slightly enlarge the cutouts to let more light shine through.
How To Make Your Pumpkin Last Longer
I always recommend holding off on carving your display pumpkins until as close to the big day as possible. The less time they sit out after being cut, the fresher and more vibrant they will look when it really counts!
Once your beautiful masterpiece is carved, my absolute biggest tip is to keep it in a cool, shady spot. This helps the pumpkin dry out and soften so much slower. I am always super careful to keep ours completely out of the direct afternoon sun, especially when we get those surprisingly mild and sunny autumn days.
If the forecast calls for a heavy rainstorm or a sudden overnight freeze, do your pumpkins a huge favor and bring them indoors if you can. You want to try your very best to keep those freshly carved edges nice and dry.
Here is one last important tip that makes such a massive difference: Try to never place your carved pumpkin directly on wet grass or damp soil. Propping it up on a dry porch step, a rustic wooden crate or a cute outdoor stool will keep the bottom from rotting and ensure your autumn display stays gorgeous for as long as possible!
Final Thoughts
I’m convinced: Pumpkin carving doesn’t have to be complicated!
Having the right pumpkin, the proper tools, and a clear design in mind will definitely help you achieve the best results.
I recommend choosing your design before you even buy the pumpkin so you can select a shape that suits it perfectly.
To ensure the best possible outcome, make sure to carve clean lines and thoroughly hollow out the inside.
Using an LED candle makes the pumpkin glow beautifully without the risk of fire.
Looking for more inspiration for autumn, home decor or home organization? Feel free to browse my blog. You’ll find plenty of posts covering exactly these topics.